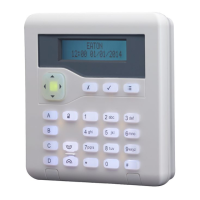
1. Start with the control unit lid off and the tamper switch open.
2. At the keypad select Use Lid Tamper and press .
3. At the control unit hold down the tamper switch. When the red LED on the i-sd02 or i-
gsm02 glows recite your message.
4. Release the tamper switch.
5. Pulse the tamper switch briefly.
The i-sd01 (for i-on16), i-sd02 or i-gsm02 plays back your recording.
6. Go back to the keypad and press .
7. If required, replace the control unit lid. DO NOT replace the control unit lid until you
have left the “Use Lid Tamper” mode.
Phone Book
To record the telephone numbers that you wish to use, select Communications – Speech
Dialler – Phone Book. (See “Destinations” on page 117 for instructions how to link
messages to phone numbers.)
Select one of the telephone numbers.
The display shows the current digits of the selected telephone number.
Key in the telephone number. Press * to add a two second pause, if required. The display
shows this as a comma.
Press when you are happy that the number is correct.
The display then gives you a chance to key in a name for that number. The control unit will
display this name in the phone book to help you remember what destination you wanted
the message to go to. (See page 18 for hints on editing text.) Press when you are happy
that the name is correct.
Note that once you have set the speech dialler call mode to “enabled” (see page 115) and
assigned a report trigger a message, and a message to a telephone number (see below)
then the control unit makes this number available in the User Menu. User 01 can edit the
number or enter a new telephone number in this slot at will. This allows the user to re-
direct any speech message destined for this number. The user cannot disable the
telephone number by entering a blank number; the fact that they have changed the
number is logged.

 Loading...