INSTALLATION
EATON BladeUPS
®
(12 kVA) User's Guide S 164201649 Rev 4www.eaton.com/powerquality
55
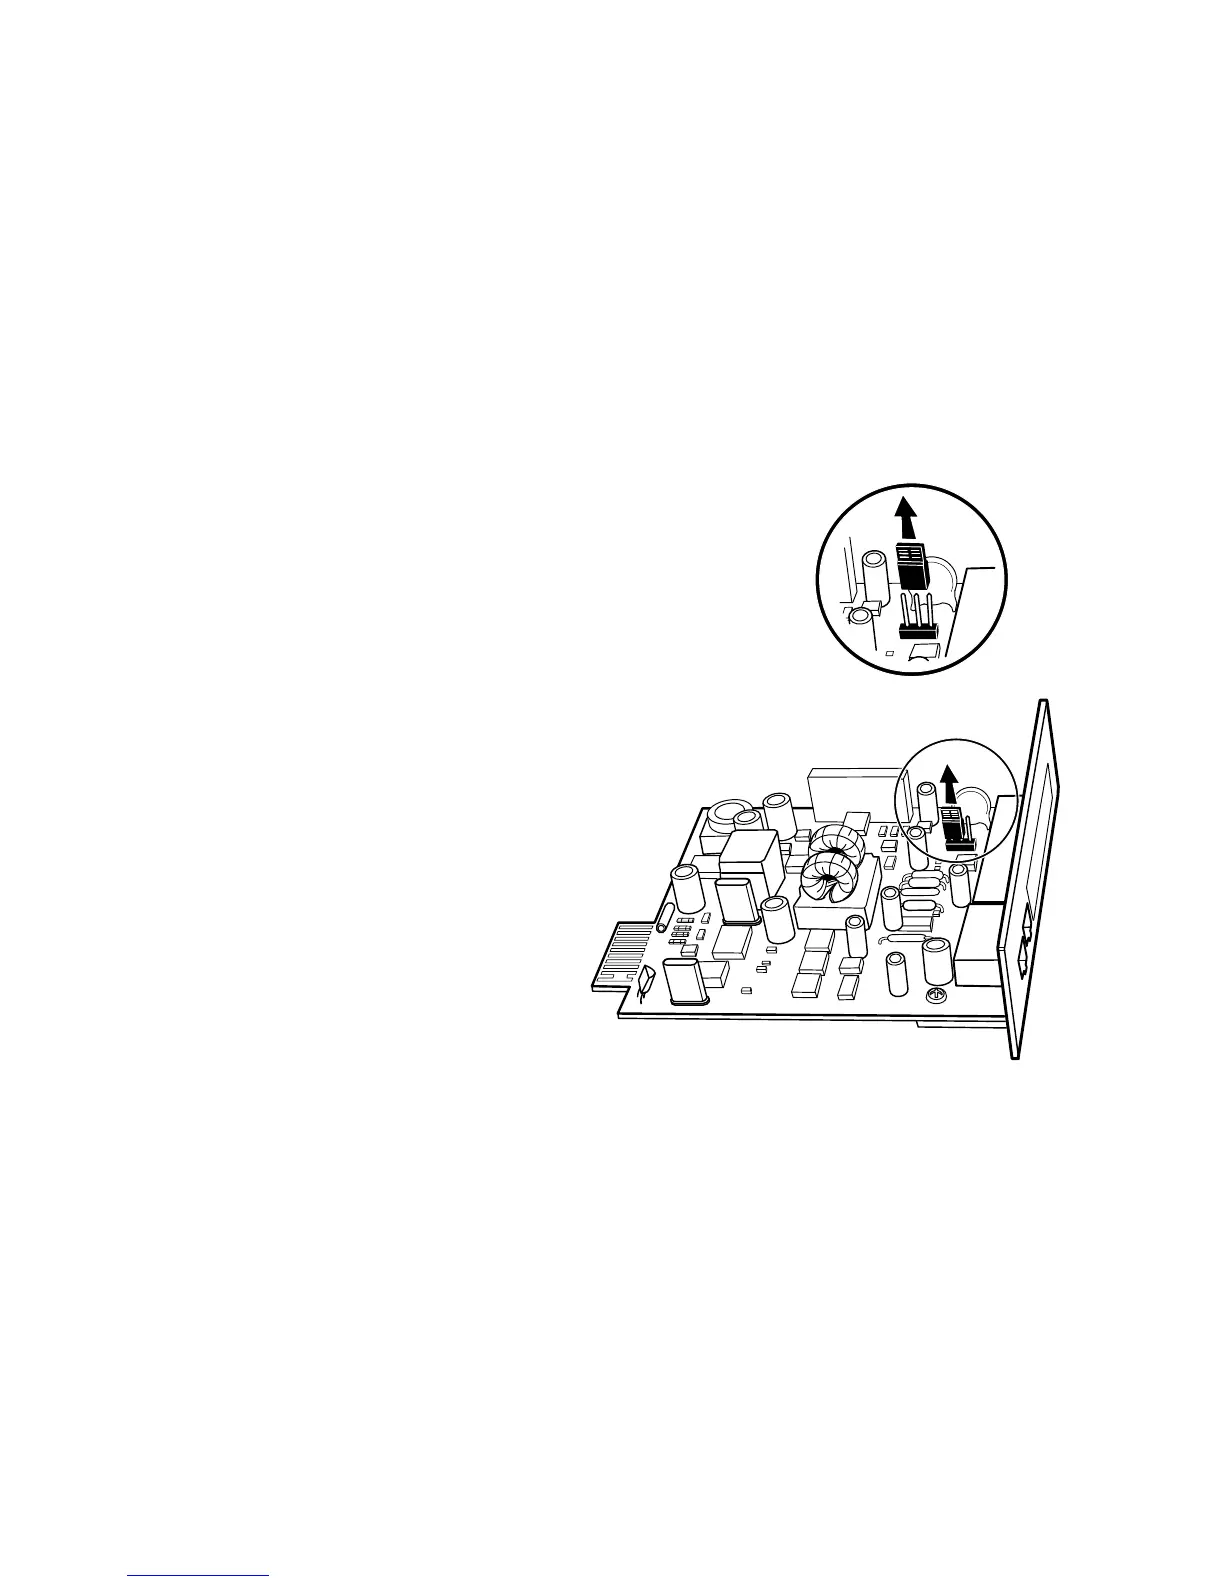
9. For each existing UPS, remove and discard the Jumper J7 installed in the
Powerware Hot Sync CAN Bridge Card:
a. Remove and retain the screws securing the Powerware Hot Sync CAN Bridge
Card to the UPS.
b. Disconnect the CAN Bridge Card Cable from the Powerware Hot Sync CAN
Bridge Card.
c. Remove the Powerware Hot Sync CAN Bridge Card from the UPS.
d. Remove and discard the Jumper J7 (see Figure 41).
Jumper J7 - Pins 1 and 2
(First and Last UPS) Shown
Figure 41. Removing the Jumper J7 (Side View)
e. Loosely install each Powerware Hot Sync CAN Bridge Card into the open
X-Slot communication bay on its UPS rear panel.
f. Reconnect the CAN Bridge Card Cable to the Powerware Hot Sync CAN Bridge
Card.
g. Tighten the screws securing each Powerware Hot Sync CAN Bridge Card in its
X-Slot communication bay.

 Loading...