ECP2010 / ECP2010H
52 / 68
Caution: Watch washing heads and all connections during run-in for any leakage.
Correct every untightness!
In menu item Menu/Service/Parts replacement/Seals tick the seal that has been
replaced.
L PUMPING – left working head seal
L WASHING – left washing head seal
R PUMPING – right auxiliary head seal
R WASHING – right washing head seal
Continue by choosing CONTINUE. Press ENTER for confirming seal replacement. This way
operation counters zeroize in Menu/Info/Parts/Seals.
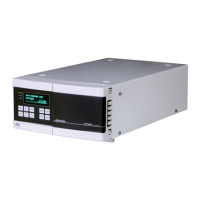
6.7.1.2. Check Valves
The basic elements of a check valves are precies ball and
seat. By the liquid flow the ball is pressed into the seat and
seals it. Considering high pressures in the pump, any slight
impurity stuck on the ball surface, or the seat, results in
pressure fluctuation, or it is not possible to start the pump. If
this issue is not solved by repeated purge, it is necessary to
replace, or clean the check valves.
There are two types of check valves – inlet and outlet. Both
types have fixed valve mounted directly in the holder.
Therefore, it is necessary to replace the entire part. Inlet check
valve is shorter then outlet and the inner part of the holder
designated to mount the inlet tubing has flat bottom (upper
picture on left). The outlet valve is longer than inlet and inner
part of the holder for mounting capillary is conical (lower picture
on left).
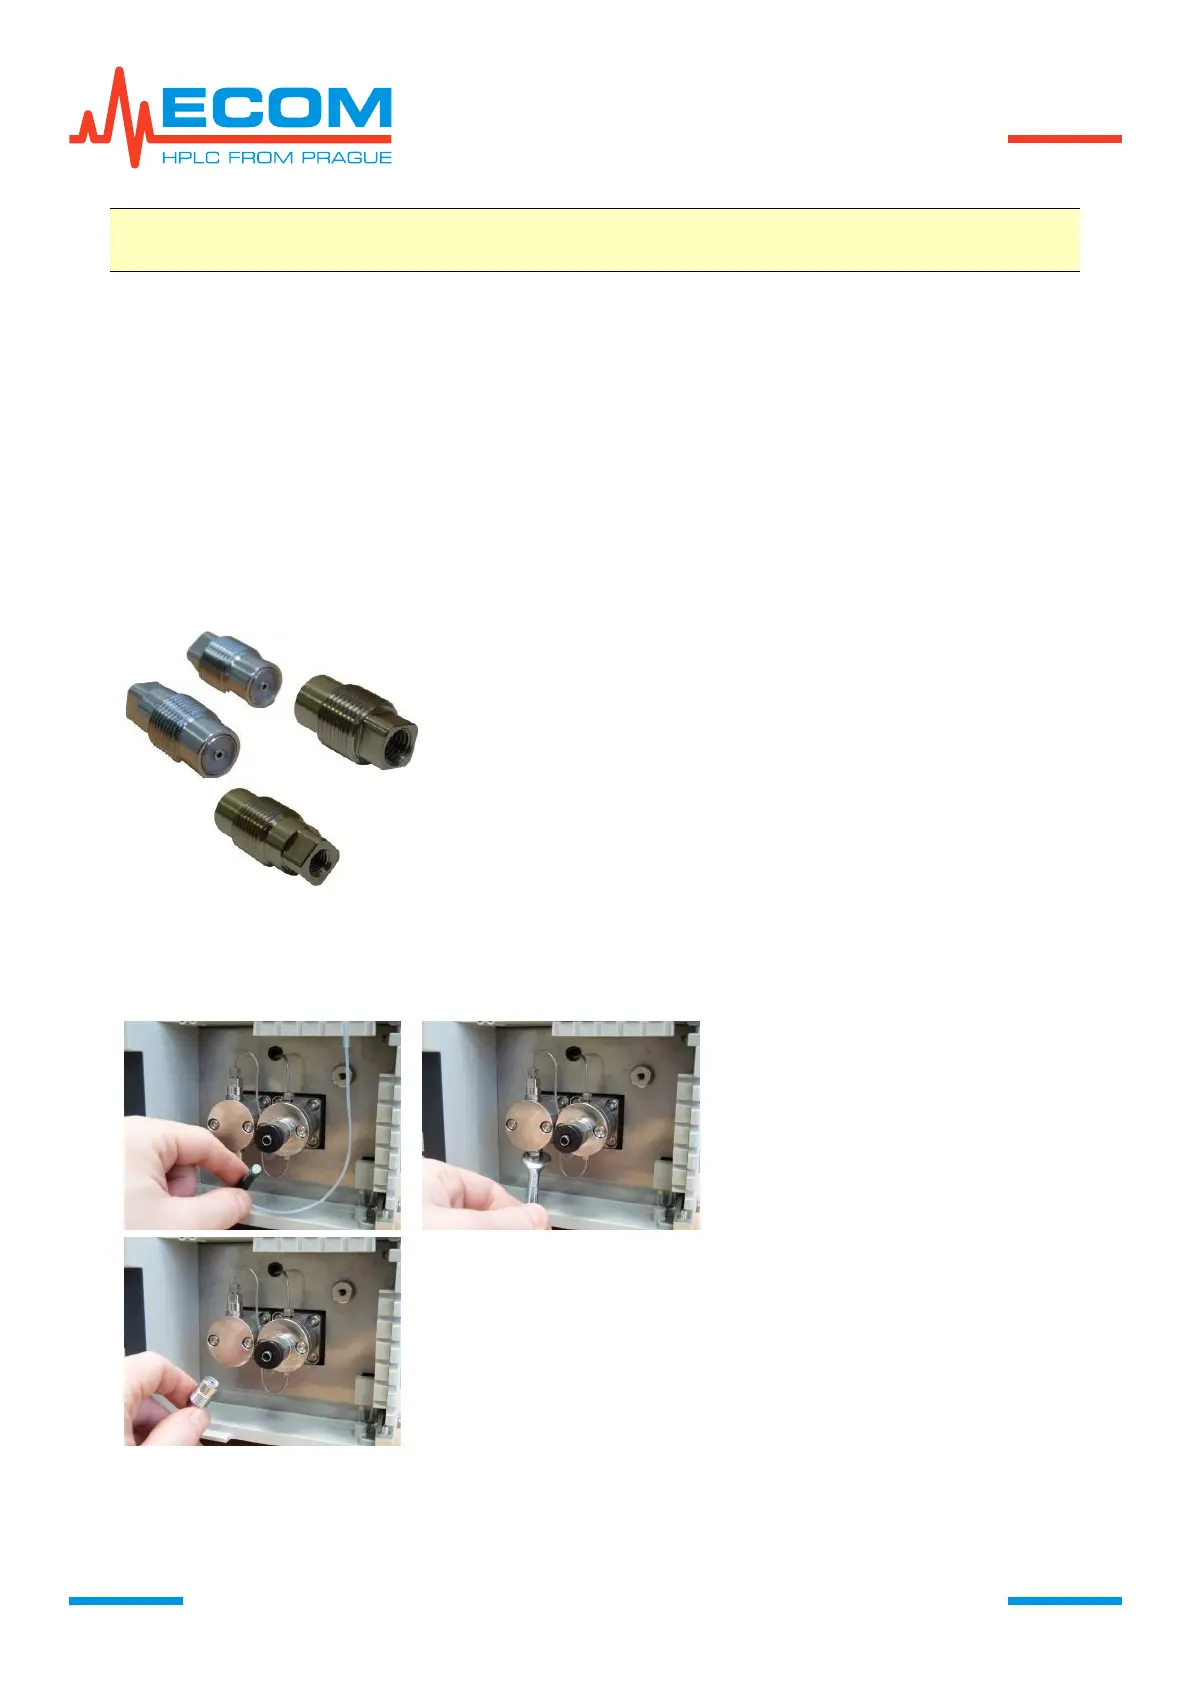
Disconnect the unit from power
source!!!
Disconnect inlet tubing.
To exchange inlet check valve,
unscrew the holder of check valve
using a side wrench 5/16" (8 mm).