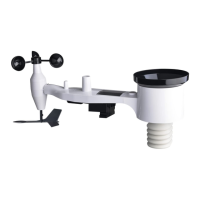
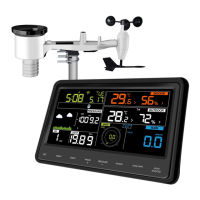
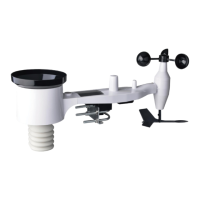
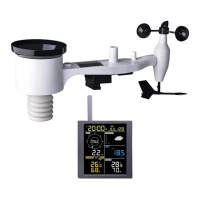
Finally, place the sensor package on top of the prepared mounting pipe. The
U-Bolts should be loose enough to allow this but loosen the nuts as necessary.
Once placed, hand tightens all four nuts, taking care to do so evenly. Do not
use a wrench yet!
Now you will need to align the whole package in the proper direction by
rotating it on top of the mounting pipe as needed. Locate the arrow labeled
“WEST” that you will find on top of the sensor package right next to the light
sensor, on the opposite side of the solar panel. You must rotate the whole
sensor package until this arrow points due west. To achieve proper alignment,
it is helpful to use a compass (many cell phones have a compass application).
Once rotated in the correct orientation, lightly tighten the bolts a little more
(use a wrench) to prevent further rotation.
Note: The orientation to WEST is necessary for two reasons. The most
important one is to position the solar panel and light sensor in the
most advantageous position for recording solar radiation and
charging internal capacitors. Secondly it causes a zero reading for
wind direction to correspond to due NORTH, as is customary. This
orientation is correct for installations in the northern hemisphere. If
you are installing in the southern hemisphere, the correct orientation
to achieve the same optimal positioning is to have the “WEST” arrow
actually point due EAST! This has the side effect, however, of lining
up the 0 reading of the wind direction with SOUTH. This needs to be
corrected using a 180-degree offset in the calibration settings (see
section 5.3 on page 29).
Now look at the bubble level. The bubble should be fully inside the red circle.
If it is not, wind direction, speed, and rain readings may not operate correctly
or accurately. Adjust the mounting pipe as necessary. If the bubble is close,
but not quite inside the circle, and you cannot adjust the mounting pipe, you
may have to experiment with small wooden or heavy cardboard shims
between the sensor package and the top of the mounting pole to achieve the
desired result (this will require loosening the bolts and some
experimentation).