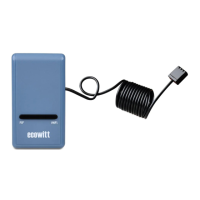
4.2 Indoor Sensor Set Up
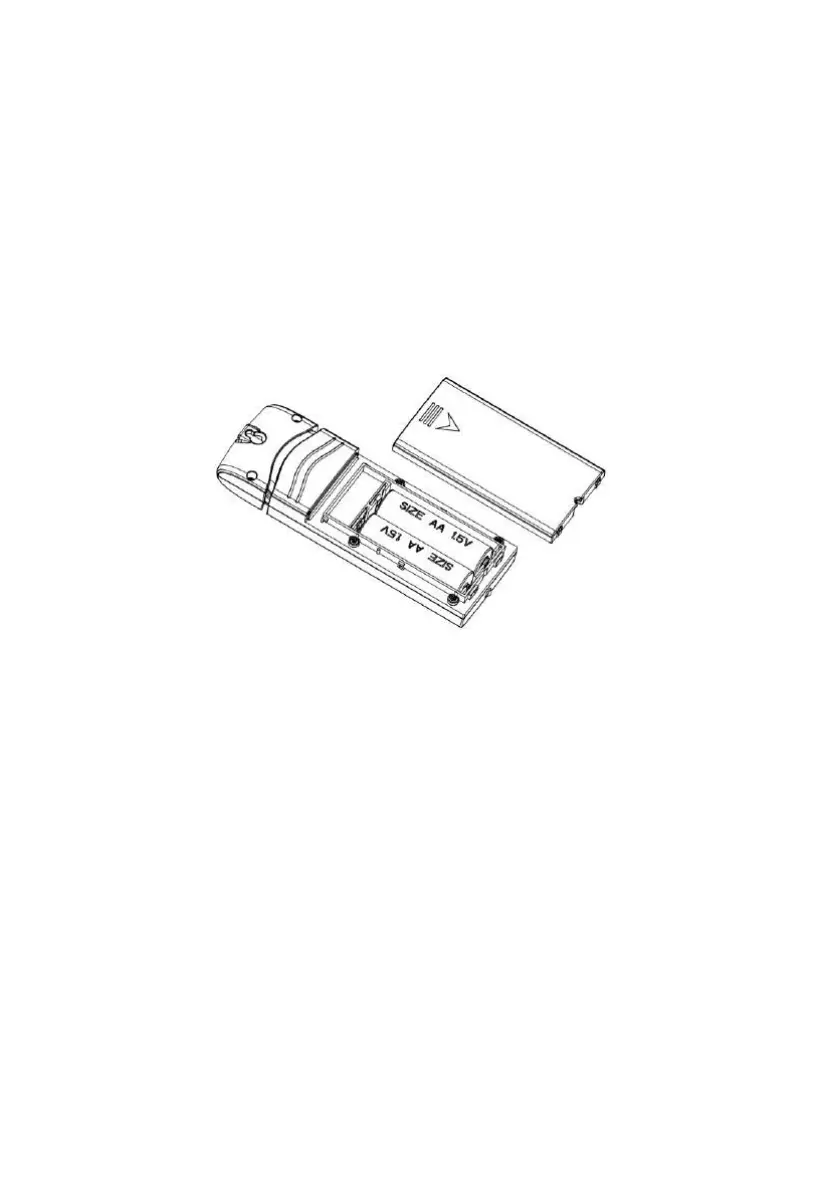
Note: To avoid permanent damage, please take note of the battery polarity
before inserting the batteries. Looking at Figure 12 from left to right
the left-most (or bottom) battery is to be installed with its + terminal
pointing down, and the other battery with its + terminal pointing up.
Remove the battery door on the back of the sensor by sliding it in the direction
of the arrow. Insert two AA batteries as described and put compartment door
back and slide it in the opposite direction to lock.
Figure 12: Indoor sensor battery installation
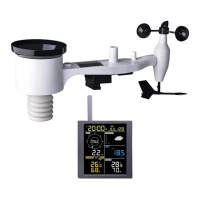
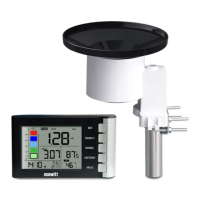
4.2.1 Sensor Placement
The best mounting location for the indoor sensor is in a location that never
receives direct sunlight, not even through windows. Also, do not install in a
location where a nearby radiant heat source (radiator, heaters, etc.) will affect
it. Direct sunlight and radiant heat sources will result in inaccurate
temperature readings.
The sensor is meant to provide indoor conditions for display on the console,
but if you would rather have a second source for outdoor conditions instead,
you can mount this unit outside. The unit is weatherproof, but besides heeding
the placement instructions above, you should also attempt to mount the unit
under cover (eve or awning or similar).
To mount or hang the unit on a wall or wood beam: