– 7 –
Figures
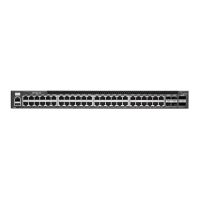
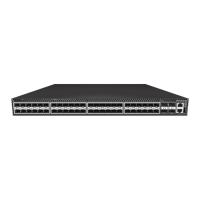
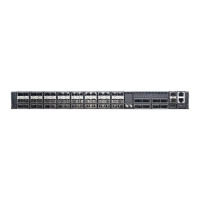
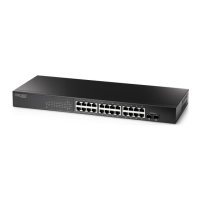
Figure 1: Front Panel with QSFP+ Expansion Modules 10
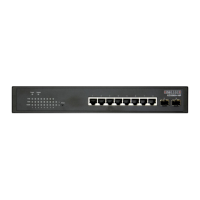
Figure 2: Rear Panel 11
Figure 3: Cloud Data Center Deployment 13
Figure 4: Converged Ethernet Data Center Deployment 14
Figure 5: F2B Airflow Cooling 14
Figure 6: B2F Airflow Cooling 15
Figure 7: Attaching the Brackets 21
Figure 8: Installing the Switch in a Rack 21
Figure 9: Switch Cooling 22
Figure 10: Fan Tray 23
Figure 11: Replacing a Fan Tray 24
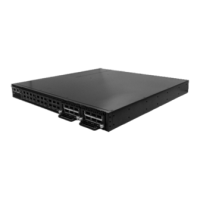
Figure 12: 6-Port 40G QSFP+ Module 25
Figure 13: Installing an Expansion Module 26
Figure 14: AC Power Supply Unit 27
Figure 15: Grounding Terminal 29
Figure 16: AC PSU and Power Connection 30
Figure 17: System and Port Status LEDs 34
Figure 18: PSU Status LED 35
Figure 19: Fan Tray Status LED 36
Figure 20: Console Port 37
Figure 21: Console Port Connection 38
Figure 22: Management Port Connection 39
Figure 23: USB Port 40
Figure 24: RJ-45 Pin Numbers 43
Figure 25: Making Twisted-Pair Connections 45
Figure 26: Inserting a QSFP+ Transceiver 46
Figure 27: Making a Connection to a QSFP+ Port 47
Figure 28: Making DAC Connections 48
 Loading...