14 Section C - Electrical Components
To Check/Replace Relay
1. Disconnect electrical supply to refrigerator.
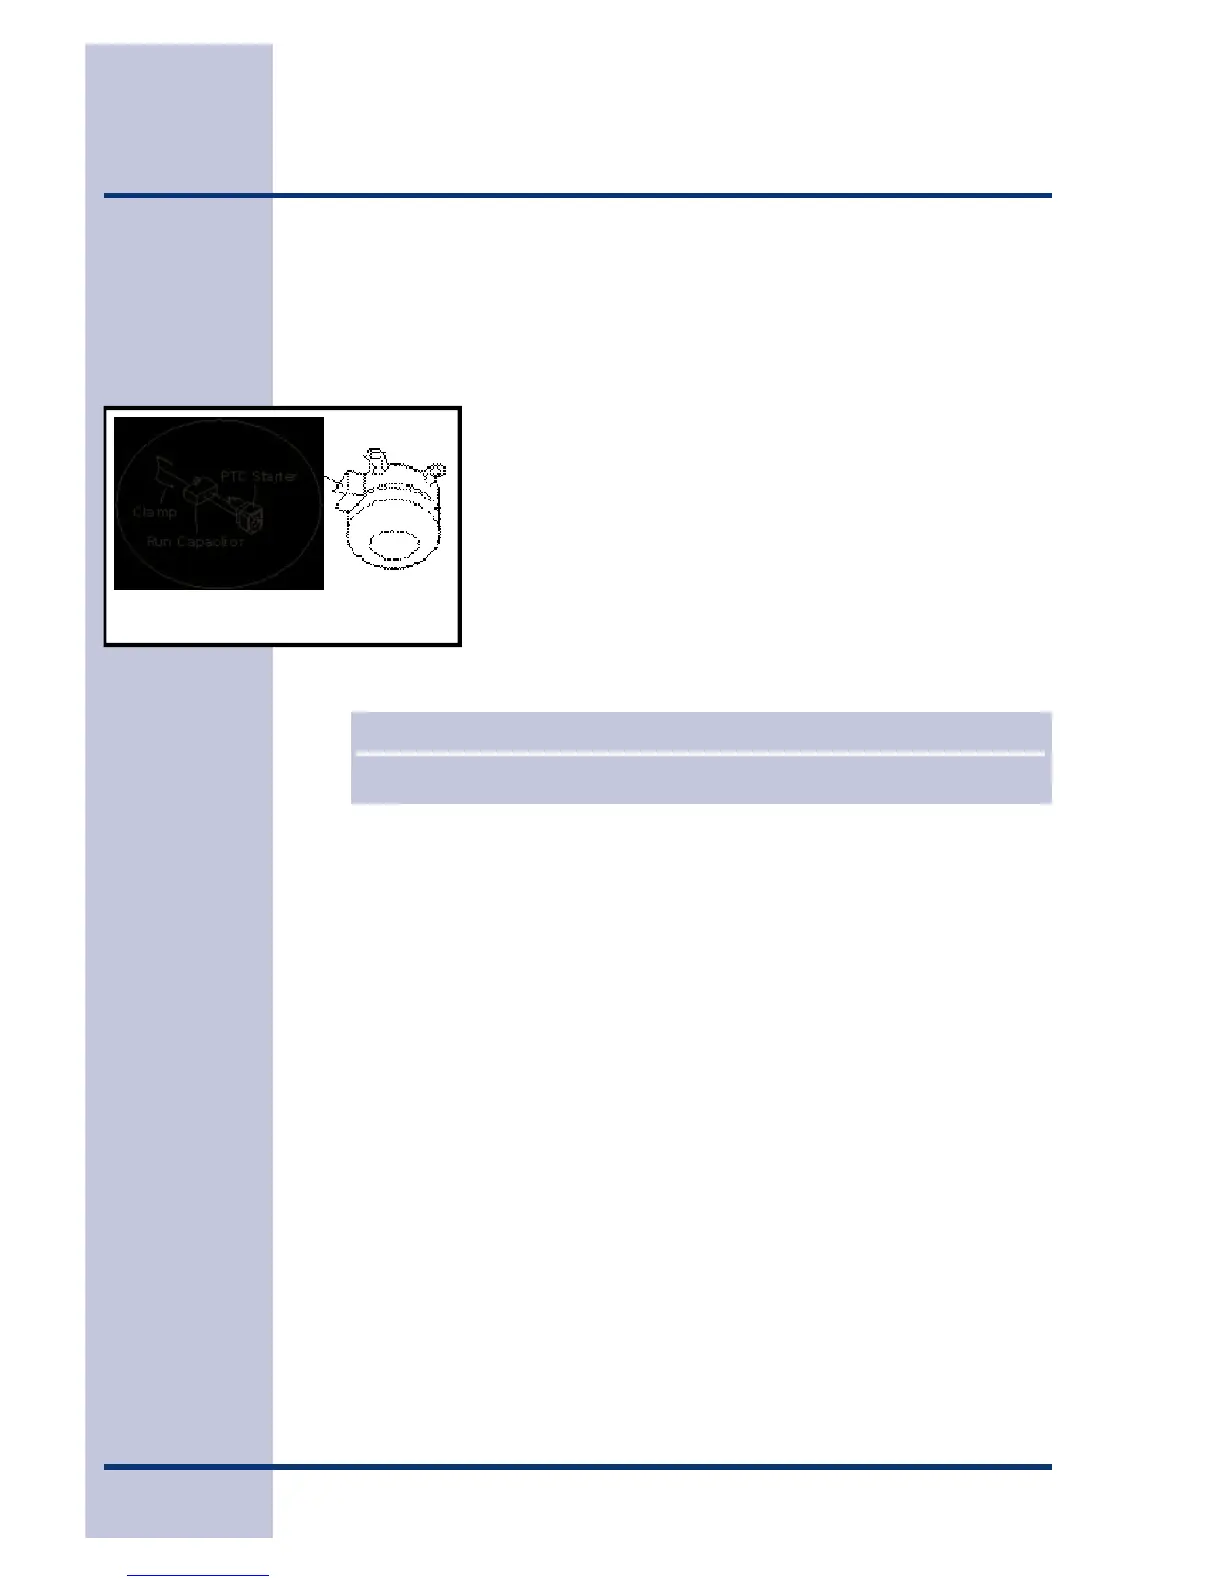
2. Remove bale wire holding relay to compressor.
3. Remove relay assembly from compressor. (See Figure C2.)
4. Use small, flat-bladed screwdriver to disconnect leads to
relay assembly.
5. Use flat headed screwdriver to gently pry capacitor from
relay assembly.
6. Use ohmmeter to check resistance between terminals 5
and 6. Resistance should be 3 to 12 ohms, at normal
room temperature. Shorted relay will read 0 ohms. Open
relay will read very high or infinite resistance.
7. If ohm readings are out of range, replace relay.
8. Reverse this procedure to re-assemble.
Overload Protector
The overload protector is completely thermally operated. It will open from excessive
heat or current. Unlike prior overloads, the internal bi-metal is not self-heating, and
is not a part of the electrical circuit. The overload has a small built-in coil heater that
is in series with the compressor start and run windings. (See Figure C1.)
To Check/Replace The Overload Protector
1. Disconnect electrical supply to refrigerator.
2. Remove bale wire holding relay to compressor.
3. Remove relay assembly from compressor.
4. Use flat headed screwdriver to gently pry capacitor from relay assembly.
Figure C2
NOTE
When replacing leads to the PTC relay, ensure locking tabs snap into terminal.