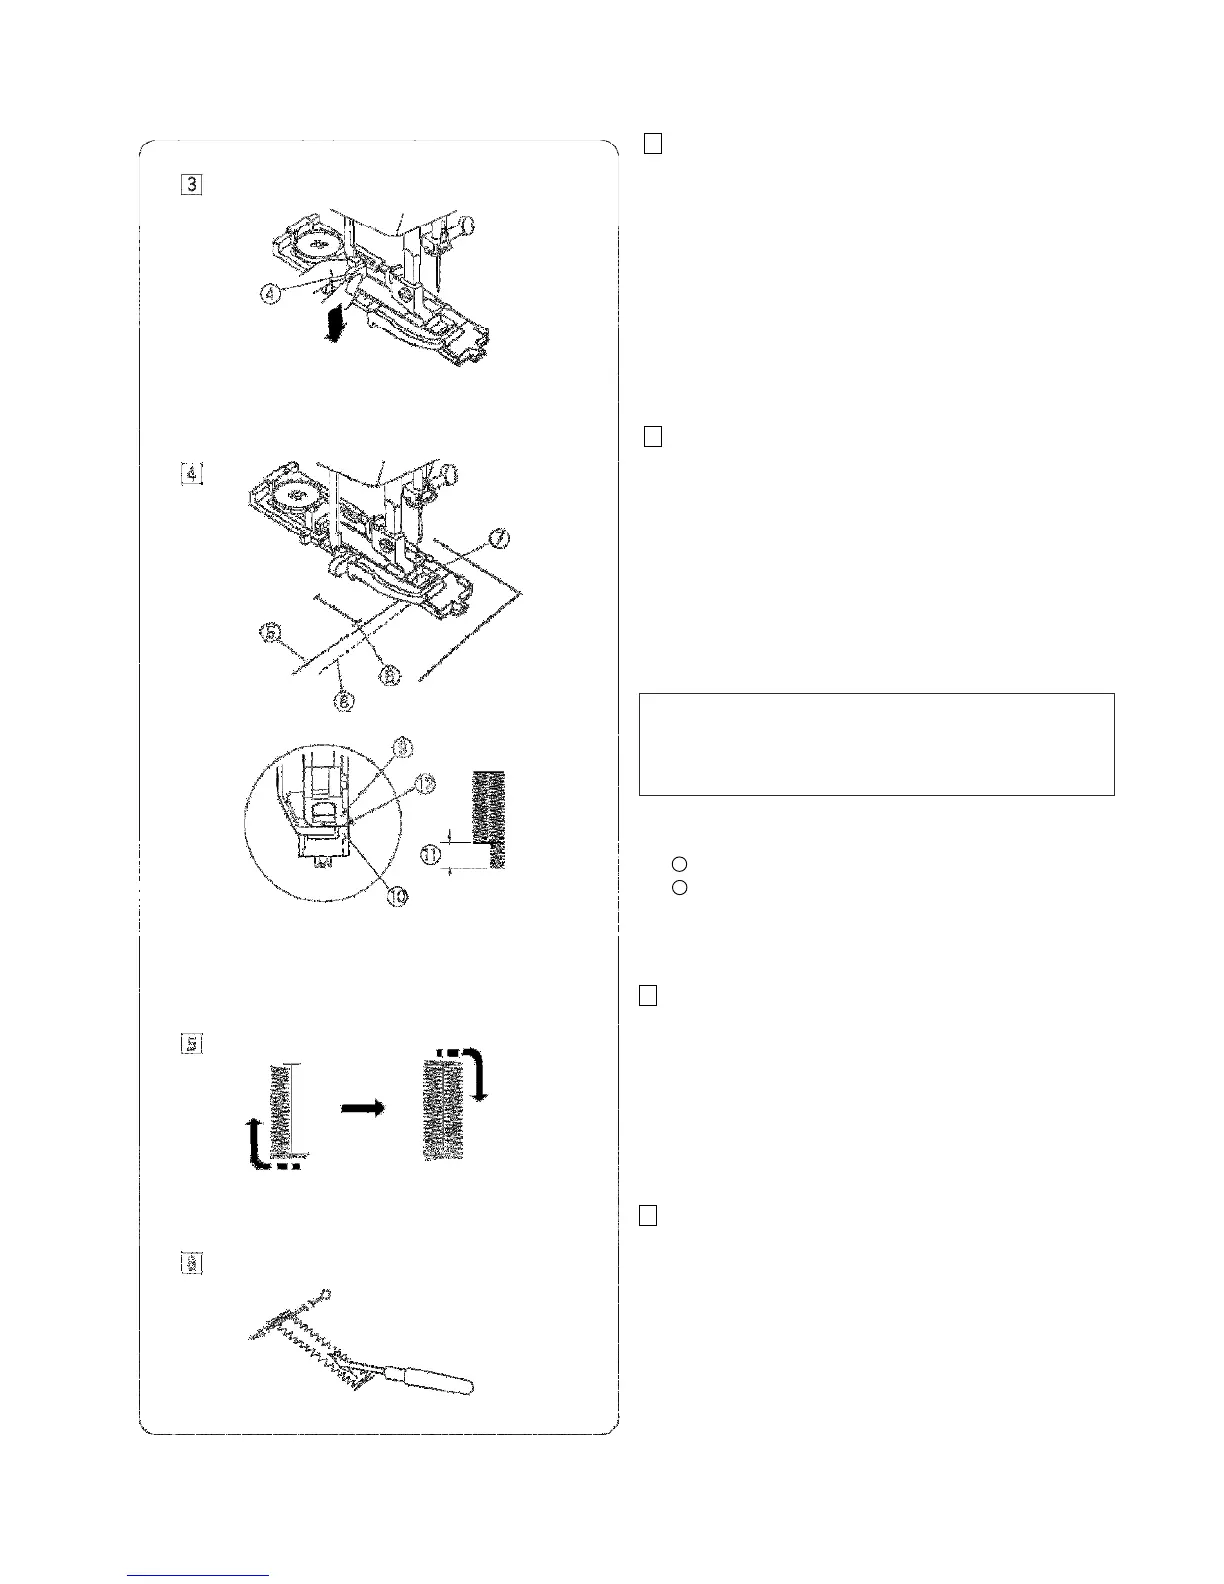
the opening in the foot. Draw both needle and
threads to the left.
Insert the fabric under the foot and lower the needle
into the fabric at the starting point.
Lower the foot.
5
Needle thread
6
Bobbin thread
7
Opening
8
Starting point
NOTE:
Make sure there is no gap between the slider and front
stopper. If there is a gap, the length of the right and left
rows of the buttonhole will differ.
9
Slider
Front stopper
Difference
There should be no gap.
5
is completed.
The machine sews the front bartack and left row
then the back bartack and right row.
6
Cut both needle and bobbin threads leaving about
(10 cm) thread ends.
Draw the needle thread to wrong side of fabric by
pulling the bobbin thread.
Then,
knot
the
threads.
Insert
a
pin
inside
the
bartack.
Then
cut
the
opening
with
seam
ripper.
Take
care
not
to
cut
the
stitches.
11
12


 To Next Page