SmartProg
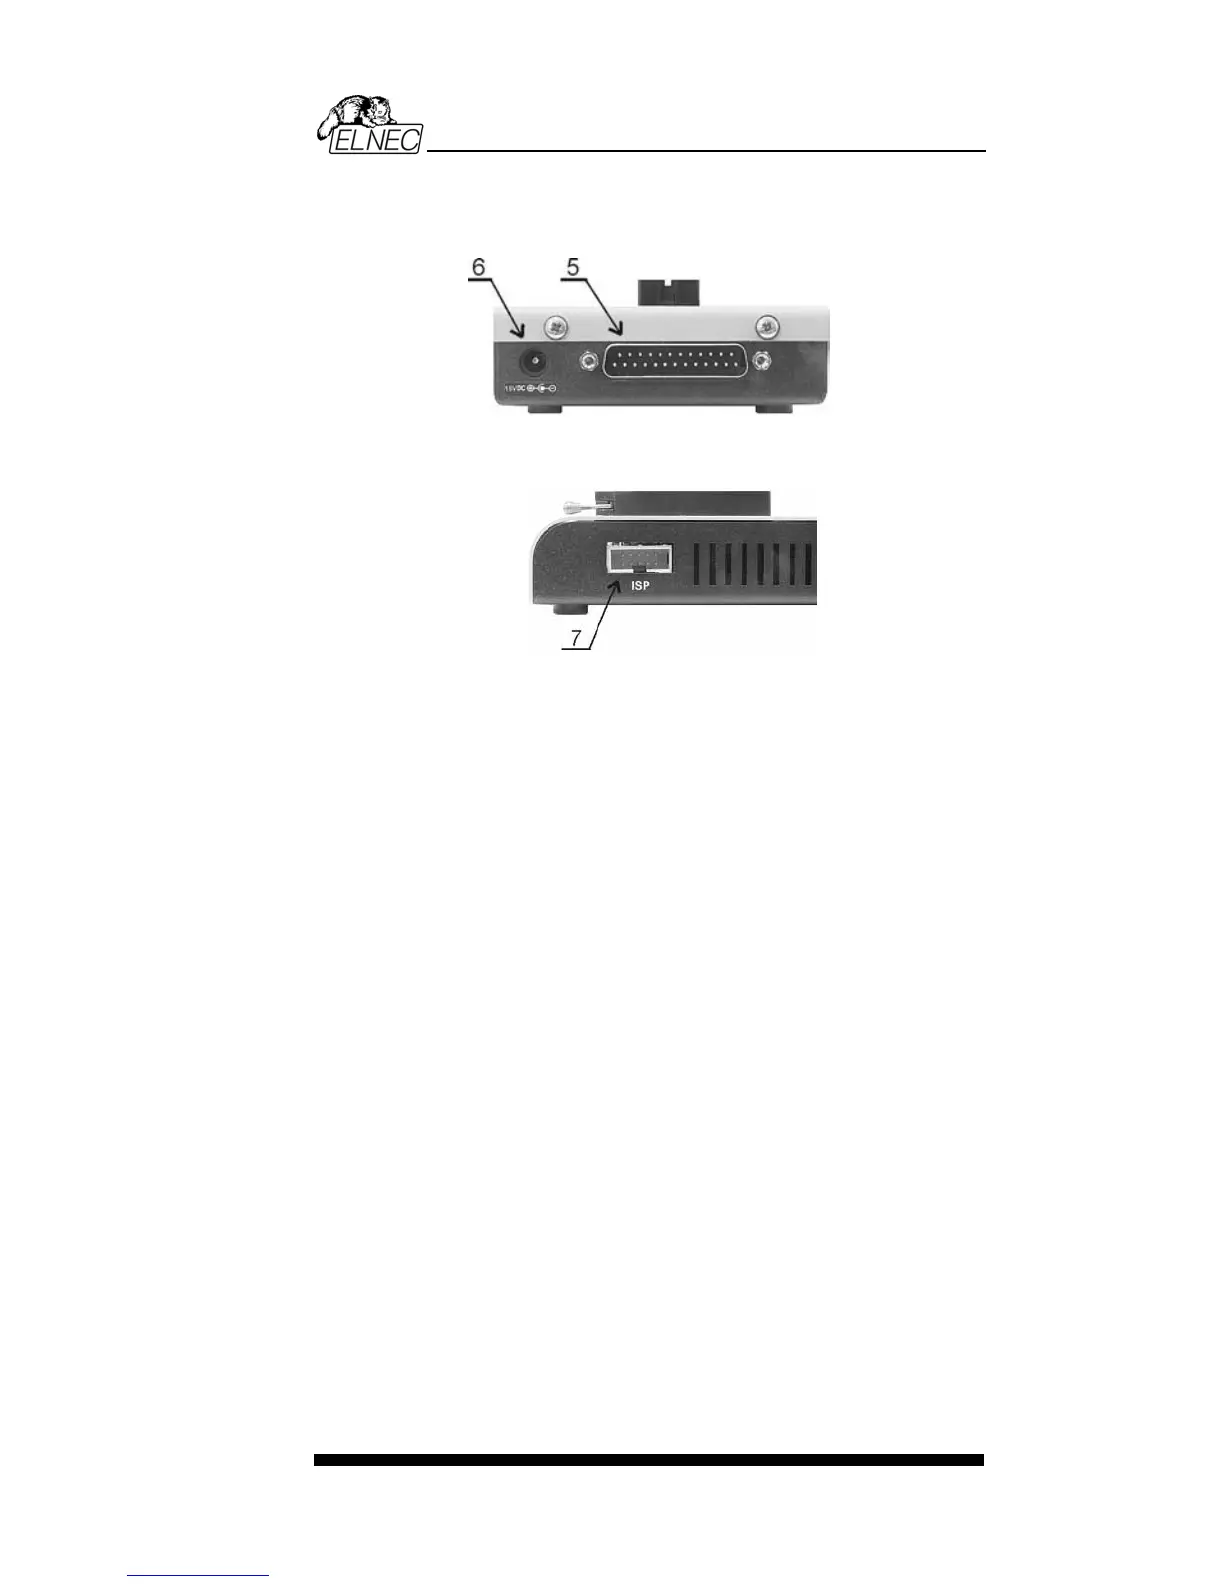
Connector for PC SmartProg communication cable
Power supply connector
7 Connector for ISP
Note: Due to low power consumption of SmartProg in inactive
state, it doesn't require power switch. When the power LED
indicator glows with a low intensity the SmartProg is in inactive
mode.
Connecting SmartProg to PC
Switch off the PC and programmer. Insert the connection
cable, included in the SmartProg programmer delivery, to the
free printer port of PC. If your computer is equipped with only
one printer port, substitute the programmer cable for the printer
cable. Connect the opposite cable end to the programmer.
Screw on both connectors to counter connectors. This is very
important mainly for the connector to programmer. Though
replacing the printer cable by the programmer cable is
uncomfortable, it is not recommended to operate the
SmartProg programmer through a mechanical printer switch.
Use of an electronic printer switch isn't possible.
Connect the mains connector of the power supply (or wall-plug
power supply self) to a mains plug, connect the connector to
the programmer's connector labeled 15VDC. At this time all
'work result' LEDs (and 'POWER' LED) light up successive and
then switch off. Once the POWER LED lights with low
brightness then the SmartProg is ready to run.
Next switch on the PC and run the control program.
Caution! If you don't want to switch off your PC when
connecting the SmartProg, proceed as follows:
53