SBC session border controllers 25
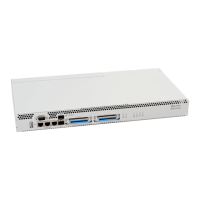
Startup procedure
1. Connect optical and electrical Ethernet cables to corresponding connectors.
2. Connect the power supply cable to the device. To connect the device to DC power supply, use the cable
with cross-section not less than 1mm
2
.
3. If a PC is supposed to be connected to the SBC console port, connect the SBC console port to a PC COM
port. PC should be powered off and grounded at the same point with SBC.
4. Ensure that all cables are undamaged and securely connected.
5. Turn the device on and check the front panel LEDs to make sure the terminal is in normal operating con-
ditions.
Support brackets mounting
The delivery package includes support brackets for rack installation and mounting screws to fix the device
case on the brackets.
Figure 10 — Mounting brackets for SBC-1000 (left) and SBC-2000 (right)
Figure 11 — Mounting brackets for SBC-3000
To install the support brackets:
1. Align four mounting holes in the support bracket with the corresponding holes in the side panel of the
device, see Figures 10 and 11.
2. Use a screwdriver to screw the support bracket to the case.
Repeat steps 1 and 2 for the second support bracket.
 Loading...