36
Install - Step 7 continued
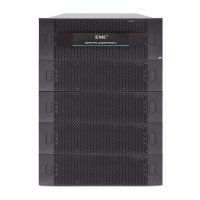
Power up and cable optional DAEs
Setting the enclosure addresses
2. On each remaining DAE in your system, change the enclosure address from 0 to
the desired value. Use a tool such as a pen, paper clip, or small screwdriver to
press the selection button; each button press increments the value. Valid enclosure
addresses are 1-7.
You can set the EA on either link control card (LCC) in the DAE. The second LCC will automatically
change to the new value.
The following figure shows valid EA assignments for a fully configured CX4-120
storage system.
!!
!!
!
EXP PRI
EXPPRI
#
!
EXP PRI
EXPPRI
#
A
B
0
1
2
3
4
5
6
7
0
1
2
3
4
5
6
7
Bus ID
Enclosure
Address
#
EA Selection
(Press here to
change EA)
EMC3210

 Loading...