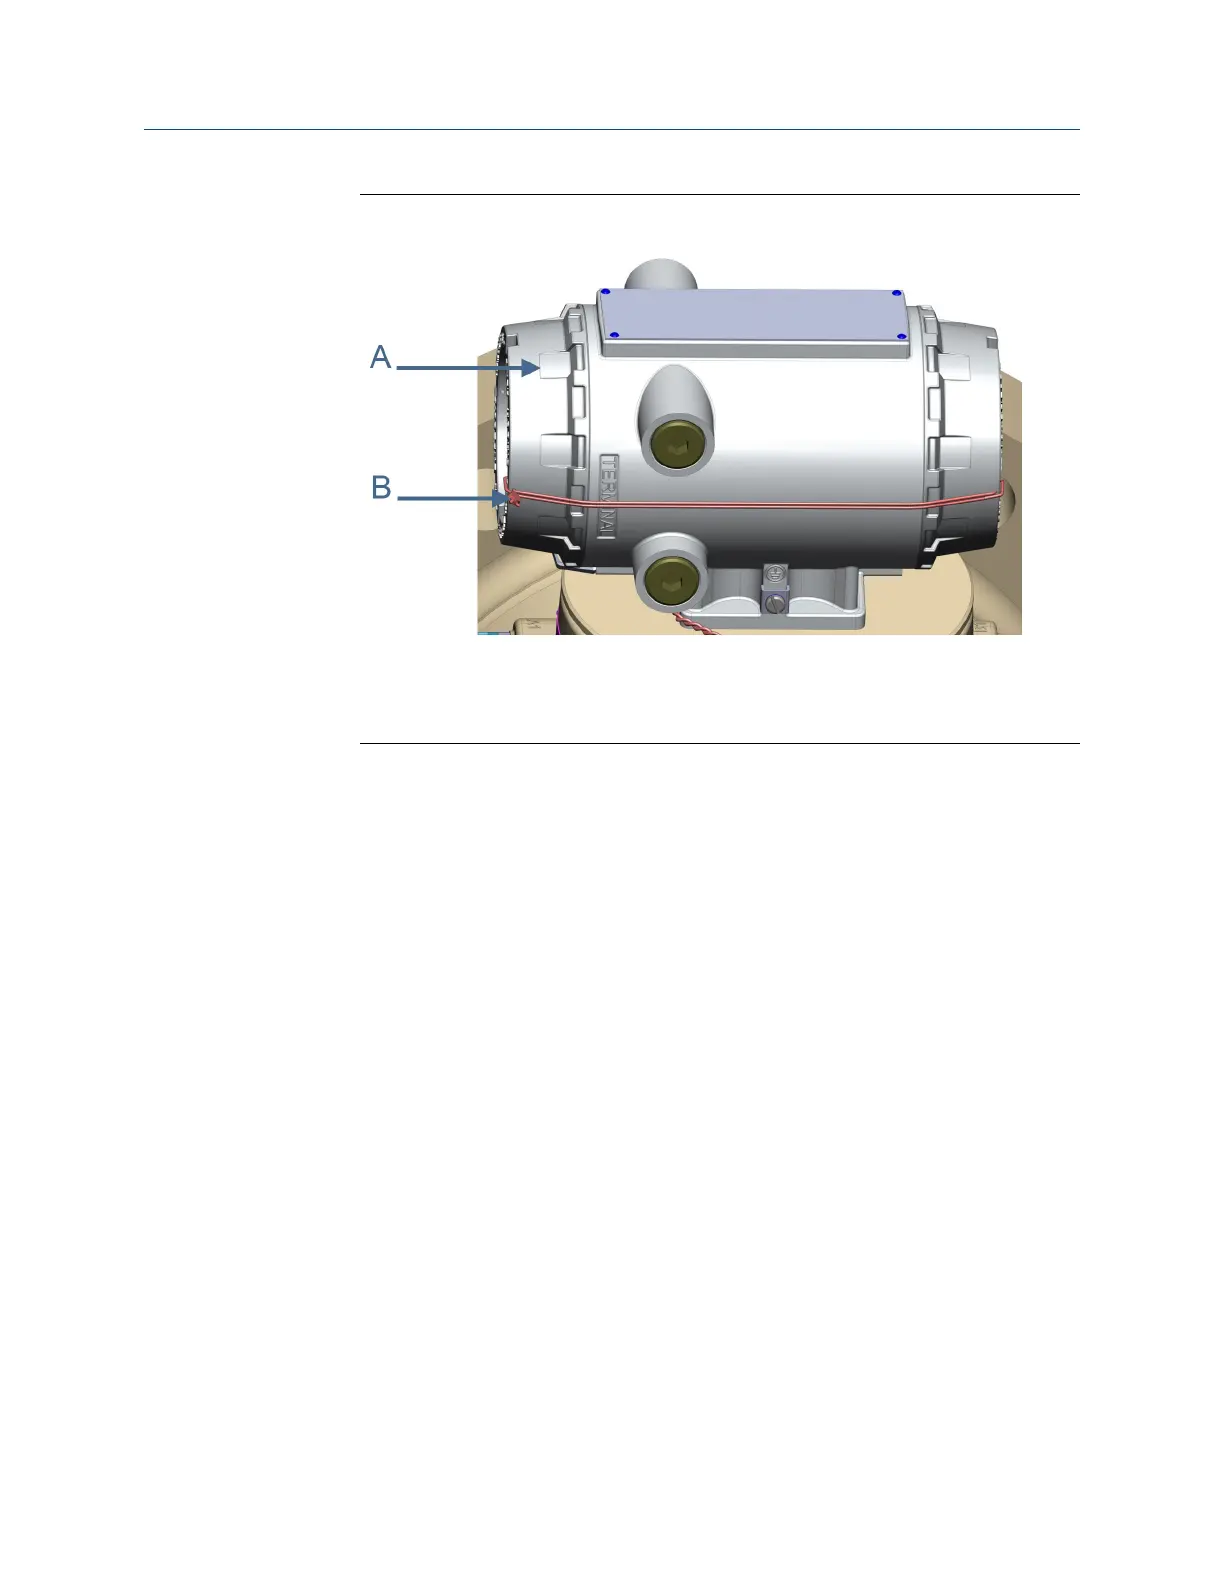
Transmitter electronic enclosure security sealsFigure 3-19:
A. Transmitter Electronics Enclosure end cap
B. Security wire seals
8. Adjust the security wire, removing all slack and thread into the lead seal.
9. Cut wire ends to remove excess wire.
10. If replacing other electronics or the fuse, continue with Section 3.6.2, Section 3.6.3
and Section 3.7 before replacing the end caps and sealing the enclosure.
11. If you encounter problems replacing the electronics, see the Lifecycle Customer
Service contact information on the back cover of this manual.
This completes the CPU Module or I/O Module replacement procedure.
3.6.2
Replace the Fuse
1. Remove power to the meter.
2. Disconnect the Transmitter Electronics Enclosure security seals (see Figure 3-13),
loosen the end cap security latch (requires a 3 mm Allen wrench) on the terminal
end of the enclosure (see Figure 3-16) and remove the end cap.
3. Use a 1/4 inch standard flat head screw driver and remove the Fuse Holder cap (see
Figure 3-17).
4. Insert the replacement fuse (Littlefuse #218002.HXP) into the Fuse Holder.
5. Install the fuse cap into the holder and push until it is flush with the holder.
6. Turn the fuse cap clockwise 1/8 turn using a 1/4 inch standard flat head screw driver.
7. If replacing other electronics, continue with Section 3.6.3, and Section 3.7 before
replacing the end caps and sealing the enclosure.
Meter repairs
72 Gas Ultrasonic Flow Meters

 Loading...


