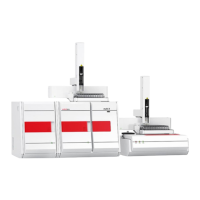
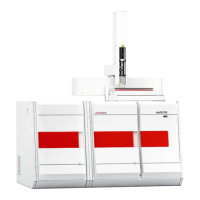
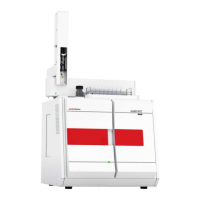
SPECORD PLUS Design and function
11
Figure2 Connections and display elements on the right side of the device
1 Status lamps 2 Mains switch
3 Connection for Peltier-controlled acces-
sories (ACC1)
4 Connection for a second Peltier-con-
trolled accessory and the autosampler
(ACC2)
5 USB-B PC connection 6 RS232 PC connection
7 Socket for mains connection and fuse
holder
Figure3 Lamp housing and type plate on the rear of the device
1 Type plate
2 Service flap for lamp and desiccant cartridge replacement
Figure4 Information on the type plate
1 Device type 2 Electrical connection data
3 Fuse type 4 Serial number
5 Do not dispose of device as household
waste
6 CE marking
7 Manufacturer address

 Loading...