Operating Instructions SS2100i-2 TDLAS Gas Analyzer
44 Endress+Hauser
6.5.2 Determining the type of cell mirror
Measurement cells will come equipped with either a glass or stainless steel mirror. Before determining whether to
clean or replace the mirror, identify the type of measurement cell being used in the analyzer. There are four types of
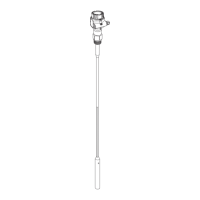
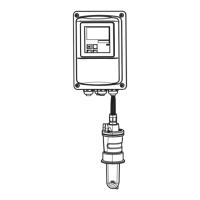
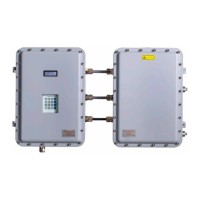
measurement cells; 0.1 m, 0.8 m, 8 m and 28 m. Refer to the figure below.
Fig 26. Measurement cell types, left to right: 0.1 m cell, 0.8 m cell, 8m or 28 m cell
Stainless steel mirrors are used with 0.1 m and 0.8 m measurement cells only. They have been identified with either
an “X” engraved on the outside bottom of the mirror or a groove around the rim of the mirror. Glass mirrors can be
used on any size cell.
To determine the type of mirror being used for the system cell, feel at the bottom of the cell for the engraved “X”
marking or the side of the mirror for a groove as in the images below.
• If the bottom surface is smooth, a glass mirror is being used.
• If the bottom surface is rough or engraved, or a groove on the side of the mirror is detected, a stainless steel
mirror is being used.
Figs 27 and 28. Stainless steel mirror marking: mirror with engraved X (left), mirror with grooved rim (right)
Only the stainless steel mirror can be replaced. A glass mirror cannot be replaced.
A stainless mirror may only be replaced with a stainless steel mirror.
Do not attempt to replace a glass mirror with a stainless steel mirror. System calibration may be adversely
affected.
 Loading...

