EOS Vision - Installation and Operating Instructions EN-41
Service and maintenance
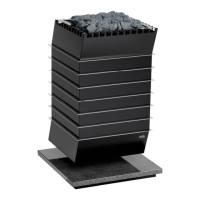
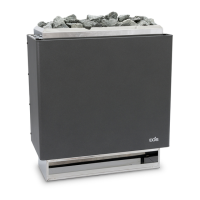
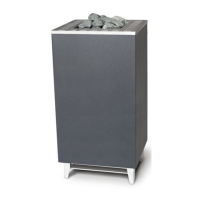
6.3 Replacing the tubular heating elements
You can replace individual tubular heating elements or the entire heating
coil.
If the heater is too close to the wall, it may be necessary to move it so that
you can access the rear side. To move the heater more easily, remove
stones.
Necessary steps:
Removing the heating coil, EN-41
Replacing the tubular heating elements, EN-44
Inserting the heating coil, EN-45
Hardware and tools:
Tubular heating element or heating coil
Screwdriver
Ring or socket spanner
CAUTION
Risk of injury from sharp edges
Use suitable personal protective equipment (e.g. gloves) when
cleaning parts with sharp edges.
Removing the heating coil
1 WARNING! Electric shock may occur if the heating coil is serviced while
the heater is connected to the power supply.
Ensure that the heater has been disconnected from all power supply
lines.
a) Switch off the heater.
b) Switch off the fuses to disconnect the heater from the mains supply.
2 CAUTION! Allow the heater to cool sufficiently before starting work.
Remove the stones.
3 NOTICE Cover the floor in front of the heater to prevent damage to the
floor.
Move the heater only by the base plate. Do not lift the heater.
If necessary, pull the heater away from the wall if the rear of the heater
cannot be reached.