48
REV. 09/2020
49
REV. 09/2020
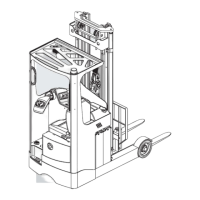
STEERING SYSTEM STEERING SYSTEM
5 5
Quality of tyres directly aects the stability and
driving performance of the device.
If you need to replace the factory-fitted tyres,
please use original spare parts provided by the
equipment manufacturer to reach the original
design performance of the truck.
CAUTION
- Turn the wheel to see if it is rotating smoothly,
and if there is blocking or not;
- Run the truck to see if the steering wheel is
functioning properly. If there is blocking or
noise, please check if the wheel bearings are
functioning properly.
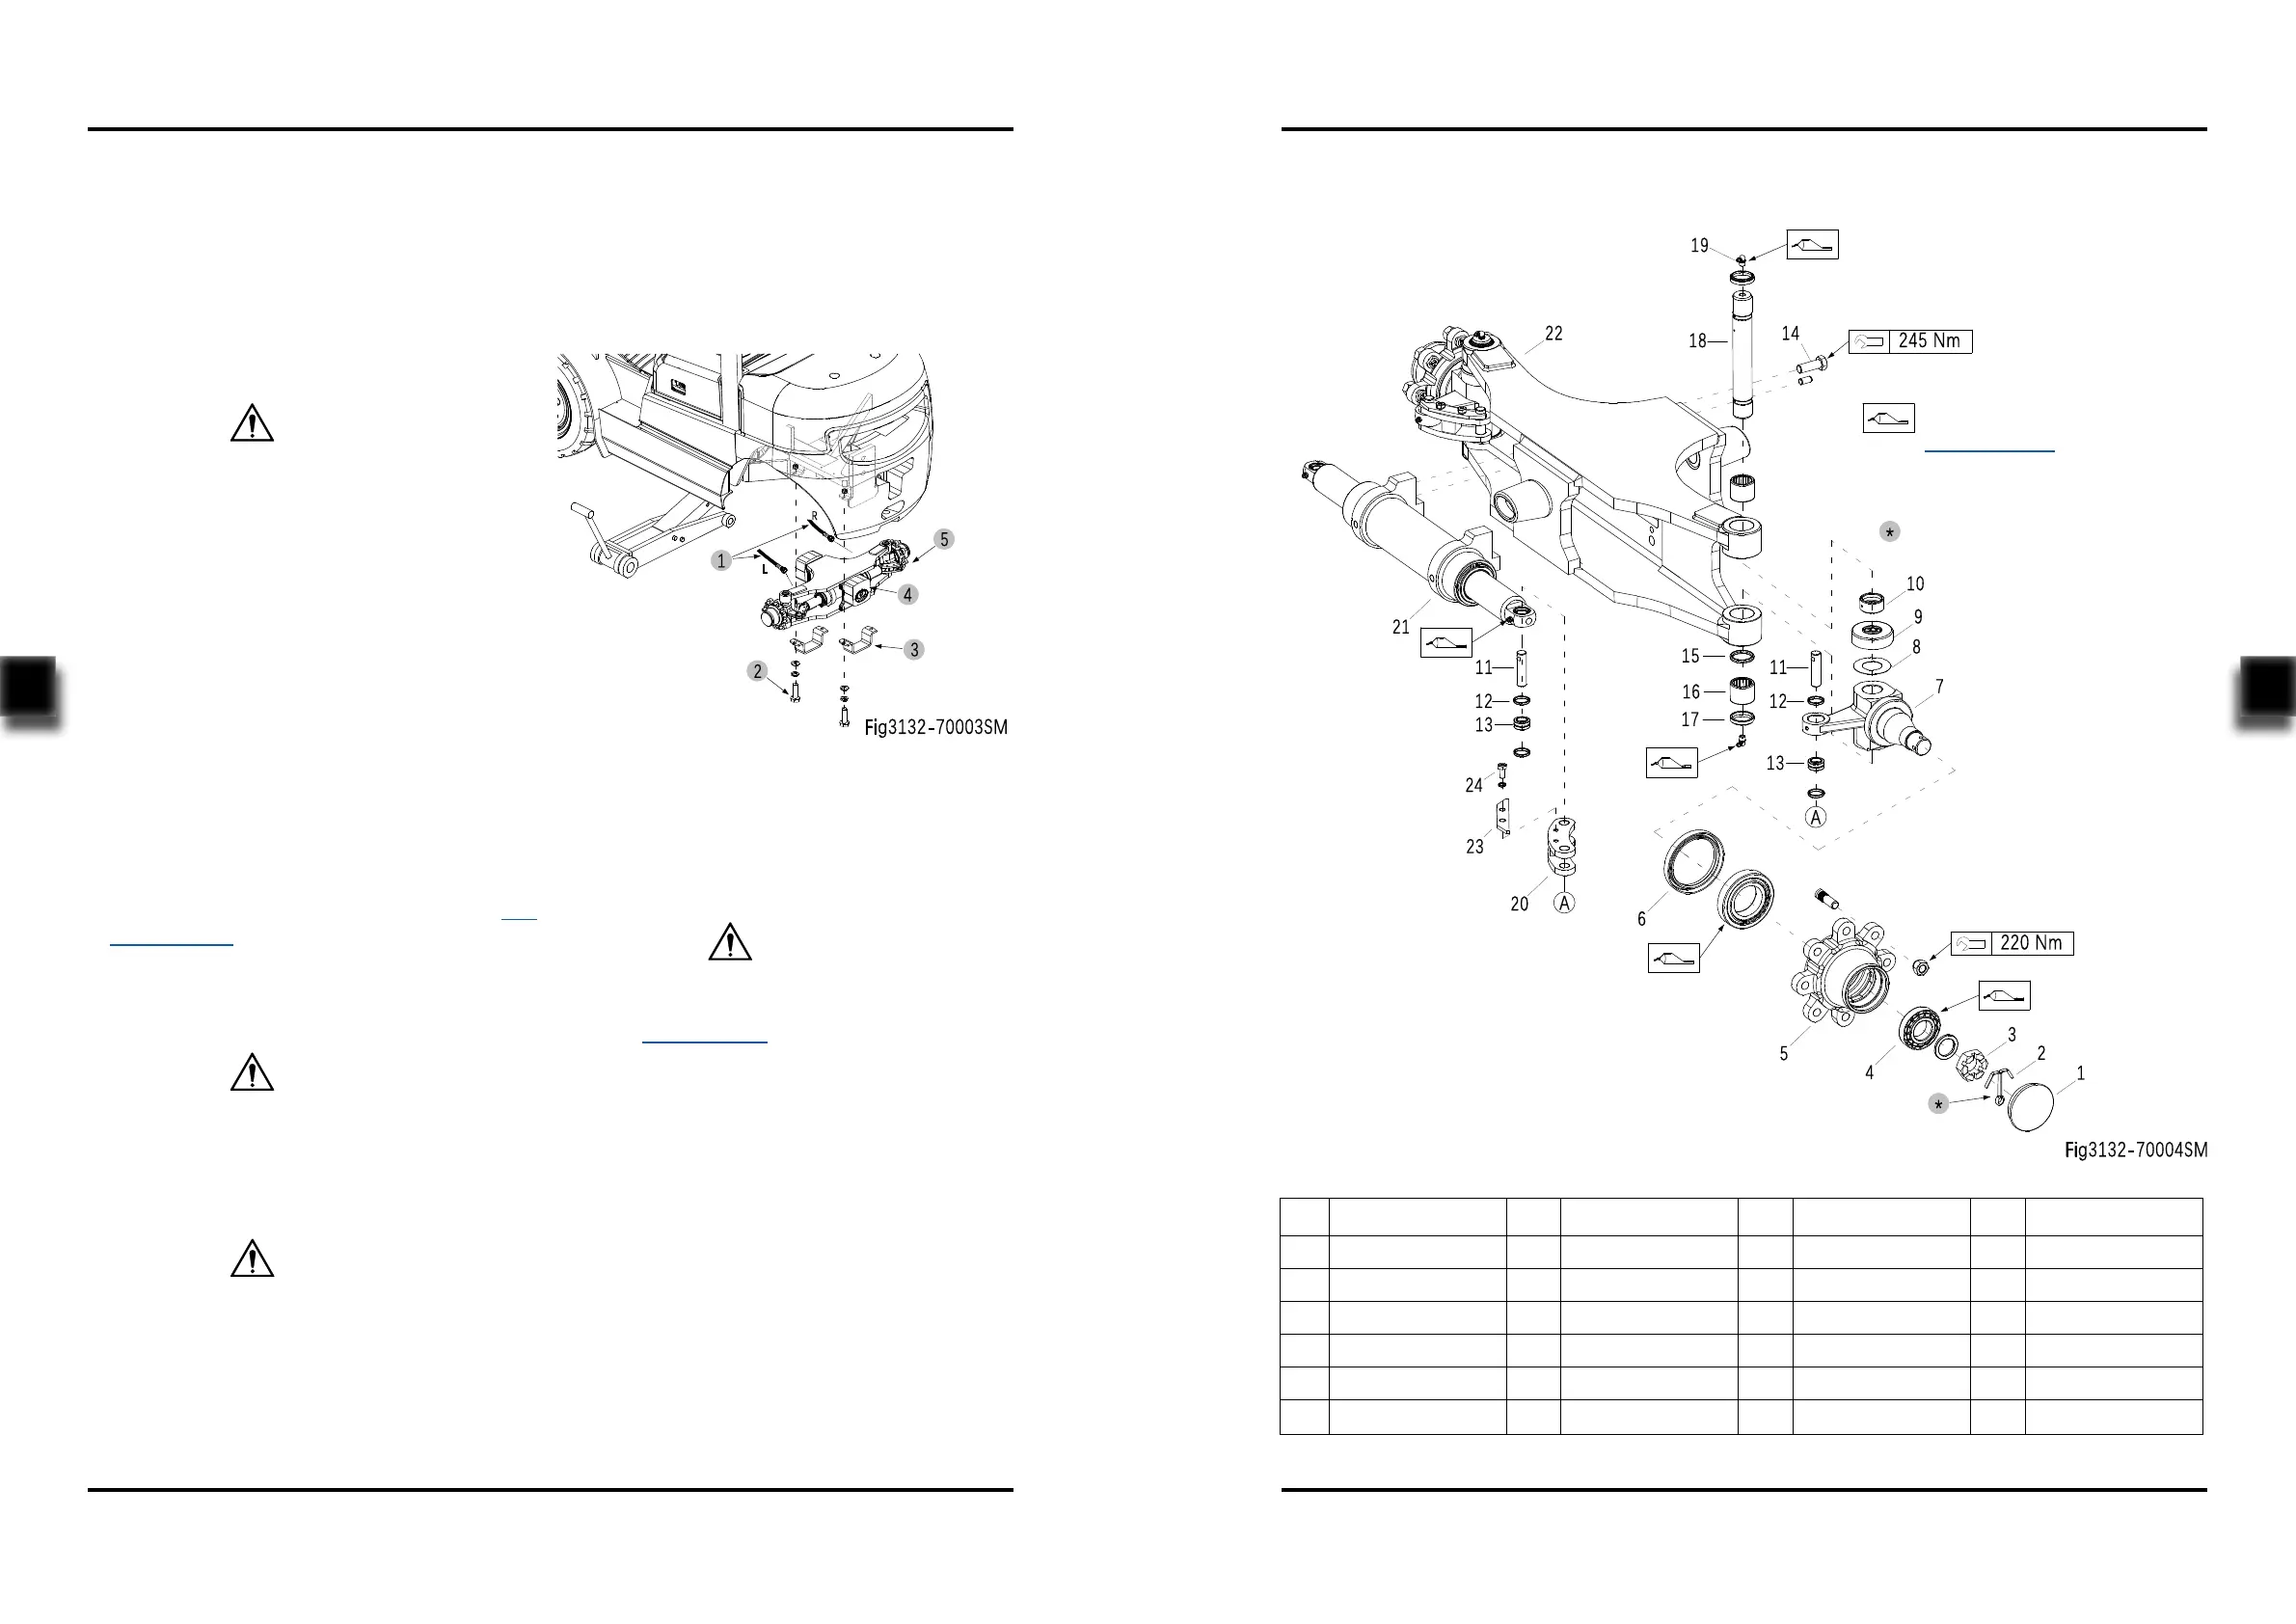
5.2 Steering Bridge
5.2.1 Removal and Installation
Removal
Installation
- Install according to the reverse order of rem-
oval.
- Turn o the truck power and remove the key;
- Dismantle the rear steering wheels; (see
Section 5.1.1)
- Remove the two tubings (1) from the steering
bridge;
- Unscrew the four bolts (2) and remove the x
plate (3), then dismantle the steering bridge
(5) from the chassis;
- Remove the two damping pads (4) from the
steering bridge (5).
When removing the tubing and steering bridge,
the system will lose some hydraulic oil, please
refer to Section 2.2.3 for supplementary adding
of hydraulic oil.
CAUTION
Before going on with the next step, please
fix the steering bridge properly first. Be sure
to avoid the falling of steering bridge during
removal, resulting in personal injury.
CAUTION
Hydraulic oil may damage truck parts and cont-
aminate the environment. When removing joints
or tubings, place a clean container under it for
discharge of hydraulic oil.
CAUTION
Please add grease (see
Section 2.2.3 for specica-
tion ).
5.2.2 Component
Be sure to bend a cotter pin.
No. Name No. Name No. Name No. Name
1 Hub Cover 7 Steering Knuckle 13 Bearing 19 Oil Cup
2 Cotter Pin 8 Gasket 14 Bolt 20 Connect Rod
3 Nut 9 Bearing 15 O-ring 21
Steering Cylinder
4 Bearing 10 Sleeve 16 Bearing 22 Axle Body
5 Hub 11 Pin 17 Scraper Seal 23 Space Plate
6 Seal 12 Check Ring 18 Master Pin 24 Bolt