a
Make sure you connect a computer to the network.
a
Press the LAN button on the remote control.
The LAN standby screen is projected.
EB******
b
Start EasyMP Network Projection.
• Windows XP, Windows Vista, and Windows 7: Click Start, select
Programs (or All Programs), EPSON Projector, EasyMP Network
Projection, and then click EasyMP Network Projection
Ver.X.XX.
• Windows 8: Select Search on the Charms, and then select EasyMP
Network Projection Ver.X.XX.
• Mac OS X: Double-click EasyMP Network Projection from the
Applications folder.
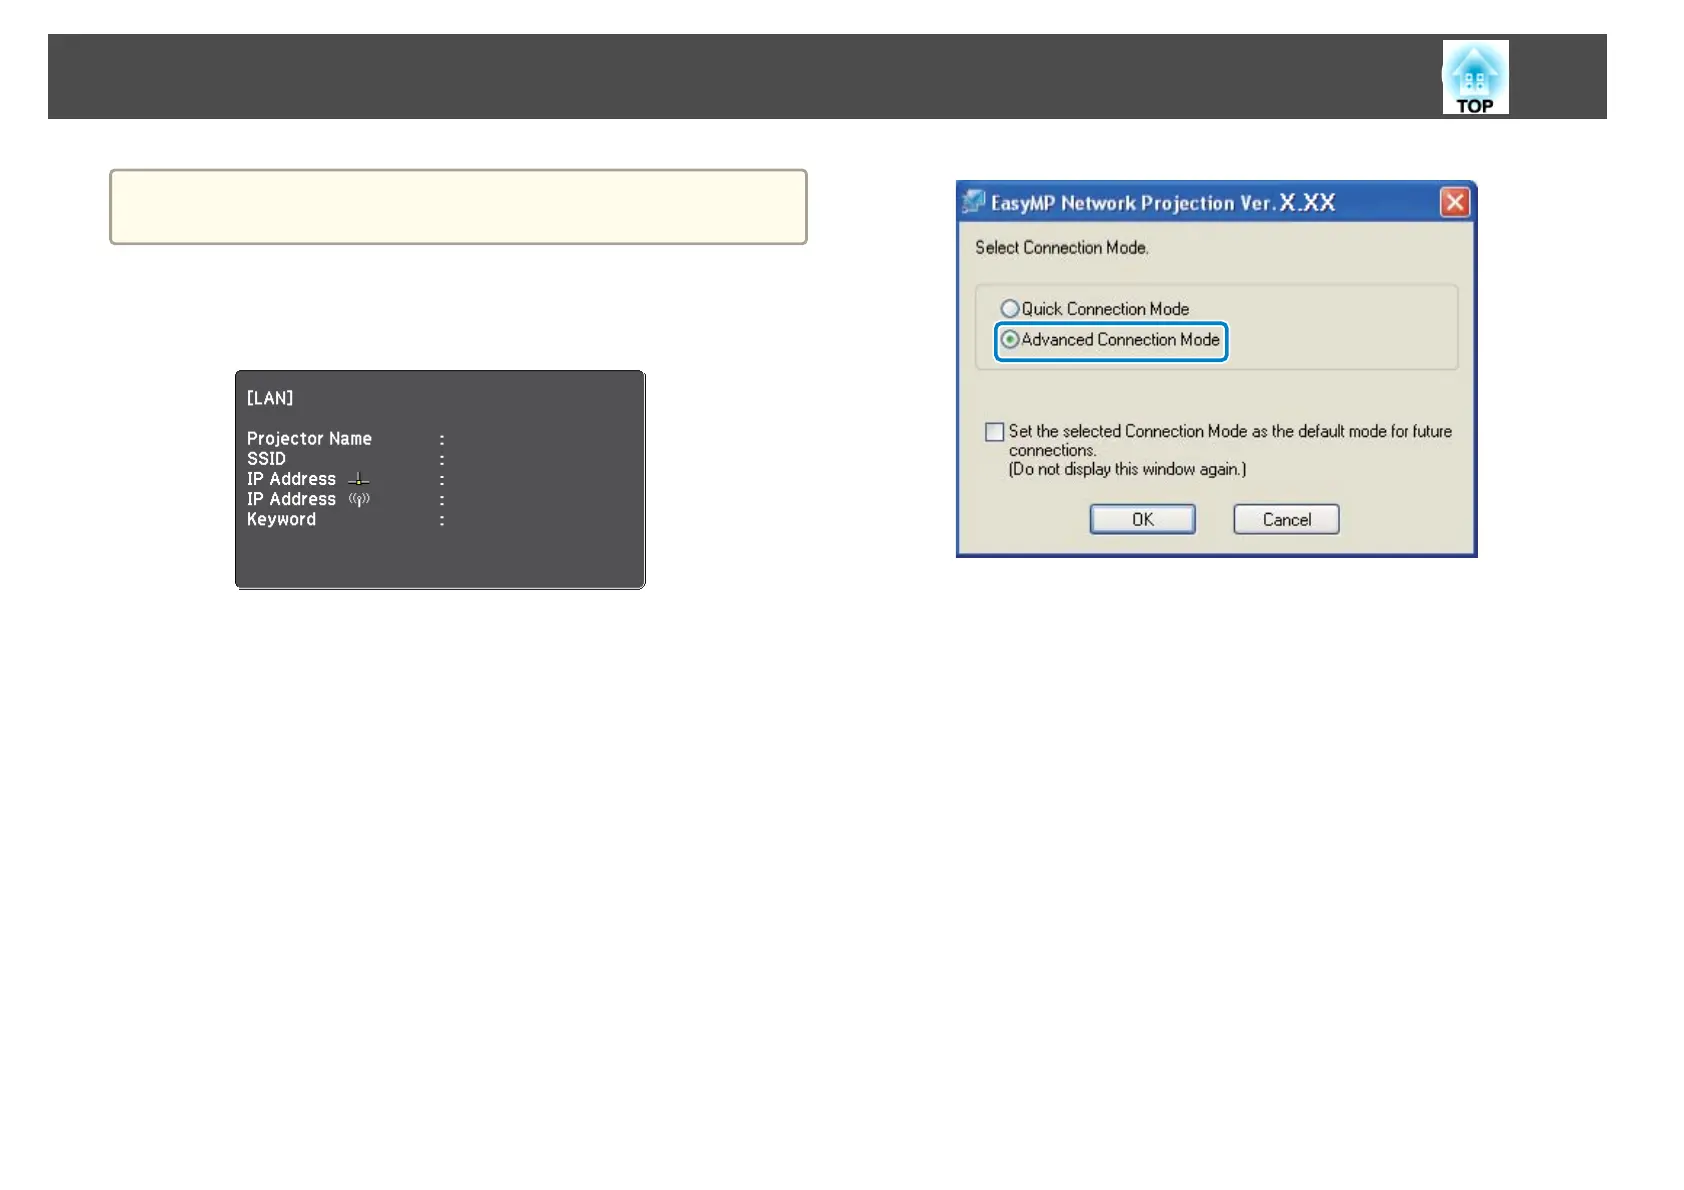
c
Select Advanced Connection Mode, and then click OK.
The projector search results are displayed.
d
If the projector you want to connect to is not displayed in the
search results, search for it using one of the following methods.
• Automatic Search: Searches for the projector automatically.
• Manual Search: Searches for the projector based on a specified IP
address or projector name.
• Profile: Searches for the projector based on a previously saved
profile.
e
Select the projector you want to connect to, and then click
Connect.
When Projector Keyword is set to On from the projector, the
keyword entry screen is displayed.
f
Enter the keyword displayed on the LAN standby screen, and then
click OK.
Connection Methods
22