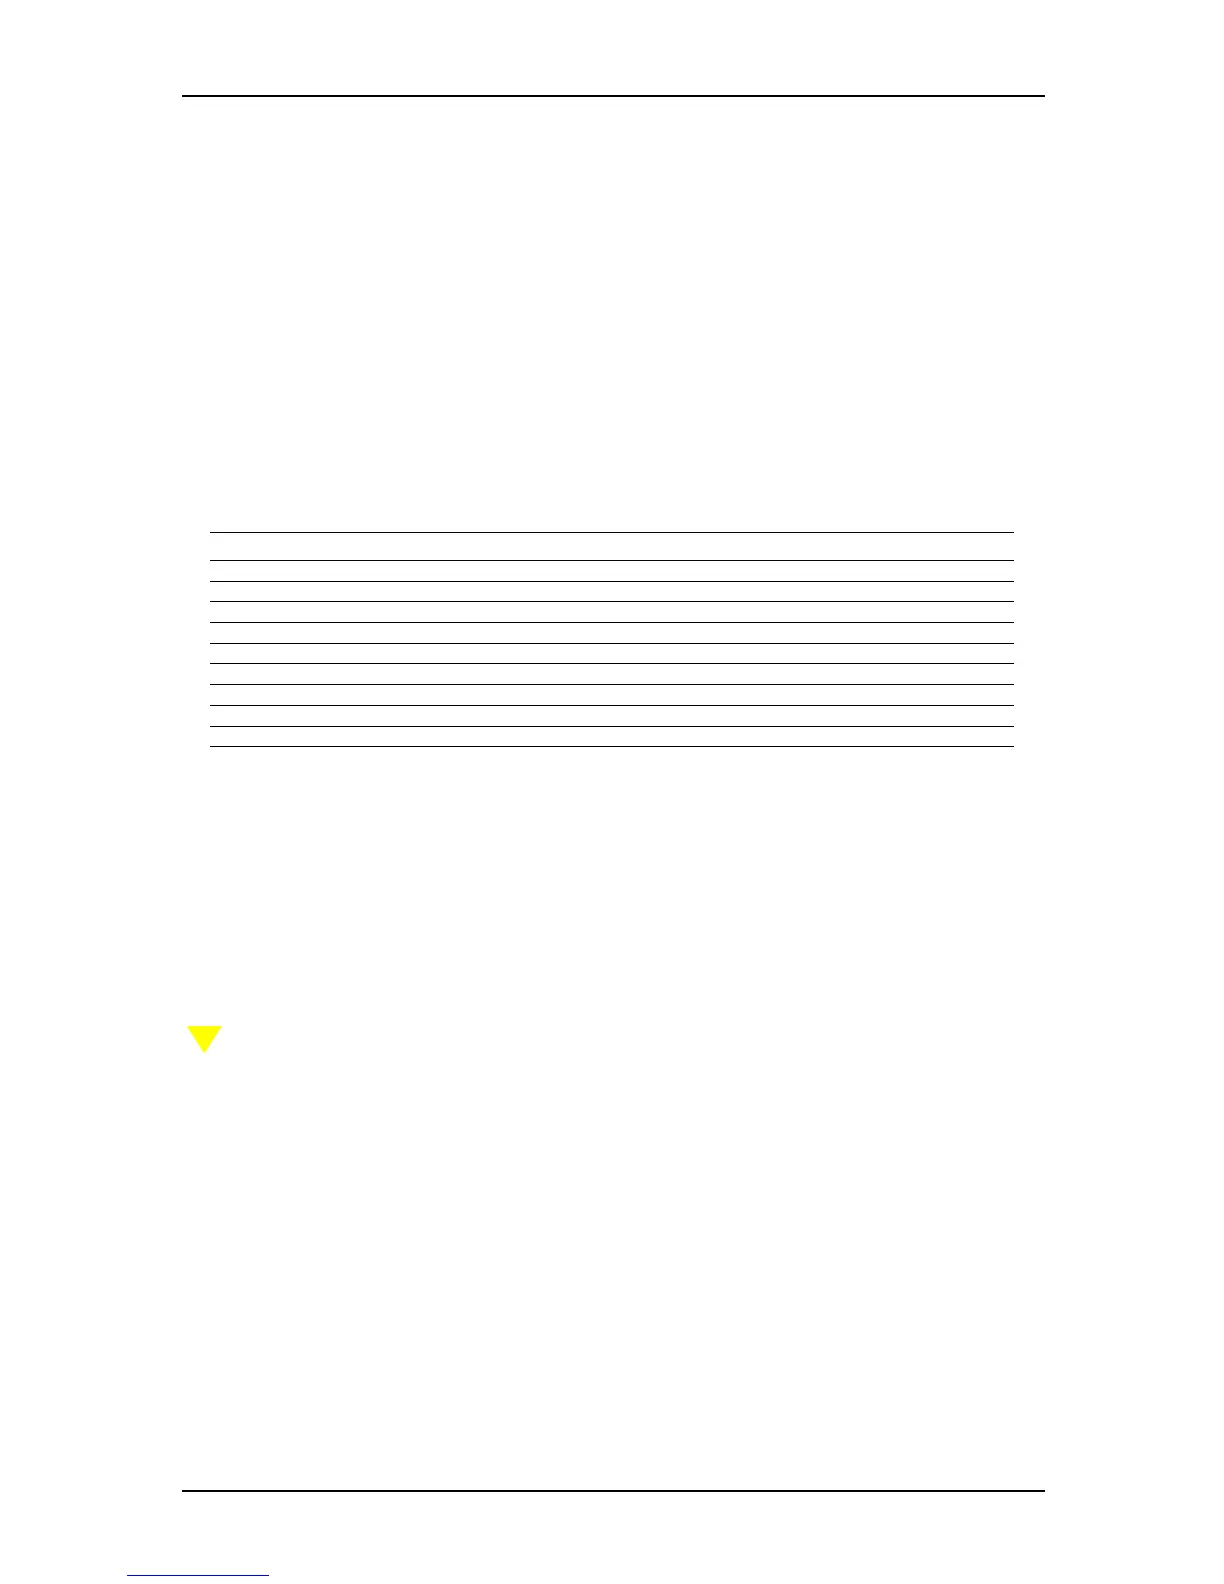
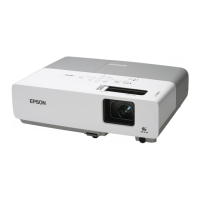
EMP-9000/8000
4-2Revision:A SEIKO EPSON
4.1. Before Starting Troubleshooting Procedures
1. Whenever you replace a unit or block for maintenance purposes, double-check the
replaced unit or block is defective (to determine whether the problem was due to a poor
cable connection).
2. If you find questions you want to check while examining the flowchart, be sure to check
those items during the troubleshooting procedure.
3. Refer to the instructions given in Chapter 3, "Disassembly and Assembly," when replacing a
component unit.
4. Before making a functional check, be sure to check for proper connection.
4.1.1. Tools and Accessories Required for Troubleshooting
The tools and accessories required for troubleshooting (including fault isolation) are listed
below. They need to be prepared by the user.
4.1.2. Field Replacement Parts
The parts that need be replaced during troubleshooting , such as board, cases, plates, and
screws, refer to the parts list listed in an appendix of this manual.
Optical engine (consist from Light guide unit, Optical head unit, Projection lens unit, Prism unit
and Driver board Assembly) is the one maintenance unit. Do not separate any unit from opti-
cal engine.
There are no compatibility with the Main Board Assy Unit and the optical engine for EMP-9000
and 8000, though the outside view of each unit are similarly.
Caution:
This chapter omits “Main board Assy Unit“ with “MA Board“ for space.
Table 4-1
Name Quantity Use/Remarks
Screen 1 To project images
Rule (3 m) 1 To measure the projection distance
Host computer 1 To supply test patterns (PC or compatible)
Color display monitor 1 To manipulate and display on host computer
Video equipment 1 To test video input
(video deck, video camera, etc.)
External speaker unit 1 To test voice output (with audio cable terminals)
Multi-meter 1 To measure resistance and voltage (AC/DC)
Tool set 1 set Tools and accessories listed in Section 3.1