EasyManuals Logo

Epson G3 Series User Manual

Epson G3 Series
200 pages
To Next Page IconTo Next Page
To Previous Page IconTo Previous Page
Page #161 background imageLoading...
Page #161 background image
Maintenance 9. Replacing Arm #1
G3 Rev.14 149
(6)
Put washer on
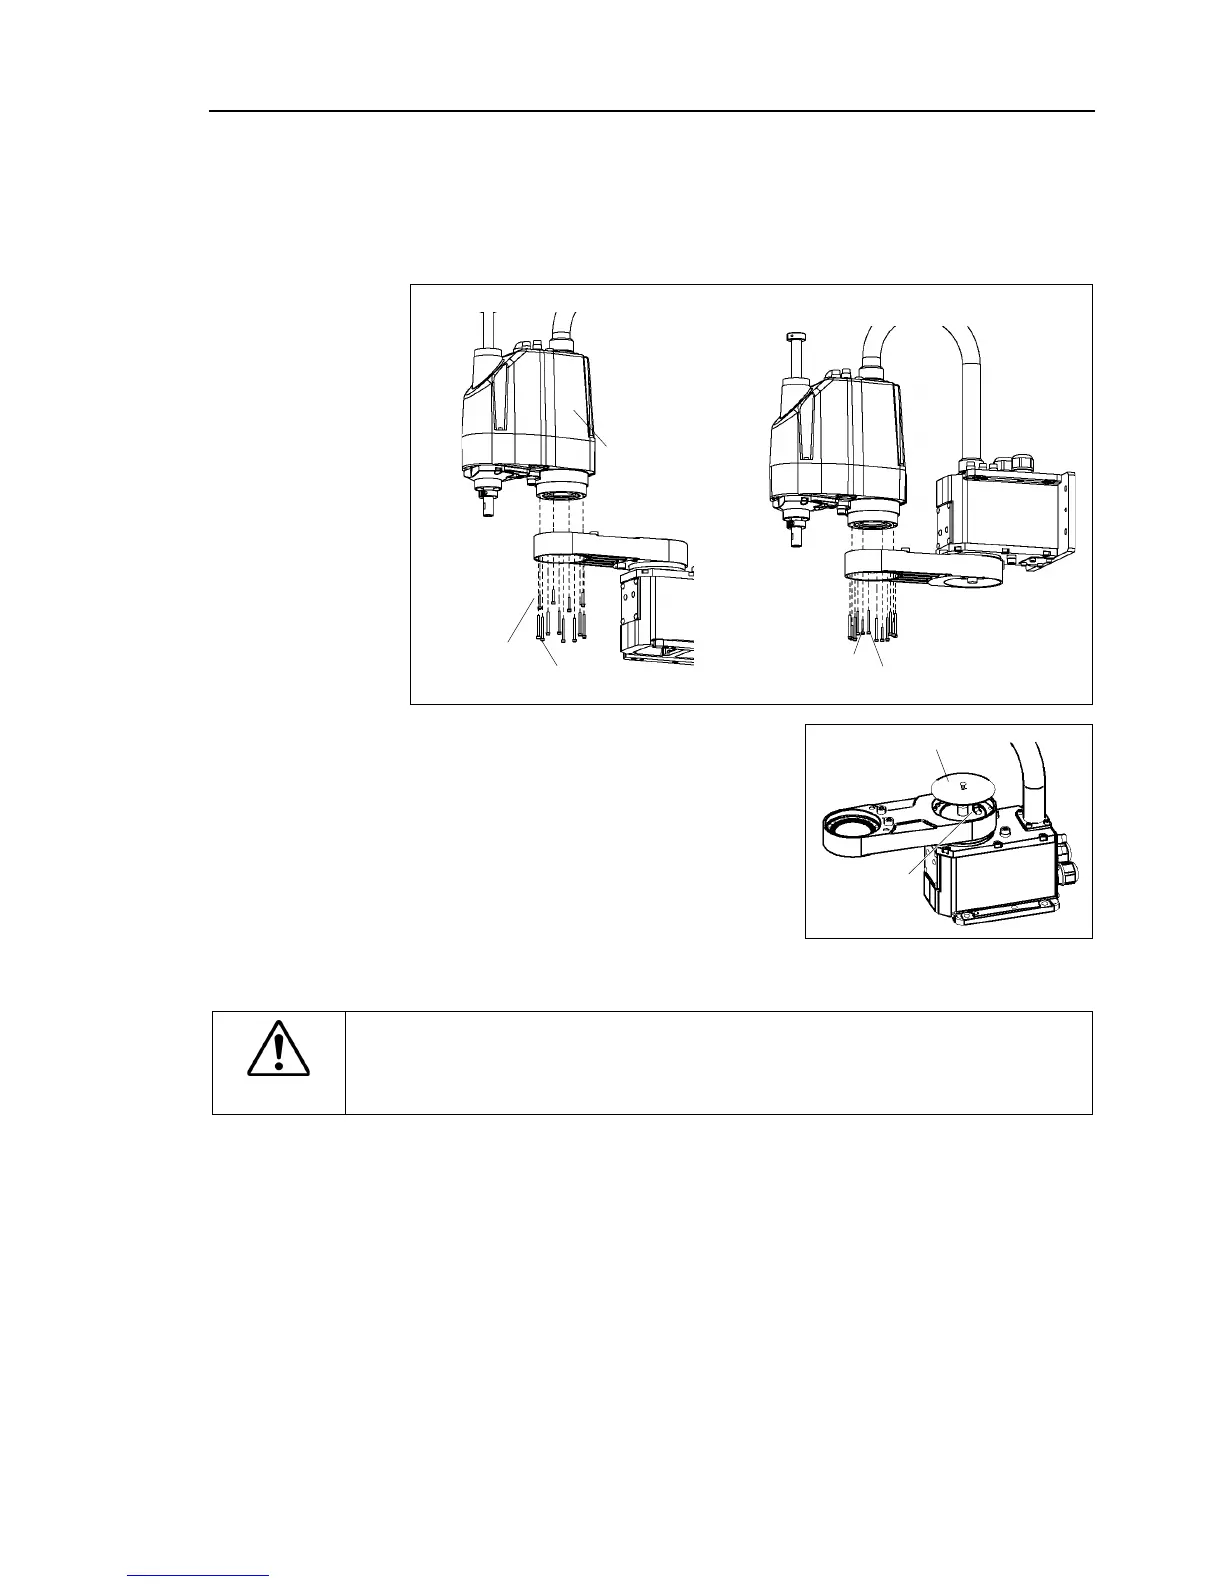
screws and mount the Arm #1 unit with specified torque.
M3 tightening torque: 3.0 Nm (30.6 kgfcm)
Use 35 mm screws to all
side and the middle one in each side is 20 mm.
Do not use screws of
different length. It causes a malfunction.
Table Top mounting
Multiple mounting
8-M3×35 + Washer
4-M3×20
+ Washer
Arm #
2
unit
8-M3×35 + Washer
4-M3×20
+ Washer
(7)
Mount the hose elbow and Arm #1 cover.
T
h
ese parts are not attached to the Multiple
mounting Manipulators.
Hose elbow
Arm #1 cover
(8)
Put the
θ2 movement direction label to the end of Arm #1, in Arm #2 side.
CAUTION
After replacing the arm, do not fail to change the robot model in the software.
If the model is different, it may cause a robot to malfunction. Also, the robot
may collide with the mechanical stop and
break it.

Table of Contents

Questions and Answers:

Question and Answer IconNeed help?

Do you have a question about the Epson G3 Series and is the answer not in the manual?

Epson G3 Series Specifications

General IconGeneral
BrandEpson
ModelG3 Series
CategoryRobotics
LanguageEnglish

Related product manuals