Buttons that are used in the following settings
A
After confirming that the printer is ready, press
the # button.
The Maintenance menu will be displayed.
B
Select Nozzle Check and press the Z button.
C
A nozzle pattern will be printed.
When printing is complete, the media will
automatically be fed to a position where the
pattern is clearly visible.
Cut the media if necessary.
U “Cutting Media” on page 54
Note:
To rewind the media, press u.
D
Inspect the nozzle pattern.
Example of clean nozzles
The pattern contains no gaps.
Example of clogged nozzles
Perform head cleaning if any segments are
missing from the pattern.
U “Head Cleaning” on page 77
E
The menus close when printing is complete.
Head Mode Adjustment
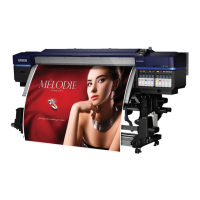
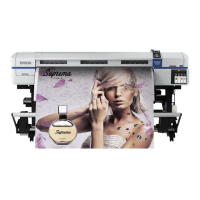
The SC-S70600 series and SC-S50600 series each have
two print heads, meaning that if either clogs, printing
can continue using the other.
The head that will be used can be determined by printing
a nozzle check pattern as part of a nozzle clog test.
U “Checking for clogged nozzles” on page 75
This section describes how to configure the printer to
print using only one print head.
Buttons that are used in the following settings
A
After confirming that the printer is ready, press
the Menu button.
The settings menu will be displayed.
B
Use the d/u buttons to select Printer Setup and
press the Z button.
C
Use the d/u buttons to select Head Mode and
press the Z button.
D
Use the d/u buttons to select the desired print
head and press Z.
EPSON SC-S70600 series/SC-S50600 series/SC-S30600 series User's Guide
Maintenance
76

 Loading...
