3 MIG/MAG WELDING
0459 287 601
- 12 -
© ESAB AB 2020
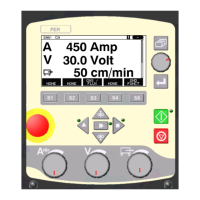
3.2 Function explanations
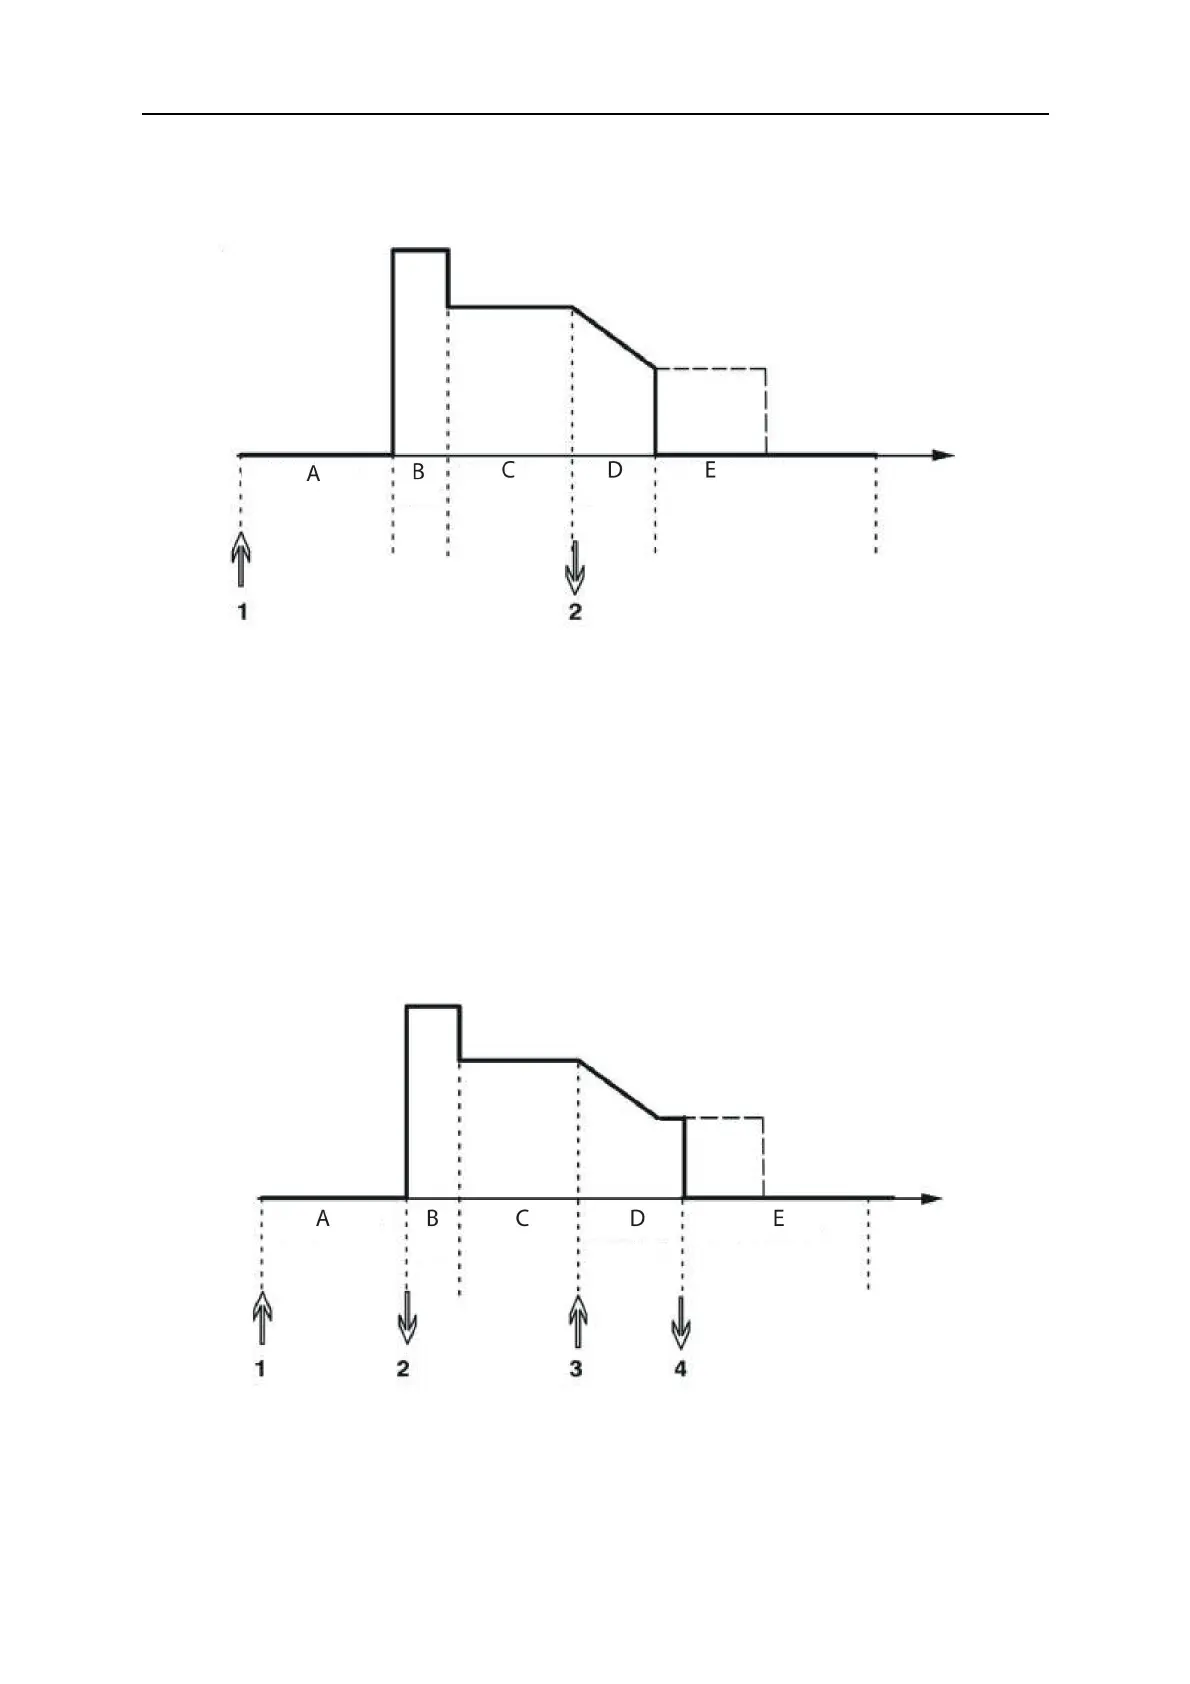
2 - Stroke
2-stroke operation of the welding torch switch button
A = Gas pre-flow B = Hot start C = Welding D = Crater fill E = Gas post-flow
In the 2-stroke control mode, pressing the welding torch trigger switch starts gas pre-flow (if
used) (1) and strikes the arc. Releasing the trigger switch (2) starts crater filling (if in
operation), extinguishes the arc and starts gas post-flow (if in operation).
TIP: If the welding torch trigger switch is pressed again during the crater fill time, welding can
be continued for as long as required (shown by the dotted line), using the crater fill data.
Crater filling can also be interrupted by quickly pressing and releasing the trigger switch while
crater filling is in progress.
- Activation of 2-stroke performed in the MAIN MENU.
4 - Stroke
Function when using 4-stroke control of the welding torch
A = Gas pre-flow B = Hot start C = Welding D = Crater fill E = Gas post-flow
In the 4-stroke control mode, pressing the welding torch trigger switch starts gas pre-flow
(1). Releasing the trigger switch (2) starts the welding process. At the end of welding, the
welder presses the trigger switch again (3), which starts crater filling (if in operation) and
reduces the welding data to a lower value. Releasing the trigger switch again (4)
extinguishes the arc and starts gas post-flow (if used).