2
Drawing 2
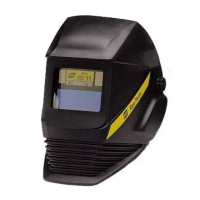
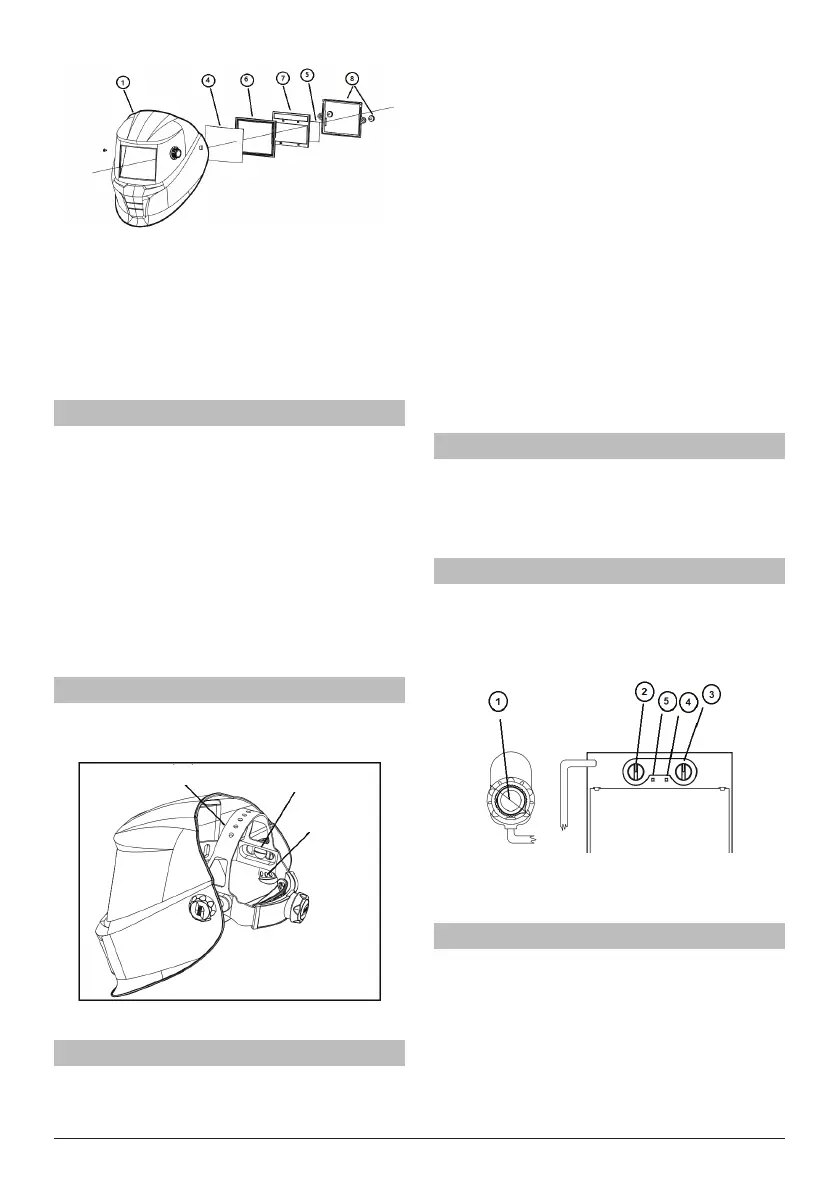
Inserting and removing a new protection lens:
To insert the new outer protection ➃ lens the lter must be
removed by unscrewing the two retaining screws ➇ from
the inside of the helmet ➀. The old protection lens can then
be removed and the new lens inserted followed by the light
seal cradle ➅, ADF ➆, inner protection lens ➄ and then the
ADF retaining frame ➇ and nally replace the two retaining
screws (see drawing 2).
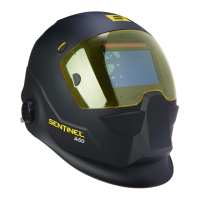
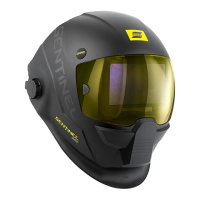
Range of application
The SAVAGE A40 welding helmets can be used for the fol-
lowing applications:
• Electrode
• MIG
• Mag
• TIG (>=5A)
They are not suitable for use with laser systems and oxy-
acetylene (gas welding) applications. The welding lter must
not be used for any other purpose other than welding. They
should never be used as sunglasses when driving as this
could lead to incorrect identication of the color of trac
light.
The welding lters operate well under extreme low lighting
and very strong sunlight.
Operation
Adjustment of headgear:
SAVAGE A40 welding helmets are equipped with a comfort-
able headgear that can be adjusted in three dierent ways.
Push and Move 'Head Height'
Longitudinal Adjustment
Rake Adjustment
Push and Turn
‘Head Size'
Drawing 3
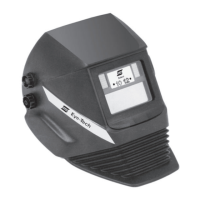
Servicing and maintenance
SAVAGE A40 welding helmets should not be dropped. Do
not place heavy objects or tools (hammers etc.) on or inside
the helmet so as not to damage the electro-optical lter.
Always make sure that the helmet is equipped with an
outside and inner lens (in front of the lter on the outside
and on the inside behind the lter). These protection lenses
must be replaced if damaged in any way (see overleaf).
They are consumables and should checked and replaced
regularly.
The lter should be cleaned when changing the protection
lenses.
This can be done by any of the following ways:
• Wipe with a clean, dry piece of cloth.
• Clean with a piece of smooth cloth moistened with
pure alcohol.
• Clean with a commercial disinfectant
• If used properly the welding lter requires no
further maintenance during its lifetime.
If a lter should be replaced on a SAVAGE A40 welding
helmet, use exclusively certied products (DIN-CE marks).
We recommend the use of ESAB welding lters in all SAVAGE
A40 helmets.
The lter itself contains no special or toxic products and can
be disposed of in the same way as other electronic devices.
Performance
To allow the lter to switch both sensors on the front of the
lter must not be covered, the lter then switches to the
dark state when the arc strikes and to the clear state when it
stops. The lter switches to the light state when the welding
arc stops.
How to set the shade
On the SAVAGE A40 set the shade by turning the knob on
the outside of the helmet (pos. 1).
The most suitable setting can be found on the Chart in this
brochure or chosen using your experience. This setting can
also be made manually during the welding process.
Drawing 4
Turning clockwise =darker
Turning anti clockwise = clearer
Switching Grind mode / Welding mode
On the SAVAGE A40 exchange the Welding and Grind mode
by pressing the knob on the shade knob outside of the
helmet.
On Welding mode, by pressing the knob and hold for 2
seconds. The mode will be changed from Welding to Grind.
The green Grind light will ash (pos.4)
On Grind mode, By Pressing the knob and hold for 2 sec-
onds. The mode will be changed from Grind to Welding. The
green Grind light will stop ashing (pos.4)

 Loading...