With the help of another person tilt the Centurion on one side and remove the
foam inserts. The Centurion in now ready to place on the bench. With one person on
EACH side of the Centurion transfer the Centurion to the bench.
NOTE: The Centurion needs to be lifted from the base of the instrument.
WARNING: The Centurion needs enough space on all sides of the instrument to
ensure proper cooling of instrument components AND to ensure that the power cord
can be easily disconnected.
AVERTISSEMENT: Le Centurion besoin de suffisamment d'espace sur tous les
côtés de l'appareil pour assurer le bon refroidissement des composants de
l'instrument et de veiller à ce que le cordon d'alimentation peut être facilement
déconnecté.
2.5 Centurion Setup/Installation
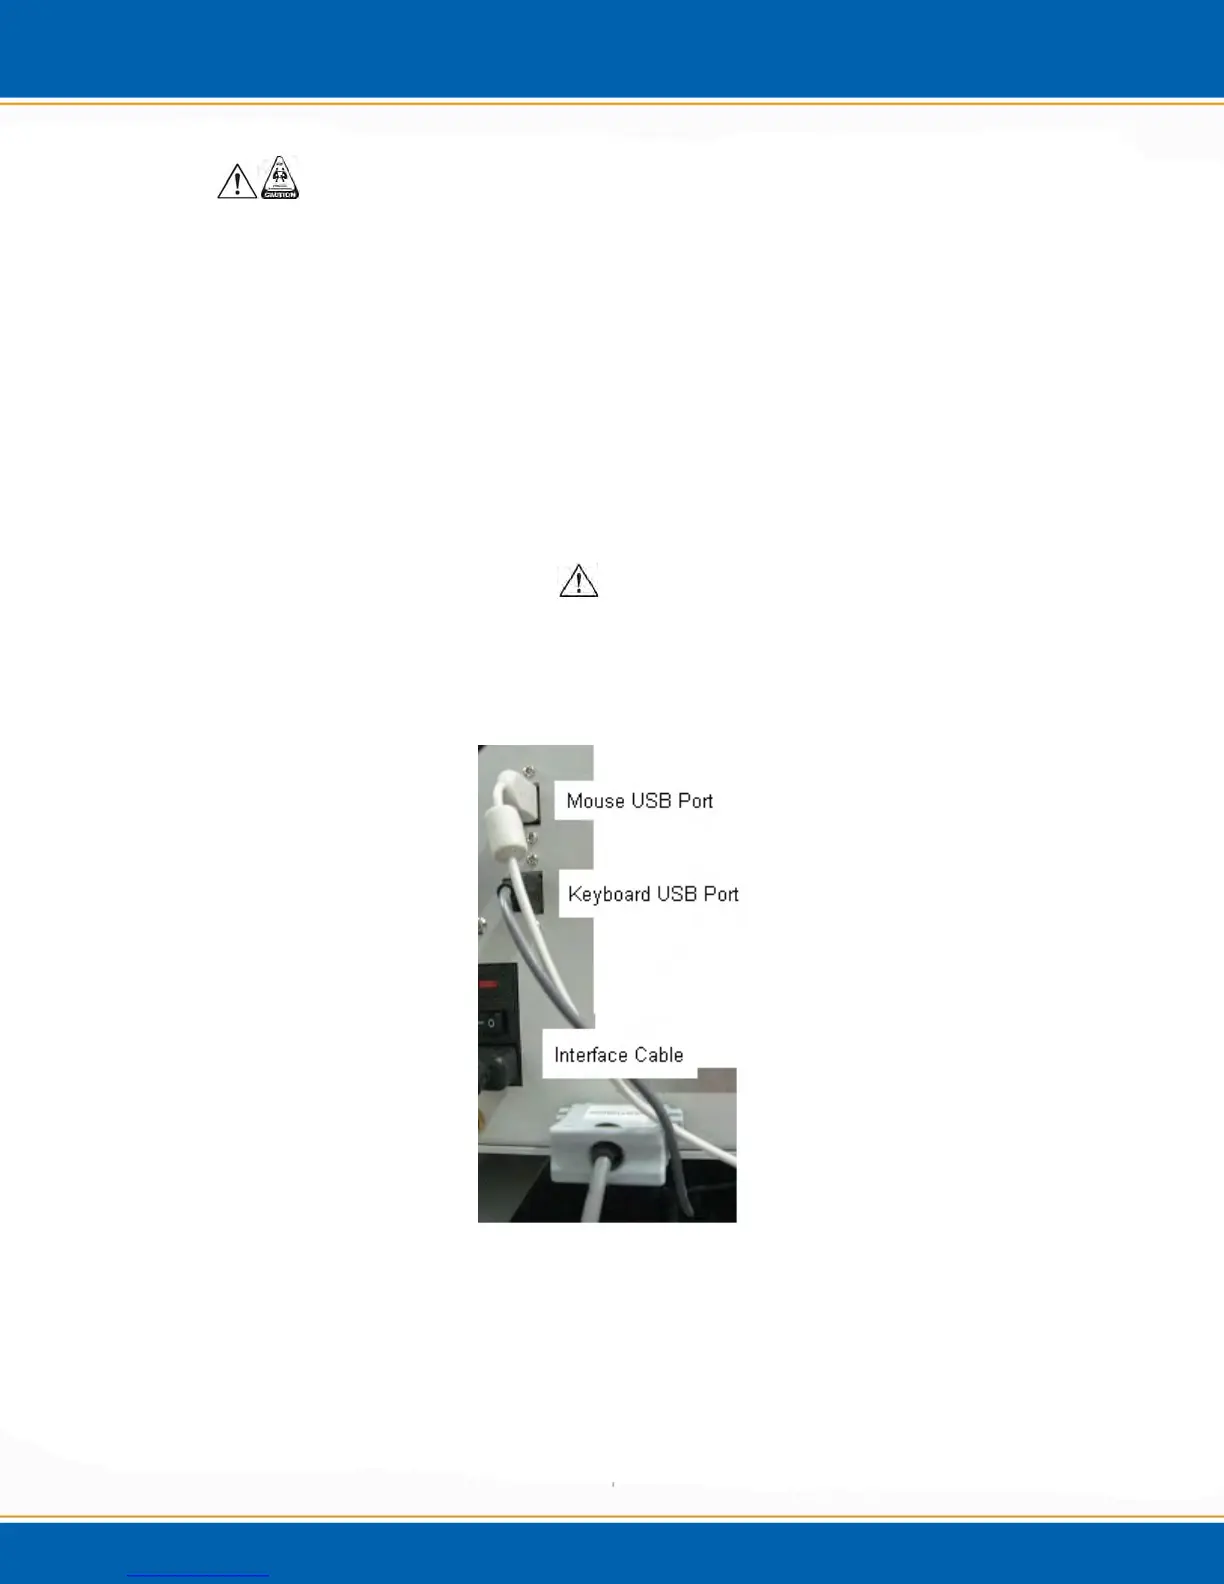
2.5.1 Install all connections at the rear of the instrument:
Keyboard-grey USB cable, see Figure 2d.
Mouse-white USB cable, see Figure 2d.
Figure 2d: Centurion Keyboard, Mouse and Interface Connections
Waste (W)-Black Tubing, see Figure 2e.
o Flangeless Nut-Green
o Flangeless Ferrule-PEEK