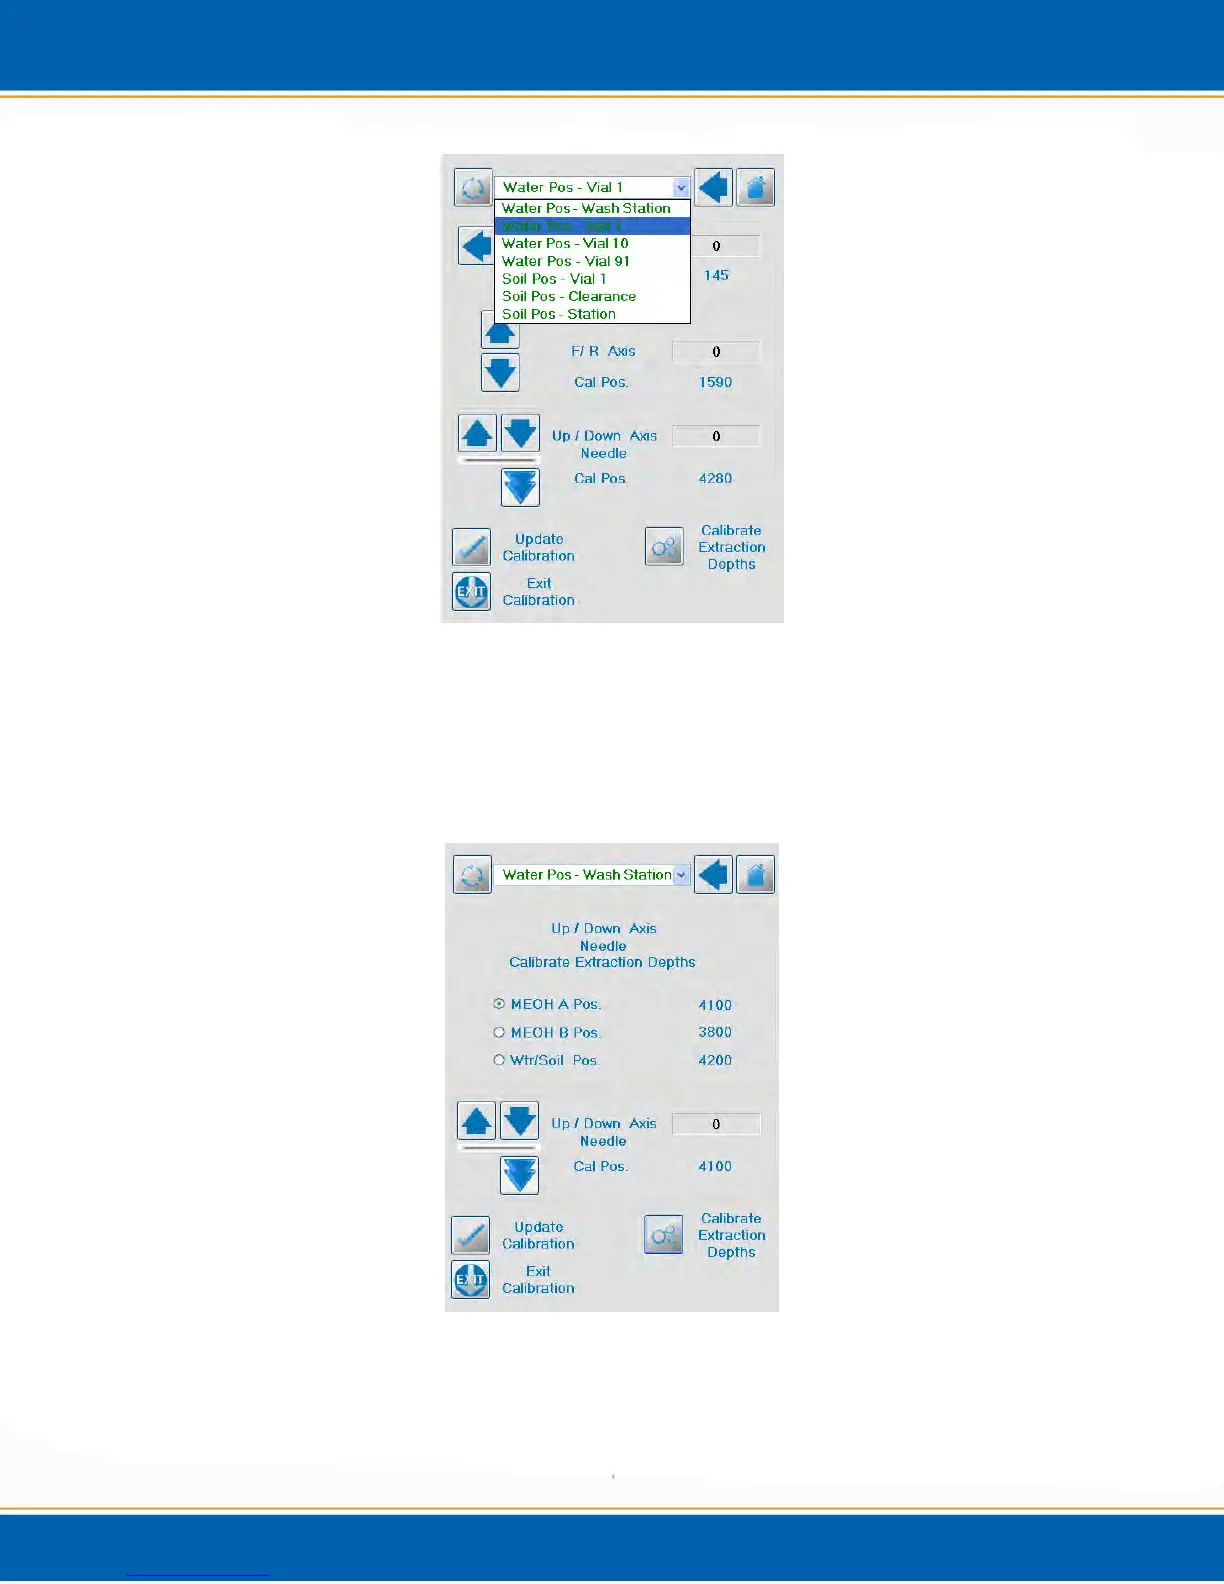
Figure A6: Manual Calibration Screen
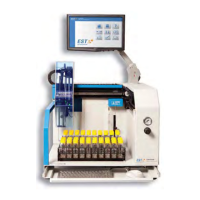
7. The Calibrate Extraction Depth Screen will display. <click> the position depth to be
calibrated. Next, <click> on the up or down arrow. Once the depth required has been
established, <click> Update Calibration to save the position. See Figure A7.
Figure A7: Calibration Extraction Depth Screen
8. Proceed to the next position to be calibrated and repeat step 6.
9. When finished, <click> Exit.