Figure 4gg: Calibration Block
7. Place vials in locations 1, 10, and 91 and the calibration block in the wash station.
<click> OK in order to begin calibration motion. See Figure 4ff.
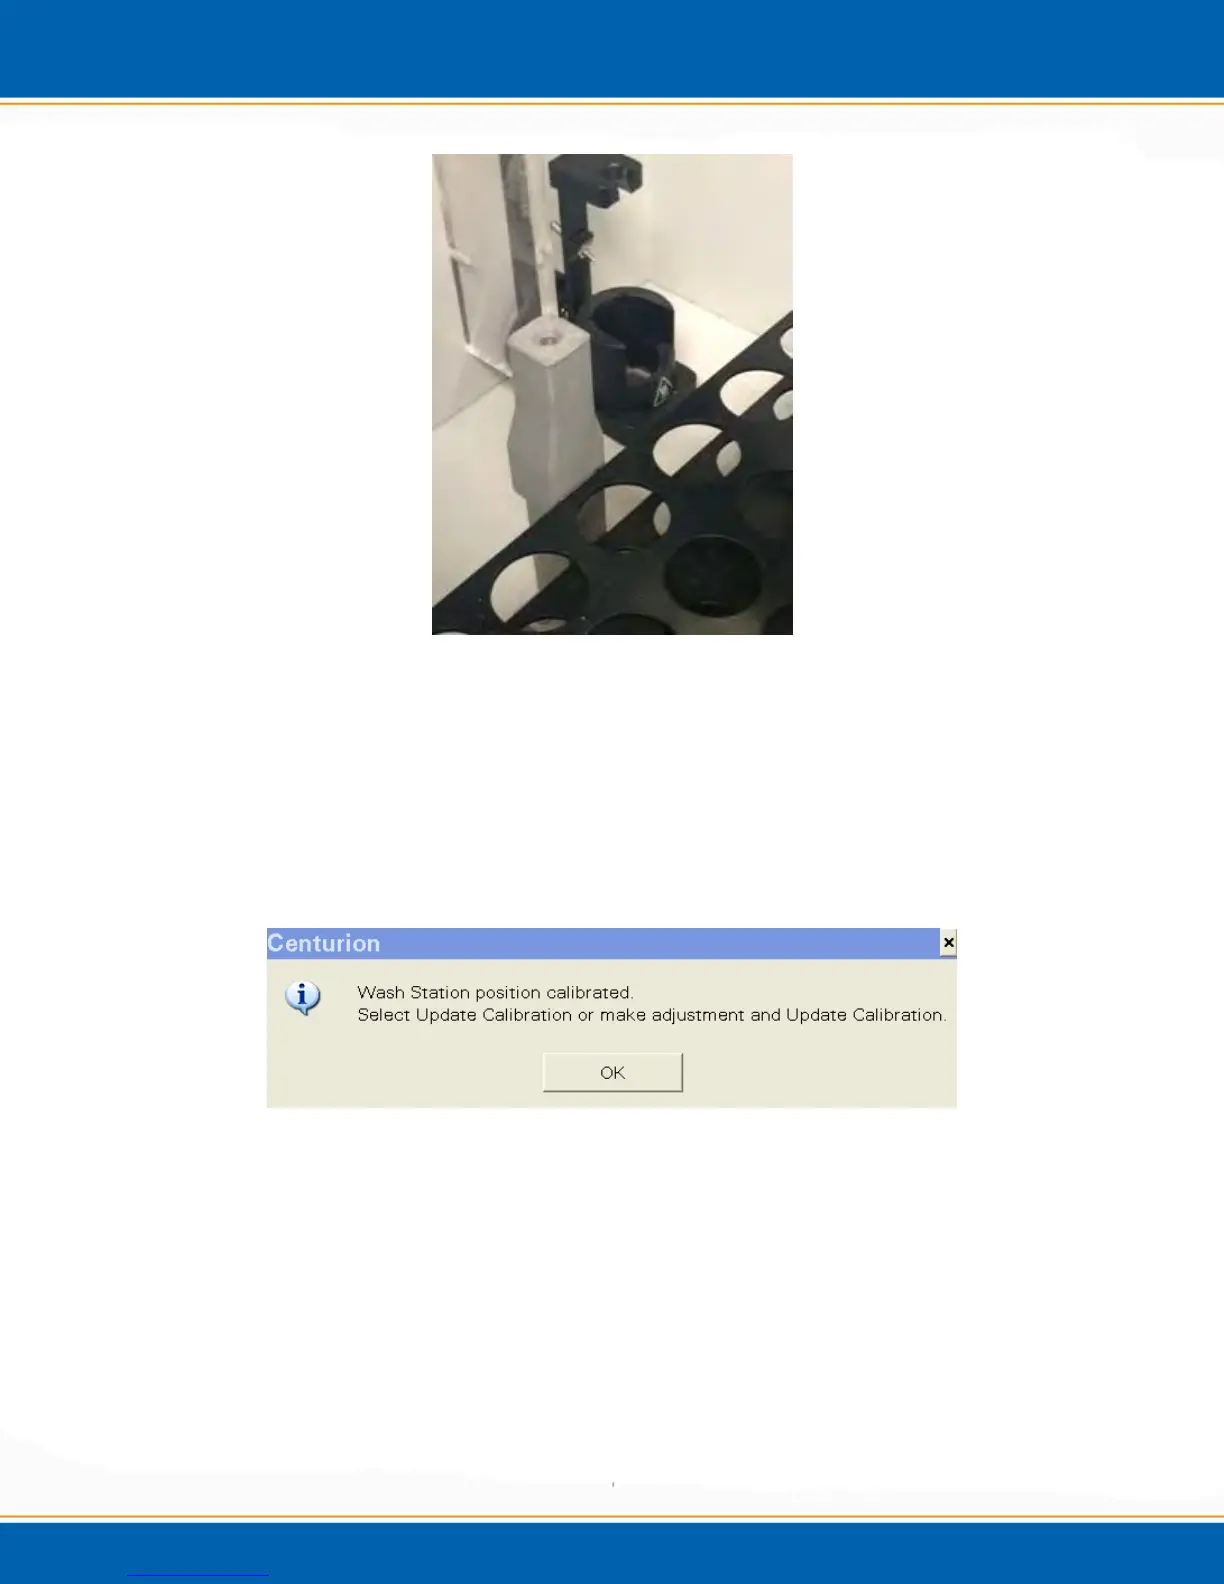
8. The system will go to the wash station for calibration first. The needle will move
over the calibration block and using the fiber optic sensor, the system will measure
for the center of the calibration block. When the system finishes the calibration,
<click> OK. See Figure 4hh.
Figure 4hh: Wash Station Calibration Pop-up
9. If the needle is not centered in the middle of the wash station, the position of the
needle can be adjusted by clicking the arrows on the calibration screen. See Figure
4ii.