Figure 4ac: Gripper Axis in Soil Station Pop-up
41. <click> OK and the Gripper Axis can be calibrated, see Figure 4zz.
42. This step is used to calibrate the vertical height of the gripper axis in the soil cup.
Adjust the vertical height so that the vial is loose in the gripper. Refer to step 10. See
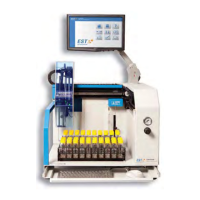
Figure 4ad for image of Gripper Axis at the soil station.
Figure 4ad: Image of Gripper Axis in Soil Station
43. See Figure 4zz. <click> Update Calibration to proceed to the final step.
44. When you are finished with the Auto-Calibration routine, you will need to confirm
that the Auto calibration is complete. <click> OK and the vial will be returned to
position 1. See Figure 4ae.