8 Source 4WRD Installation and User Manual
CAUTION: Do not touch or clean LED optic domes with anything
other than oil-free canned air.
Tools required:
Crescent wrench
#2 Phillips screwdriver
1. Use oil-free canned air to clean the LED domes before you
install the retrofit. Do not touch the LEDdomes.
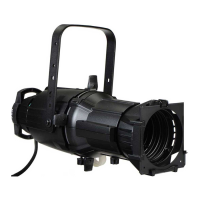
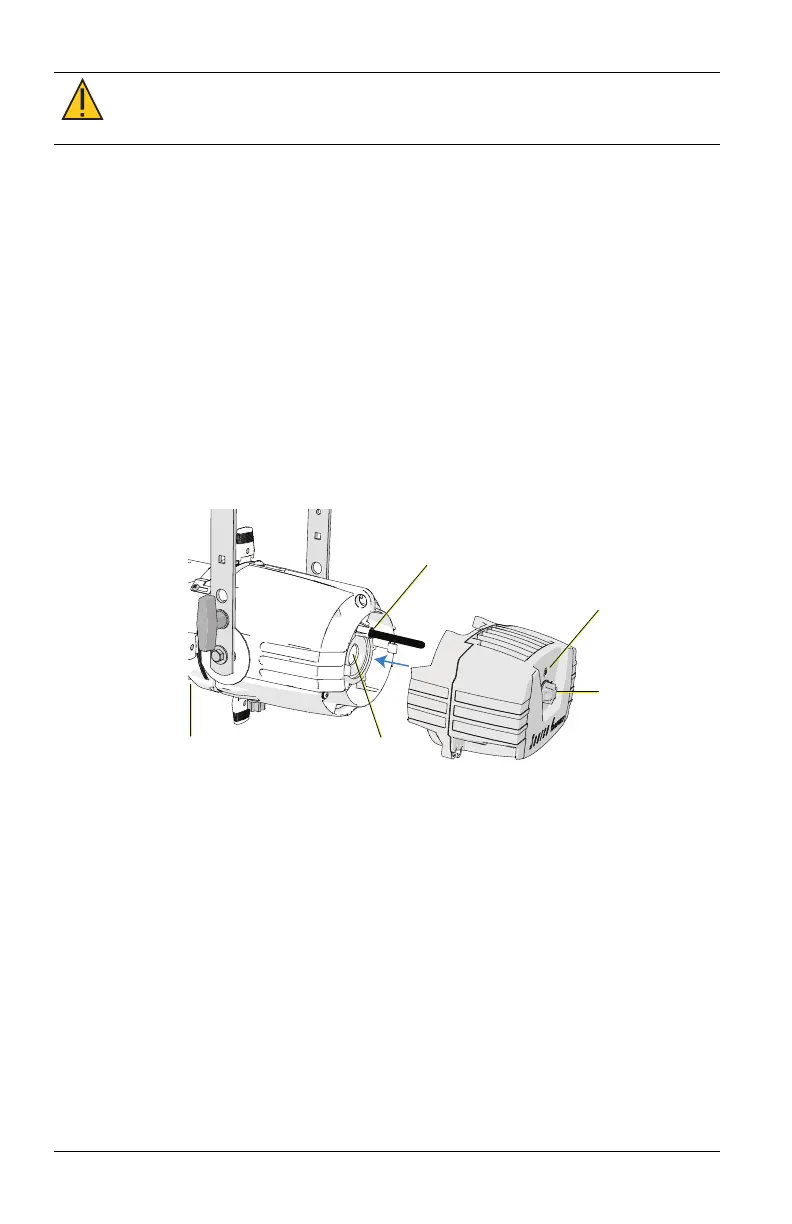
2. With the fixture resting securely on a flat surface, attach the
supplied threaded post to the back end of the fixture body. Use
a crescent wrench to tighten the threaded post one-quarter
turn past finger tight.
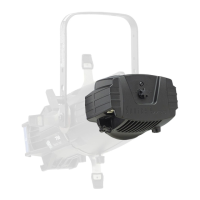
3. Gently slide the Source 4WRDLED onto the fixture body and
threaded post while guiding the LED tower into the lamp
housing hole, as shown below. Take care to prevent contact
between the LEDs and the reflector.
Insert threaded
post here
Tighten
screw
Z-adjustment
knob
Source Four
fixture body
Lamp
housing
hole
4. Use a #2 Phillips screwdriver to tighten the screw located on the
back end of the Source 4WRDLED, directly above the
Z-adjustment knob.
5. Pull gently to verify secure attachment.
6. Set the Z-adjustment using the Z-adjustment knob. See
Set the
Z-adjustment on page14
.