EasyManua.ls Logo

Eventide ARGUS 3000 - Page 62

Eventide ARGUS 3000
68 pages
Print Icon
To Next Page IconTo Next Page
To Previous Page IconTo Previous Page
Loading...
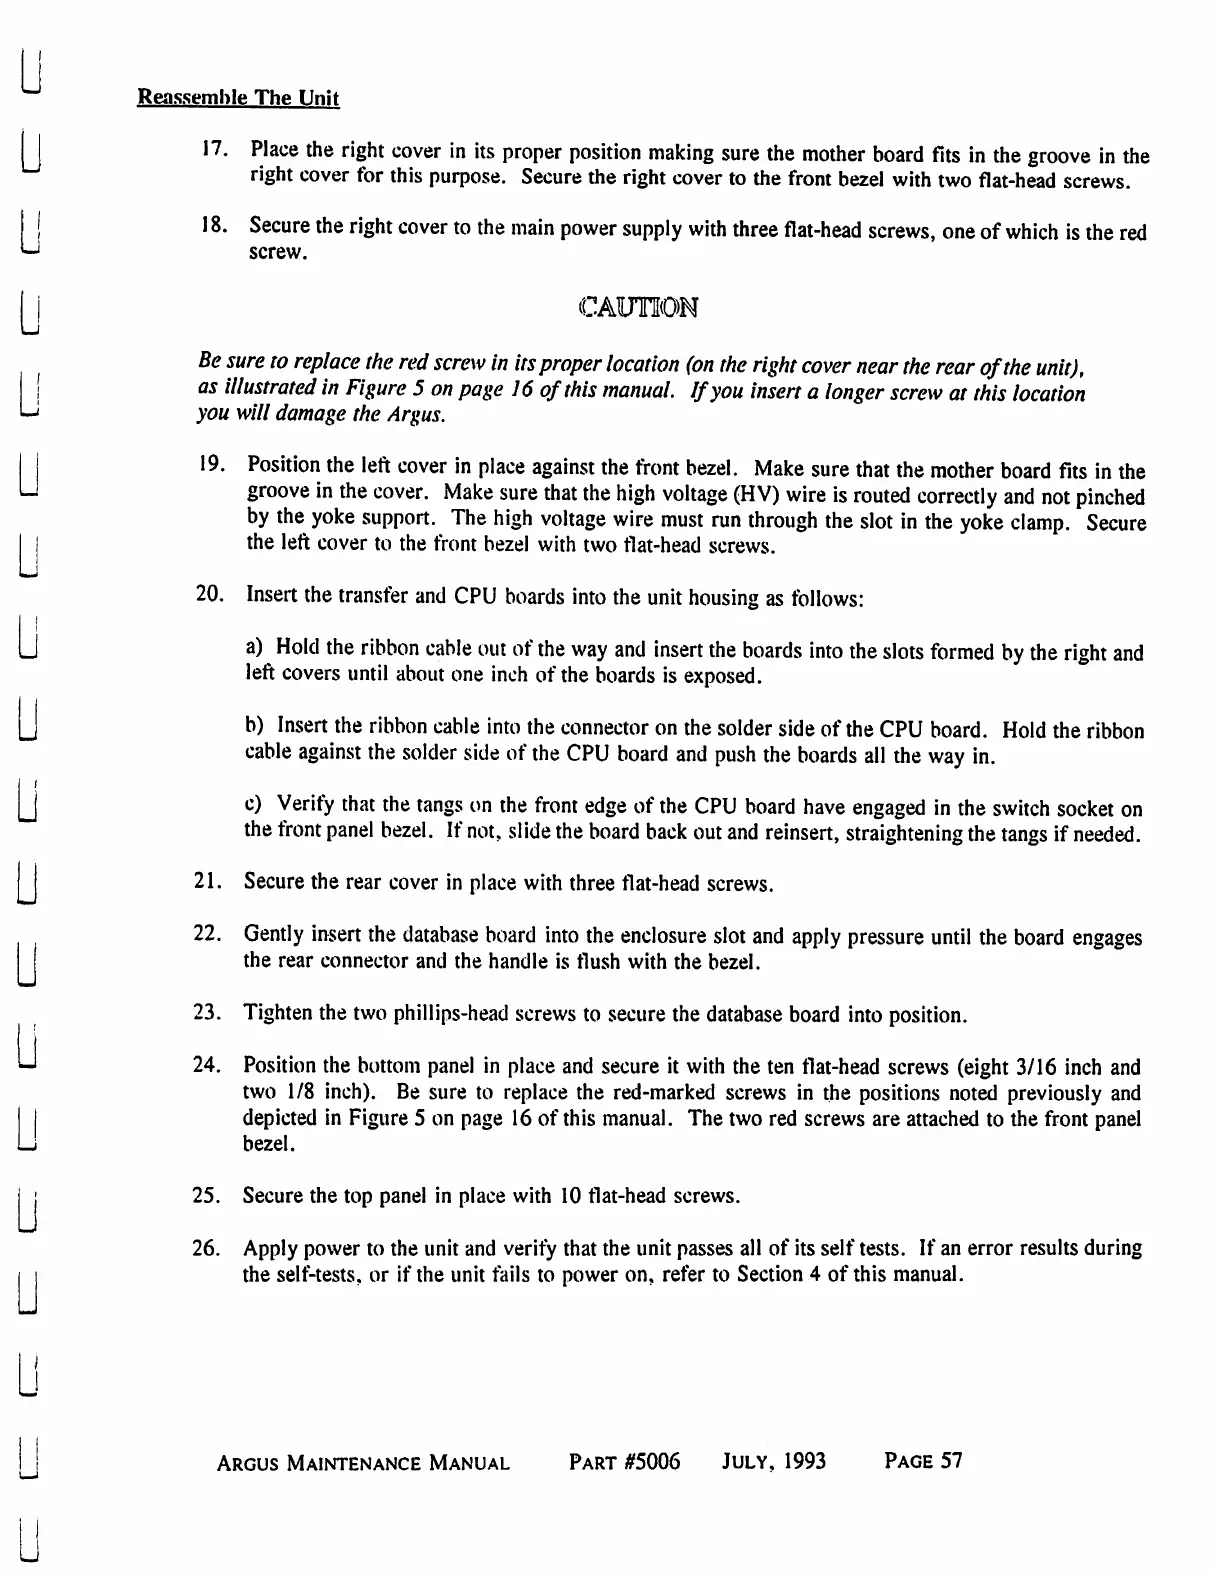
Reassemble
The
Unit
M
17.
Place
the
right
cover
in
its
proper
position
making
sure
the
mother
board
fits
in
the
groove
in
the
right
cover
for
this
purpose.
Secure
the
right
cover
to
the
front
bezel
with
two
flat-head
screws.
j
18.
Secure
the
right
cover
to
the
main
power
supply
with
three
flat-head
screws,
one
of
which
is
the
red
^
screw.
I
|
CAUTION
Be
sure
to
replace
the
red
screw
in
its
proper
location
(on the
right
cover
near
the
rear
of
the
unit),
|
as
illustrated
in
Figure
5
on
page
16
of
this
manual.
If
you
insert
a
longer
screw
at
this
location
I—!
you
will
damage
the
Argus.
II
19.
Position
the
left
cover
in
place
against
the
front
bezel.
Make
sure
that
the
mother
board
fits
in
the
Li
groove
in
the
cover.
Make
sure
that
the
high
voltage
(HV)
wire
is
routed
correctly
and
not
pinched
by
the
yoke
support.
The
high
voltage
wire
must
run
through
the
slot
in
the
yoke
clamp.
Secure
I I
the
left
cover
to
the
front
bezel
with
two
flat-head
screws.
u
20.
Insert
the
transfer
and
CPU
boards
into
the
unit
housing
as
follows:
| !
LJ
a)
Hold
the
ribbon
cable
out
of
the
way
and
insert
the
boards
into
the
slots
formed
by
the
right
and
left
covers
until
about
one
inch
of
the
boards
is
exposed.
U
b)
Insert
the
ribbon
cable
into
the
connector
on
the
solder
side
of
the
CPU
board.
Hold
the
ribbon
cable
against
the
solder
side
of
the
CPU
board
and
push
the
boards
all
the
way
in.
u
u
c)
Verify
that
the tangs
on
the
front
edge
of
the
CPU
board
have
engaged
in
the
switch socket
on
the
front
panel
bezel.
If
not, slide
the
board
back
out
and
reinsert,
straightening
the
tangs
if
needed.
21.
Secure
the
rear
cover
in
place
with
three
flat-head
screws.
22.
Gently
insert
the
database
board
into
the
enclosure
slot
and
apply
pressure
until
the
board
engages
the
rear
connector and
the
handle
is
flush
with
the
bezel.
23.
Tighten
the
two
phillips-head
screws
to
secure
the
database
board
into
position.
24.
Position
the
bottom
panel
in
place
and
secure
it
with
the
ten
flat-head
screws
(eight
3/16
inch
and
two
1/8
inch).
Be
sure
to
replace
the
red-marked
screws
in
the
positions
noted
previously
and
depicted
in
Figure
5
on
page
16
of
this
manual.
The
two
red
screws
are
attached
to
the
front
panel
bezel.
25.
Secure
the
top
panel
in
place
with
10
flat-head
screws.
26.
Apply
power
to
the
unit
and
verify
that
the
unit
passes
all
of
its
self
tests.
If
an
error
results
during
the
self-tests,
or
if
the
unit
fails
to
power
on,
refer
to
Section
4
of
this
manual.
Argus
Maintenance
Manual
Part
#5006
July,
1993
Page
57

Table of Contents

Related product manuals