25
BALE TYING
After a complete bale is formed in the bale chamber, the blue BALE TIE OFF LIGHT at the top of the baler will illuminate. The baler
and conveyor shuts off automatically with the platen in the correct forward position for tying the bale.
1. Turn the key switch to the HAND position. Turn the BALER PHOTO EYE SWITCH to OFF.
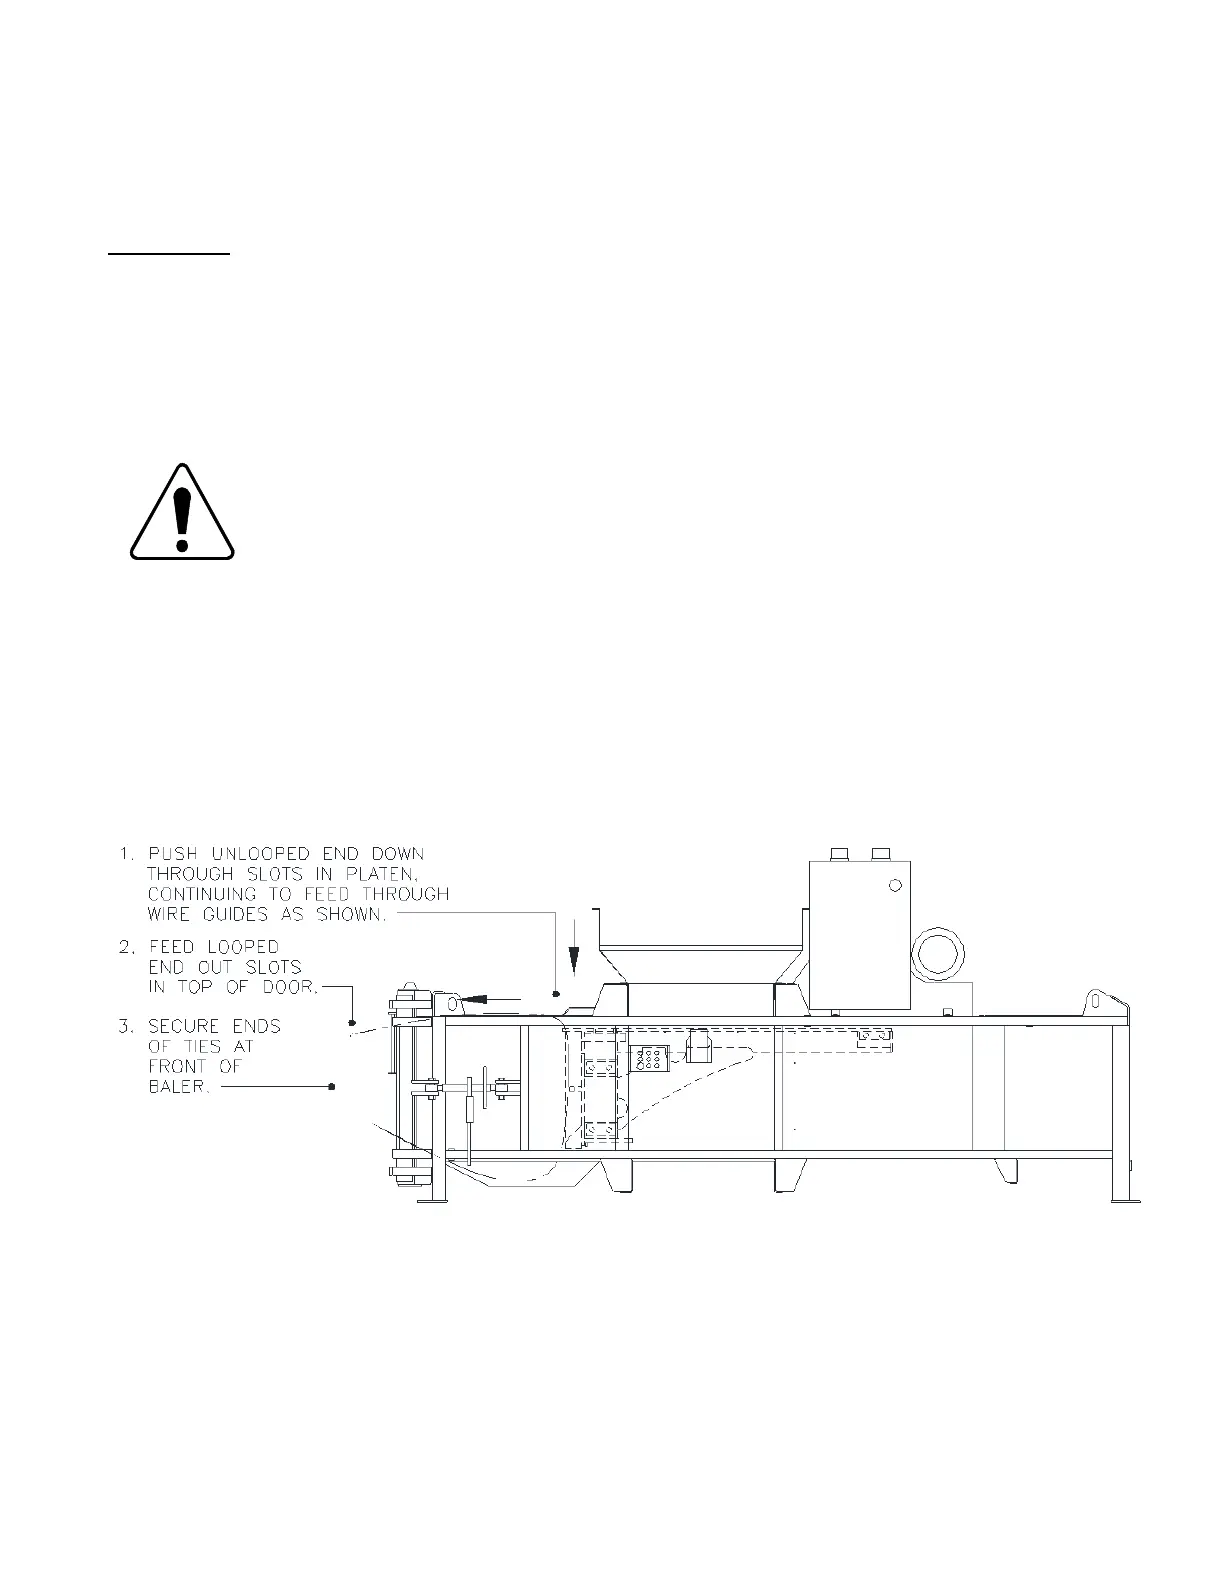
2. From the top of the baler, thread the end of the wire which is not looped down through the six slots in the front of the platen. See
Diagram L below.
SAFETY GLASSES REQUIRED. Do not insert wire when persons are in front of the baler. Injury could
result.
Diagram L. Threading Wire Ties Around the Bale.
3. Push the wire until it comes out the bottom of the corresponding slot in the door.
4. Pull the wires through to allow enough slack for securing the two ends together.
5. Thread the looped end of the wire ties through the corresponding slots on the top of the bale and then out the same slot in the top
of the bale chamber door.