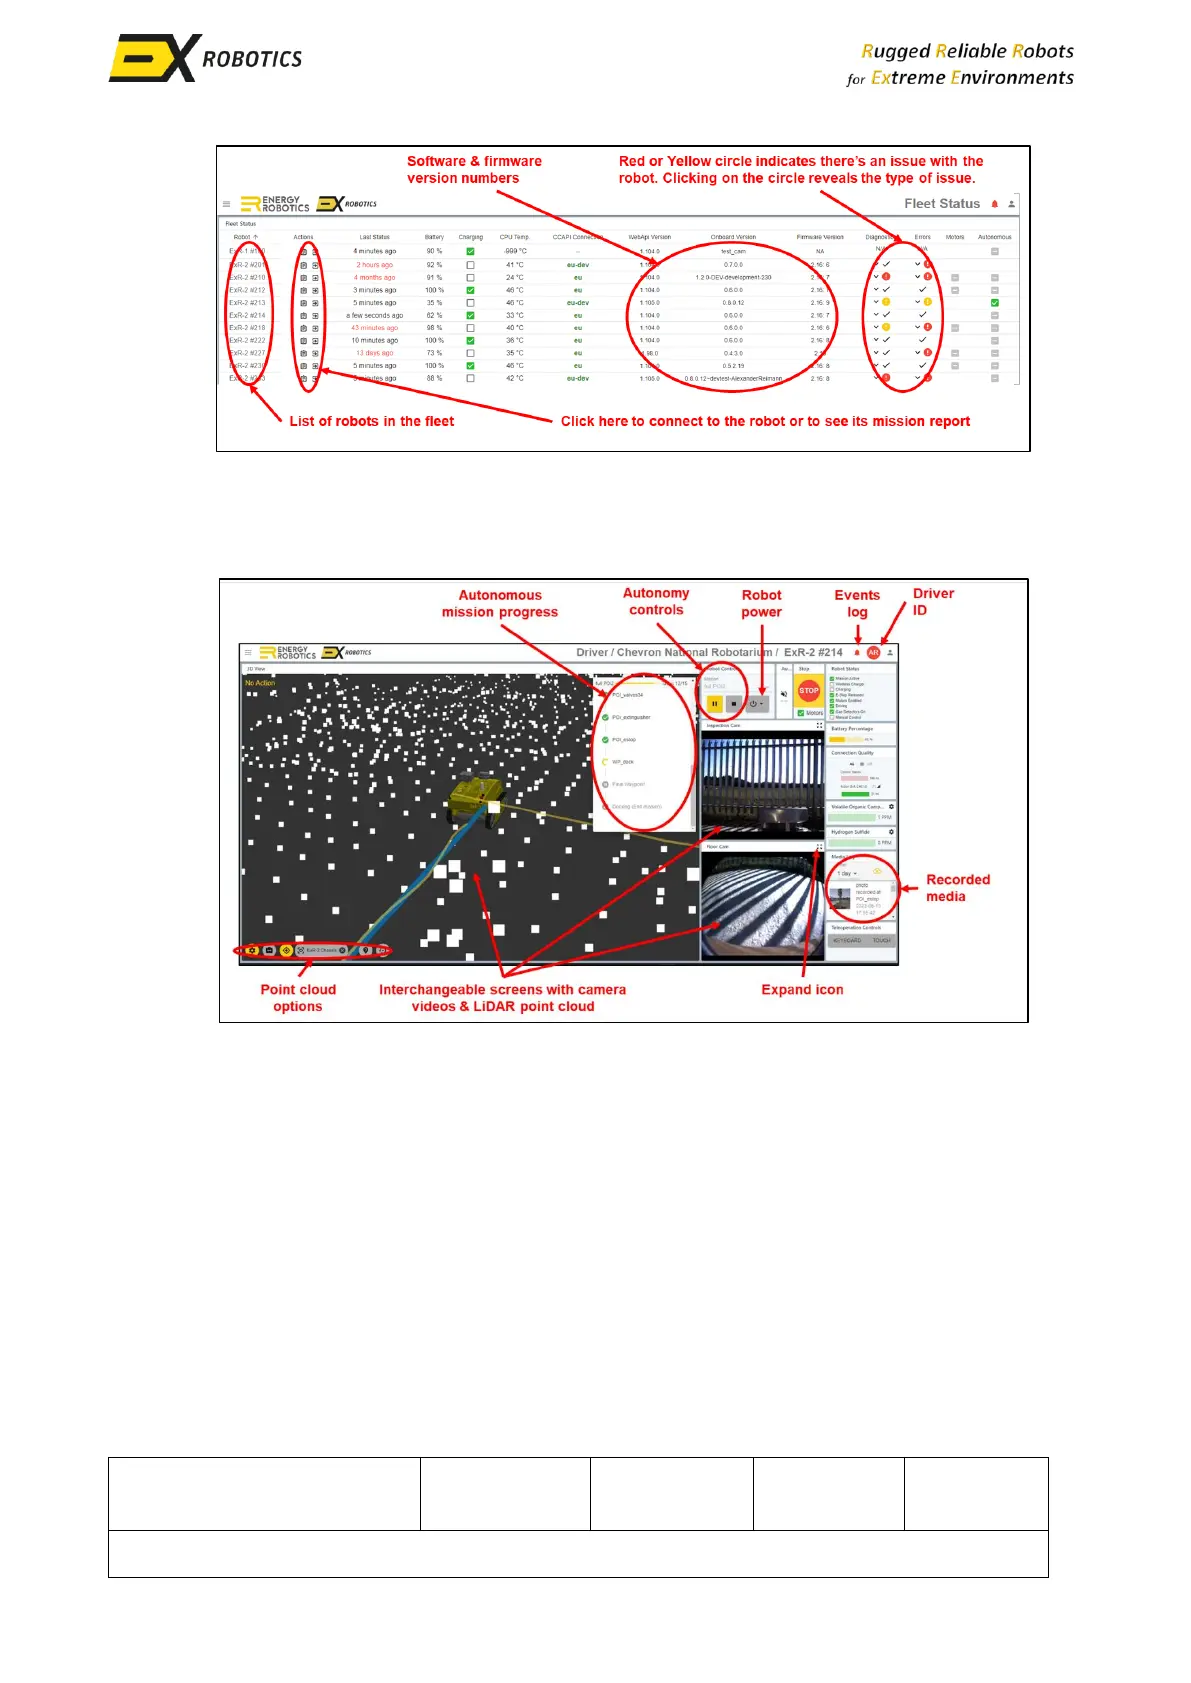
6.2. Driver Screen
Once a user has connected to a robot, most of the display information is intuitive:
▪ The major functions are summarised in the picture below.
▪ For safety reasons, only one driver can control a robot at any given time. The logo towards
the top right of the screen will show who that is. To take over control, click on that icon.
▪ The top right of the screen shows the robot’s status. A tick adjacent to each item indicates:
o Mission Active – robot has been commanded to move and it’s not charging anymore.
o Wireless Charger– the robot’s coil is connected to that in the docking station.
o Charging – current is flowing into the battery pack.
o E-Stop Released – the robot’s emergency stop has been released ready to drive.
o Motors Enabled – the robot’s motors are not isolated anymore, so the robot can be
driven manually or autonomously (this takes a few seconds to change after pressing the
green button on the controller).
o Driving – the robot is in motion.
o Gas Detectors On – The gas detectors are powered up (they have individual warm-up
times, the gas displays will only start showing measurements when they’ve warmed up).
o Manual Control – the robot is being controlled from this control station by a driver.