Additional waypoints can be useful to ensure a robot stays away from potential hazards (e.g. drops
or overhead obstacles). A waypoint 50cm before a narrow gap will help to align the robot, however
never add a waypoint in the centre of corridors narrower than 90cm. To add a waypoint:
▪ Click on the “add waypoint” icon.
▪ Position your cursor between the tasks in the left hand column where you’d like to waypoint
to be and click.
▪ A robot icon will appear on the click and inspect screen. Move it to the location of the
waypoint and use the “arc” around the robot to point it in the direction you’d like to robot to
pass the waypoint (ensure there’s enough clearance for the robot to turn).
▪ Click on the icon at the bottom of the screen to save the waypoint.
Once the mission includes all of the tasks you require, you should double click on the docking
station in the right hand screen. This is always the last item in a mission so it will appear at the top
of the left hand column. Once it’s been added you can’t edit the mission without removing the
docking station.
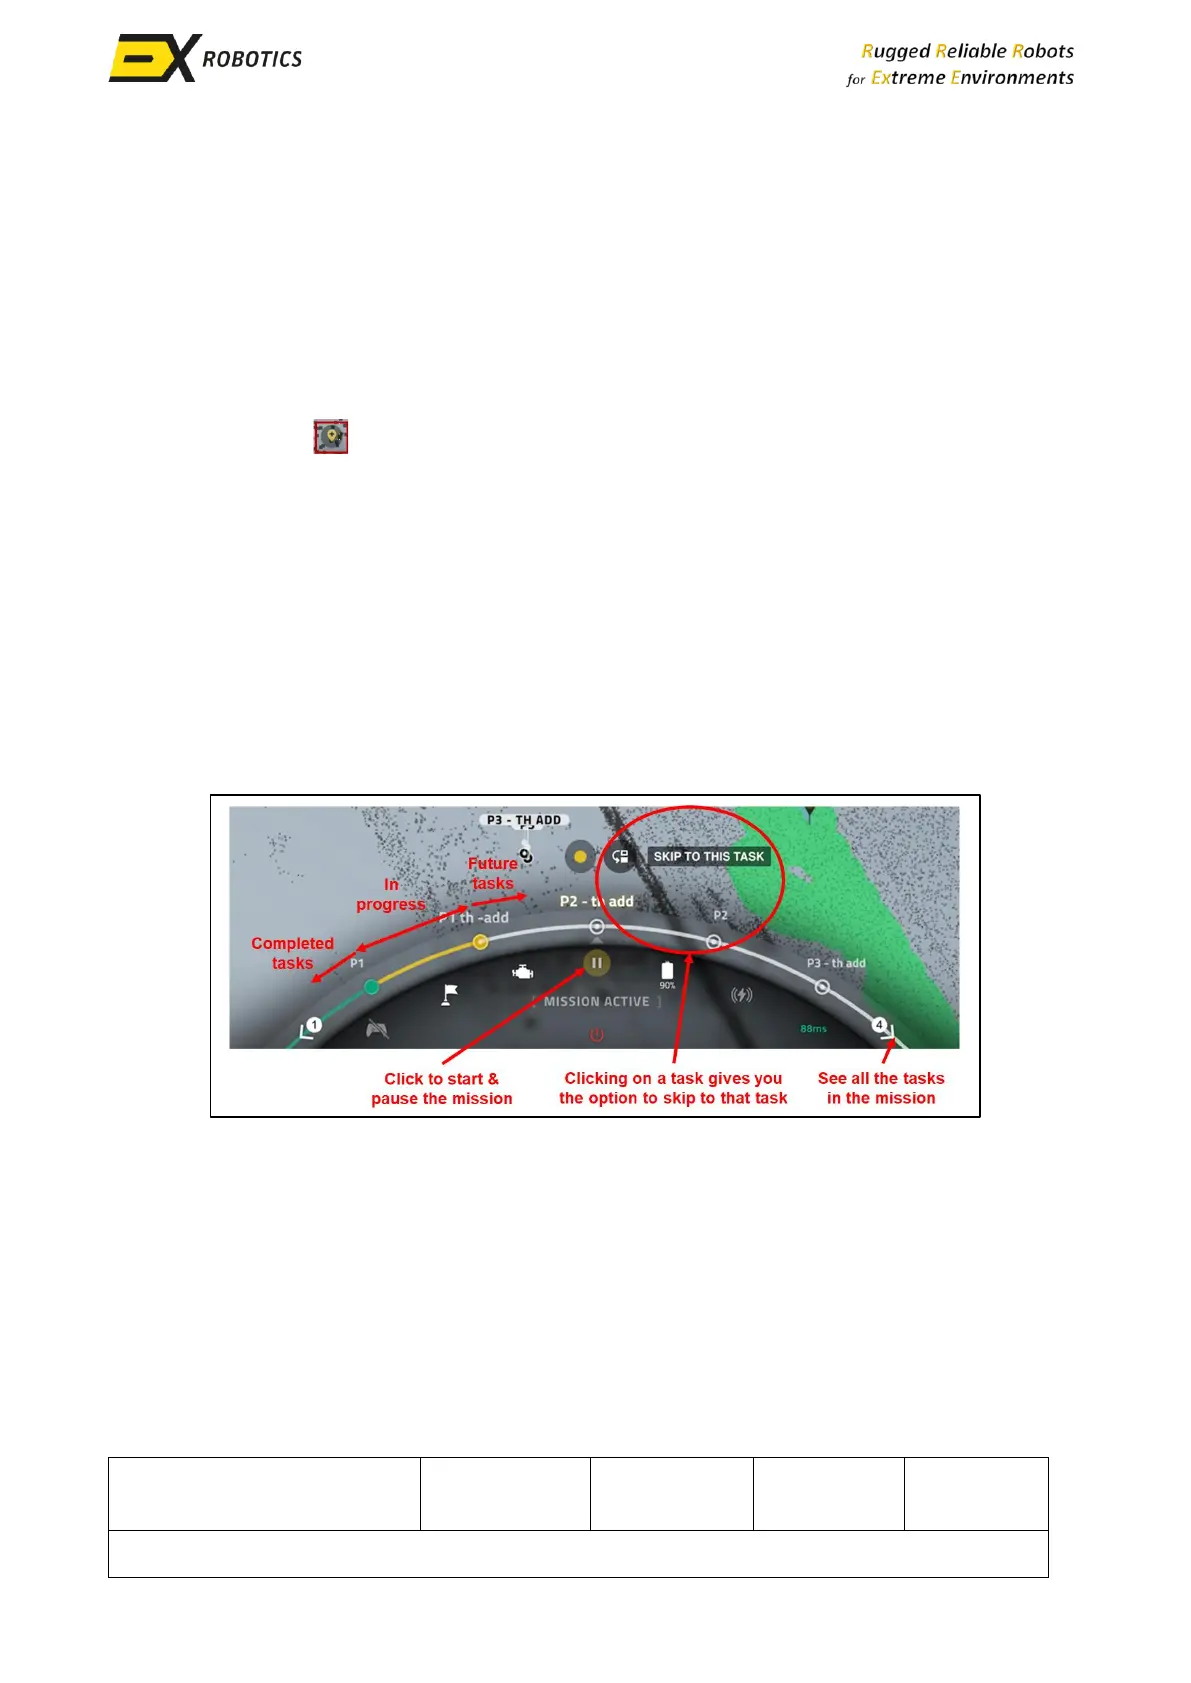
7.3.4. Performing Missions
Once missions have been programmed they can be launched very quickly from the Control panel at
the bottom of the Click and Inspect screen. First click on the green “Play” icon at the centre of the
control panel, then select the mission to execute. This will launch the mission and the control panel
will appear as follows.