User’s Manual
20
Figure 19 ─ Shutdown screen.
Network Setup
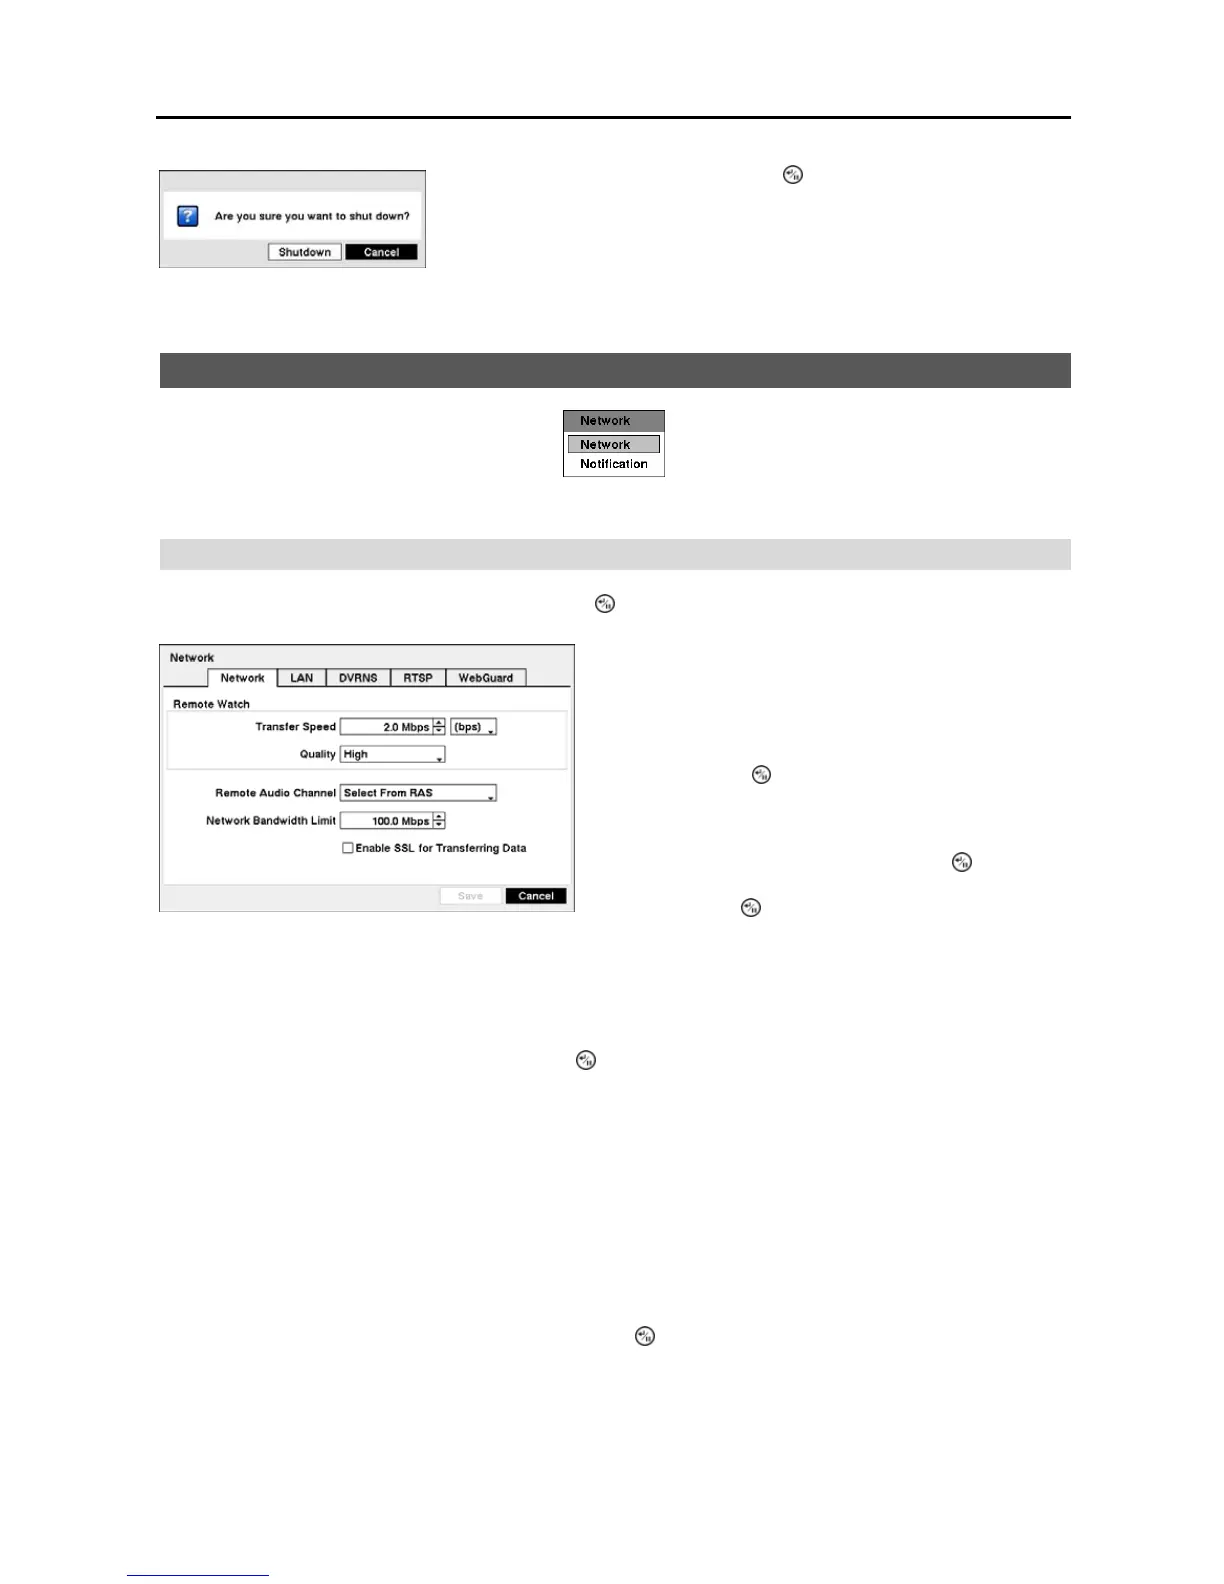
Figure 20 ─ Network menu.
Network
Highlight Network in the Network menu and press the
button. The Network setup screen displays.
NOTE: The higher Quality settings require higher Transfer Speed settings. The transfer speed you set is the
maximum speed. Depending on the network environment, this speed may not be achieved.
The DVR supports two-way audio communication between a local system and a PC running RAS. Highlighting the
box beside Remote Audio Channel and pressing the
button allows you to select the audio channel that sends audio
to the remote site. Selecting Select From RAS will send audio of the channel selected from RAS.
NOTE: Depending on network conditions, audio might be interrupted or out of synchronization during transmission.
NOTE: Recorded audio might NOT be played properly on a PC running RAS when the DVR is connected to more
than two RAS search programs at the same time.
You can limit the network bandwidth settings so that system does not consume too much network bandwidth. Highlight the
box beside Network Bandwidth Limit and press the Up and Down arrow buttons to set the desired maximum bandwidth
from 10Kbps to 100Mbps.
NOTE: When limiting the network bandwidth, the remote watch image on the PC running RAS or WebGuard
might not be displayed properly.
Highlight Enable SSL for Transferring Data and press the button to toggle between On and Off. When it is On,
the security of data except video and audio transmitted for remote monitoring or remote recording can be enhanced by
using the SSL (Secure Sockets Layer) authentication. When using the SSL function, the DVR cannot be connected
with a remote program or a network keyboard which does not support the SSL function.
After selecting Shutdown and pressing the button, a screen will appear telling
you when it is safe to disconnect power.
Figure 21 ─ Network setup screen.
Highlight the first box beside Transfer Speed. Press the
Up and Down arrow buttons to set the Transfer Speed from
50Kbps to 100Mbps.
Highlight the second box beside Transfer Speed. You can
select the unit of measure for the transfer speed between: bps
and ips. Press the
button to set the transfer speed.
NOTE: The local recording speed might be affected by
various network bandwidth (Transfer Speed) conditions.
Highlight the box beside Quality and press the button. You
can select the Quality from: Very High, High, Standard and
Basic. Press the
button to set the Quality.