Installation and Setup Guide
13
Chapter 3 - Getting Started
An initial setup Web interface working at https://NEW_IP:3012 (when the IP change
takes place, you will be disconnected)
The next sections detail separately configuration of a Policy Server or All in one, and a
Scanning Server.
2.3.3 Configuring a Policy Server or All in One
To configure a Policy Server or All in One:
1. Click the Initial Setup Wizard icon as appears in Figure 3-3 to begin the setup
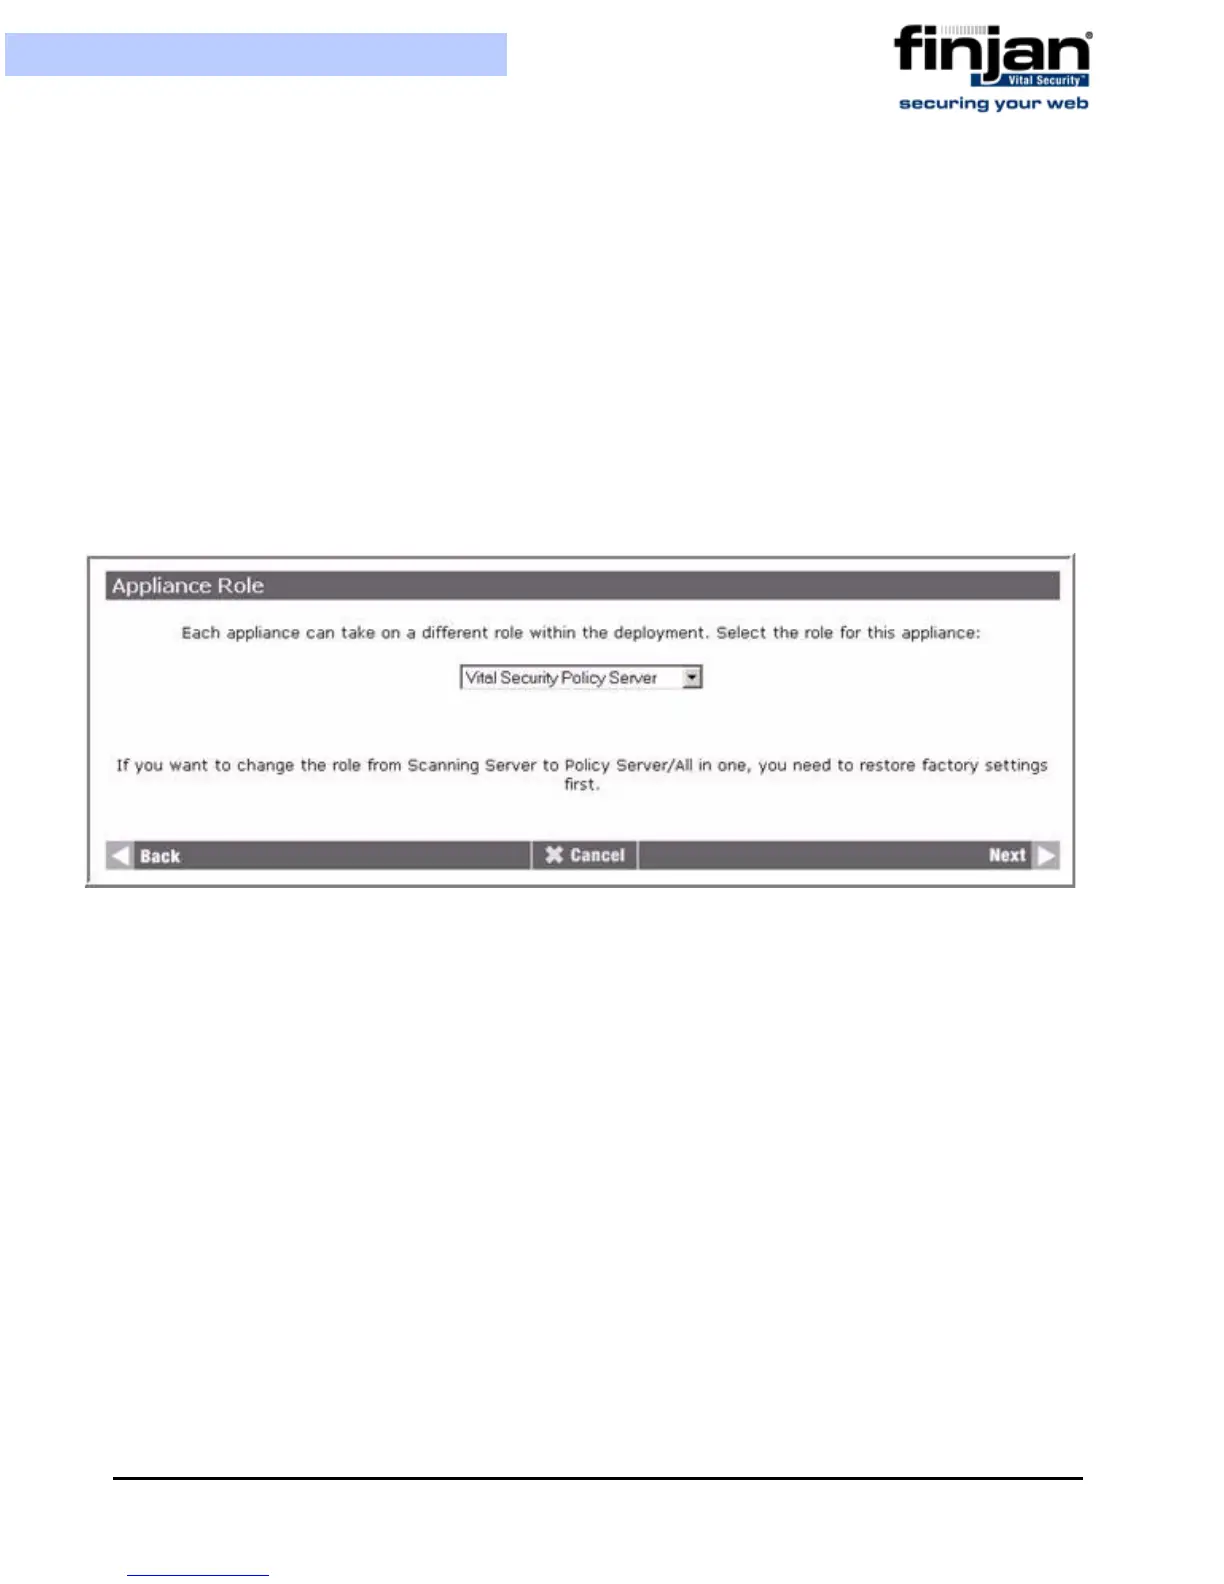
procedure, and in the Welcome screen, click Next. The Appliance Role screen is
displayed.
Figure 3-4: Appliance Role: Policy Server
2.
From the Select a Role drop-down list, select one of the following appliance roles,
and then click Next:
Vital Security Policy Server – Selecting the Vital Security Policy Server
provides only management and reporting services, and requires an
additional appliance for scanning.
Vital Security Scanning Server – Select the Vital Security Scanning Server
if you want to activate this appliance for scanning, while another appliance
is providing the management and reporting services.
All in One – Selecting the All in One appliance provides management,
reporting and scanning services.
None – Initial mode of the Vital Security Appliance.
 Loading...
