34
CLEANING AND MAINTENANCE
AFTER FIRST 4 TO 8 HOURS OF OPERATION
Check and adjust clutch – see clutch manual.
DAILY
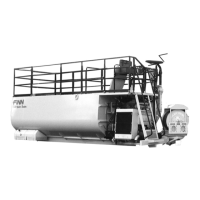
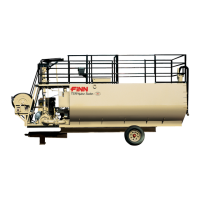
1. Cleaning the HydroSeeder
®
A. Fill slurry tank to center of agitator shaft with clean water.
B. Move agitator lever to full speed to flush off inside of tank top and walls.
C. Remove discharge nozzle and gasket from discharge boom.
D. While aiming discharge hose or boom toward an open area, move discharge valve
handle to discharge position and engage (turn on) clutch. Allow to discharge until clear
water is coming out.
E. Move recirculation valve handle to recirculation and allow to run momentarily.
F. Disengage (turn off) clutch, idle the engine, move valve handle to DISCHARGE
position, move agitator handle to NEUTRAL, and turn off the engine.
G. Remove drain plug and allow tank to drain.
H. In freezing weather, leave main tank drain plug out and remove pump drain plug. Move
all slurry valves to open position.
I. Wash the outside of HydroSeeder®, including radiator, to remove any corrosive
materials.
J. If using lime, DAILY maintenance should be performed after every load.
K. Clean out extension hoses.
L. Replace coupler gasket before reinstalling discharge nozzle onto remote valve coupler
2. Lubricating the HydroSeeder (See LUBRICATION AND FLUIDS CHART):
NOTE: Lubrication should be performed IMMEDIATELY AFTER cleaning of the
equipment with the engine not running.
A. Lubricate the agitator shaft bearings located on the outside front and rear of slurry
tank.
B. Service the automatic pressure lubricator on pump as needed.
C. Check the engine oil and replenish when necessary. Change oil and filter after first 100
hours, then every 250 hours thereafter. Consult the engine operator’s manual for the
correct grade of oil and the engine break-in procedure.
D. Lubricate the swivel on the discharge assembly and the swivel on the hose reel.
E. If equipped with the Air Flush Option, refer to the Air Flush System Manual.