FISCHBEIN
®
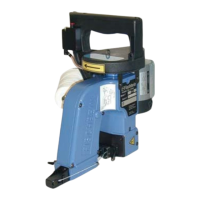
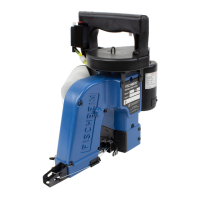
F SERIES PORTABLE SEWING MACHINES
OPERATOR’S MANUAL
REV. H 9/2011
9. Install the new looper into the looper
holder. Make sure that the flat side of the
looper faces the set screw. The looper is
inserted completely to the bottom of the
looper holder.
T
HIS IS VERY IMPORTANT FOR THE
ADJUSTMENT OF THE MACHINE
.
10. Tighten the looper set screw (A).
(Illustration 30)
11. Replace the needle as described in
Section 5.9, page 40.
12. Turn the machine pulley manually and
check the settings between the looper
and needle. Refer to Looper Stroke
Adjustments and Looper Clearance
Adjustment (pages 36-38).
13. Replace the throat plate.
14. Replace the feed dog making sure that it
is set correctly on the height adjustment
screws. (Section 5.4, page 30)
15. Replace the looper cover and check to
see that all screws are tight.
LOOPER ADJUSTMENTS
• Looper Stroke Adjustments
1. Put the machine on a flat surface, with
the looper cover facing you. (System
Illustration, page 11)
2. Raise the presser foot with the lifting
lever. (Illustration 24, page 30)
3. Remove the looper cover. (Illustration
25, page 30)
4. Remove the throat plate.
5. Remove the feed dog by unscrewing the
socket cap screw (A). (Illustration 26,
page 31)
9. Instále el ojo guía nuevo en el
sujetador. Asegúrese que la parte
plana del ojo esté enfrente del juego
de tornillos. El ojo guía se inserta
completamente hasta el fondo del
soporte. ESTO ES MUY
IMPORTANTE PARA EL AJUSTE
DE LA MÁQUINA
10. Apriete el juego de tornillos (A) del
ojo guía. (Ilustración 30).
11. Reempláce la aguja como se
describe en la sección 5.9, página
40.
12. Voltee la polea de la máquina
manualmente y revise el ajuste entre
el ojo guía y la aguja. Refiérase a
Ajuste de Tiempo de Ojo Guía y
ajuste de distancia del Ojo Guía
(pág. 36-38)
13. Reemplace la placa de garganta.
14. Reemplace el alimentador dentado
asegurándose de que se fije
correctamente en los tornillos de
ajuste de altura (Sección 5.4,
página 30).
15. Reemplace la cubierta del ojo guía y
revise que todos los tornillos se
encuentren bien apretados.
AJUSTES DEL OJO GUIA
• Ajuste de Tiempo del Ojo Guía
1. Coloque la máquina en una
superficie plana, con la cubierta del
ojo guía hacia usted (Ilustración
del Sistema, página 11).
2. Levante el pie prensador con la
palanca. (Ilustración 24, página
30)
3. Retire la cubierta del ojo guía.
(Ilustración 25, página 30)
4. Remueva la placa de garganta.
5. Retire el alimentador dentado
destornillando el tornillo cabeza de
encaje (A). (Ilustración 26, página
31).