FISCHBEIN
®
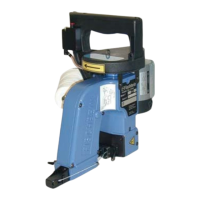
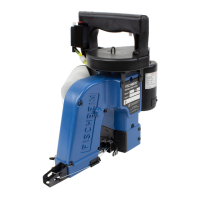
F SERIES PORTABLE SEWING MACHINES
OPERATOR’S MANUAL
REV. H 9/2011
MAINTENANCE
Keep the throat plate clean for smooth bag
flow through the machine. Routinely check
the three fasteners to be sure they are tight.
Check the teeth on the top face of the plate.
Generally, the throat plate should be replaced
if the teeth feel worn to the touch.
THROAT PLATE REPLACEMENT
To replace the throat plate, follow these steps:
1. Unplug the machine from the power
supply and place on a workbench.
2. Lift the presser foot using the lifter
lever. (Illustration 24, page 30)
3. Turn the machine pulley manually to the
point in the cycle, where the needle is
rising and above the throat plate and the
top of the feed dog teeth are even with
the top surface of the throat plate.
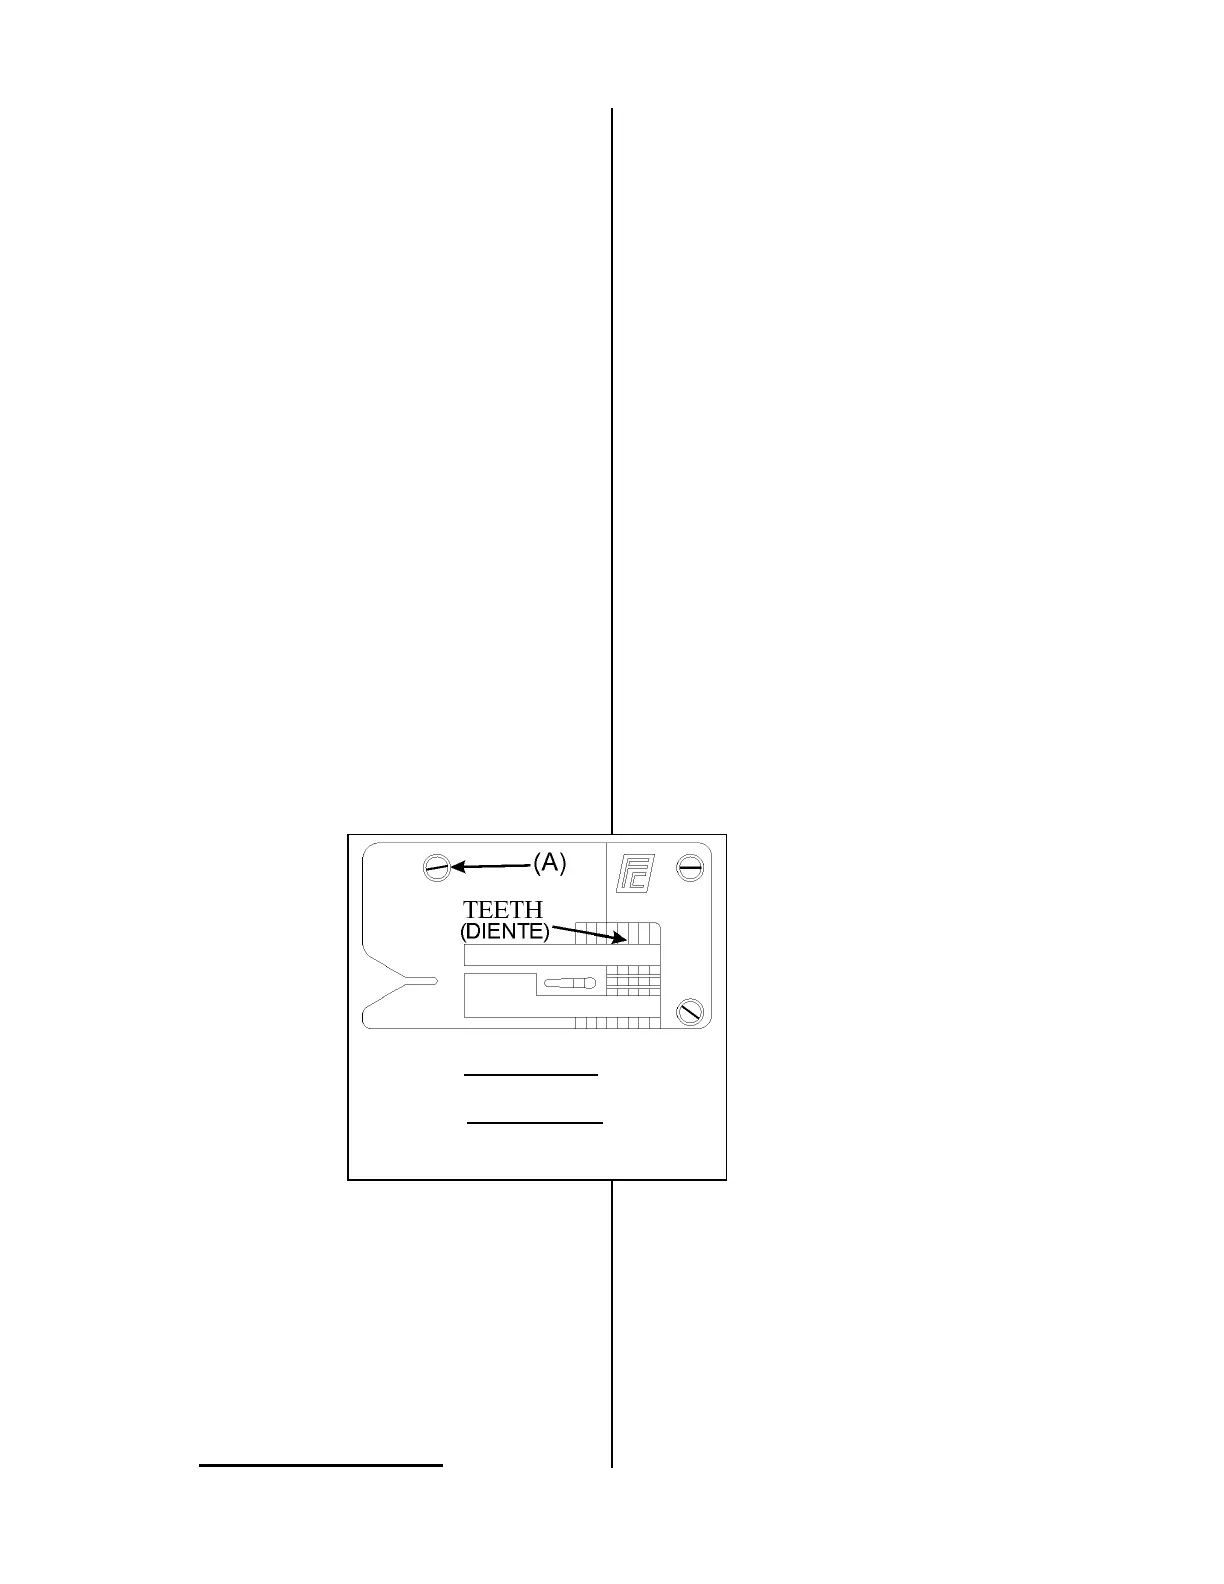
4. Remove the
three screws
(A) that hold
the plate to
the housing.
(Illustration
43)
5. Install the
new throat
plate with the
same three
screws (A).
6. Move the machine pulley manually
through a couple of cycles. Check to see
if the needle and the feed dog easily pass
through the plate without touching. If
there is contact, make the appropriate
adjustments.
5.11 Placa de Garganta
MANTENIMIENTO
Mantenga la placa de garganta limpia para
un flujo uniforme de bolsas a través de la
máquina. Como rutina revise los tres
pasadores para asegurarse de que estén
bien apretados. Revise los dientes en la
parte superior de la placa. Generalmente,
la placa deberá ser cambiada si los dientes
se sienten gastados al tacto.
REEMPLAZO DE LA PLACA GARGANTA
Siga estos pasos para reemplazar la placa
garganta:
1. Desconecte la máquina del
abastecedor de energía y colóquela en
la banca de trabajo.
2. Levante el pie prensador levantando la
palanca. (Ilustración 24, página 30)
3. Rote la polea de la máquina
manualmente hasta el punto del ciclo,
donde la aguja está levantada y por
encima de la placa de garganta
y la parte superior de los
dientes del alimentador dentado
estén al nivel de la superficie
superior de la placa de garganta.
4. Retire los tres tornillos (A) que
sujetan la placa al guarda motor.
(Ilustración 43)
5. Instale la nueva placa de
garganta con los mismos tres
tornillos (A).
6. Mueva la polea de la máquina
manualmente un par de ciclos.
Verifíque para ver que la aguja y el
alimentador dentado pasen fácilmente
a través de la placa sin que se toquen.
Si hay algún contacto, haga los ajustes
apropiados.
ADJUSTMENTS
Illustration 43:
Plain sew throat plate shown.
Ilustración 43:
Mostrando placa de garganta para
costura sensilla