Flashforge Corporation
Dreamer User Guide | www.flashforge.com
Chapter 5: Build Plate Leveling
A correctly leveled build plate is almost a guarantee for a high-quality 3D object.
When there are some troubles in printing process, you should check whether the build
plate is leveled or not firstly. A general rule of thumb is to leave a gap with the
thickness of a piece of paper. However, for printing finer objects (150 micron and
lower), please use a feeler gauge to level the build plate as it requires a lesser gap
between the nozzle and the build plate.
The Dreamer utilizes a three-point leveling system for its build plate. At the bottom of
the build plate, there is one spring-loaded knob in the front and two in the back.
Tightening the screw will create a bigger gap between the build plate and the nozzle
while loosening it will create lesser gap.
5-1
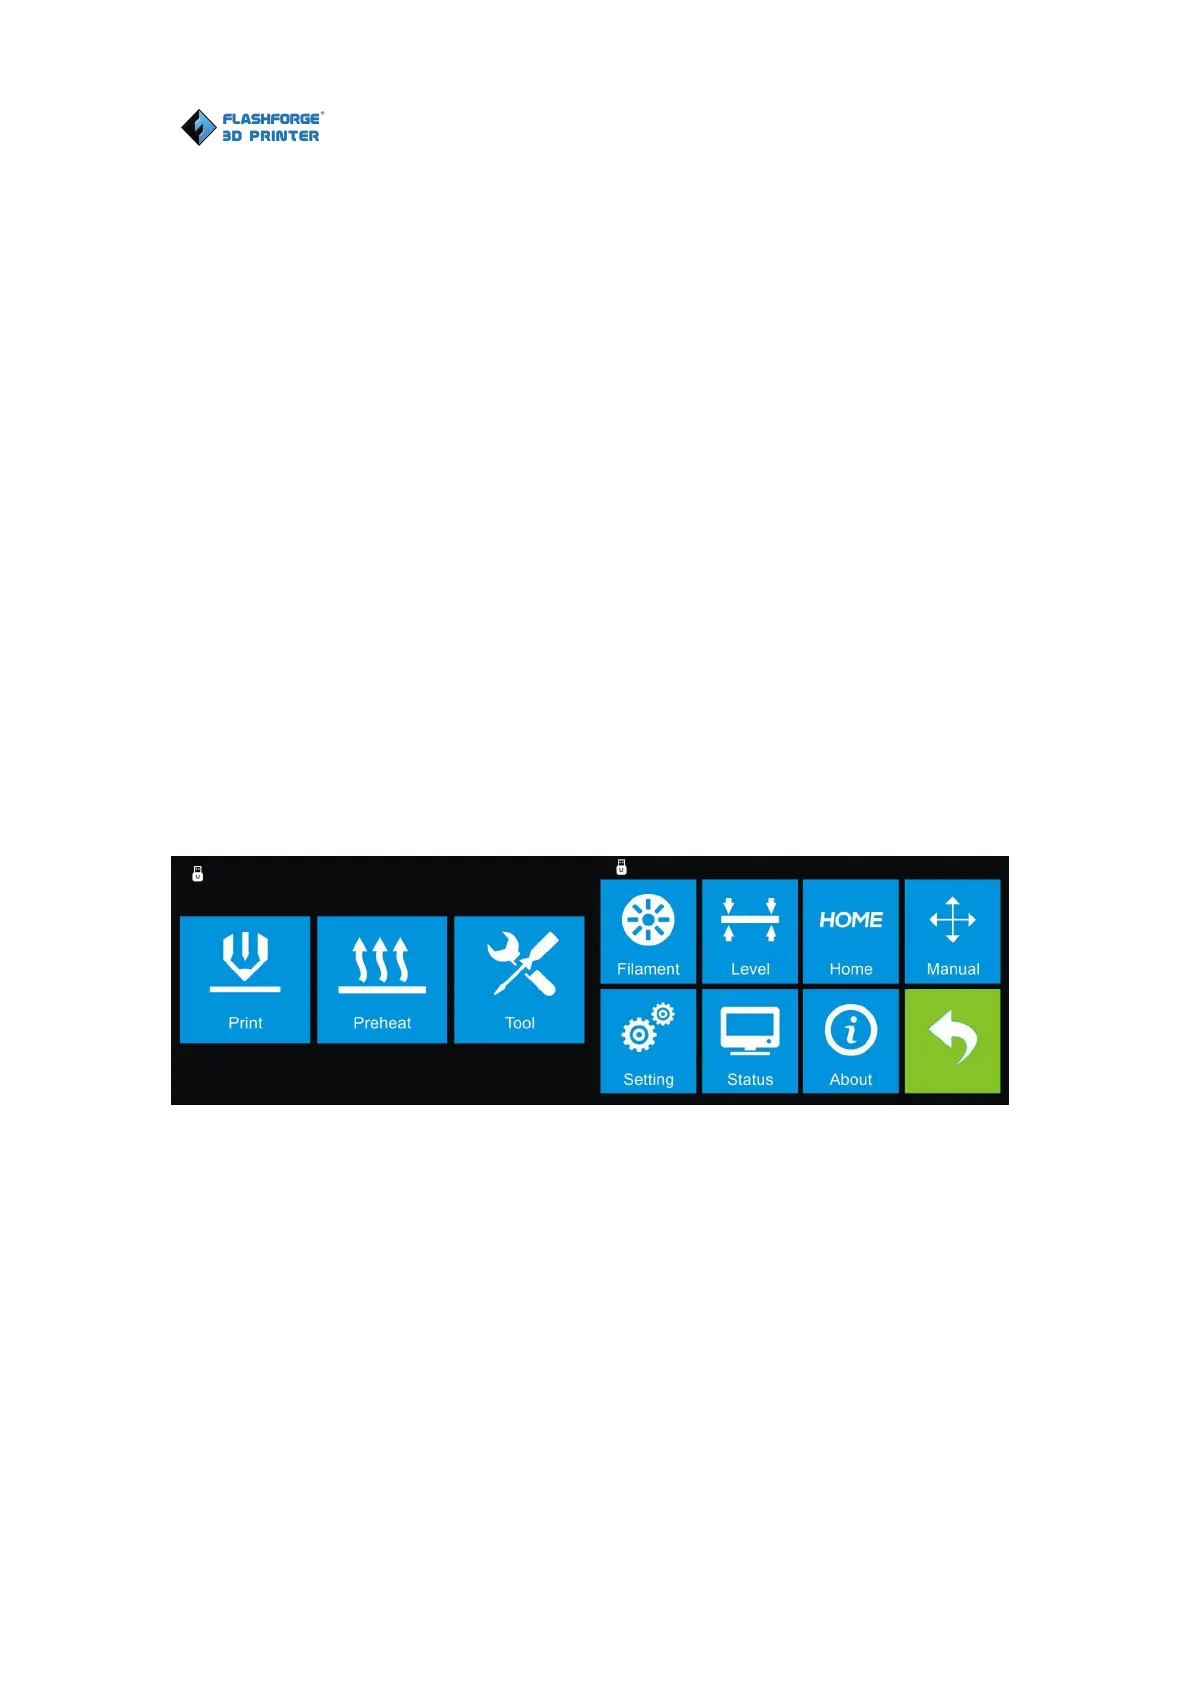
1. (5-1)From the main menu, tap [Tool]-[Level]. The extruder and the build plate
will begin to move to the starting position.