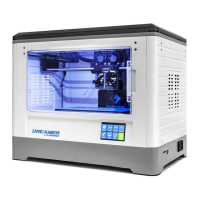
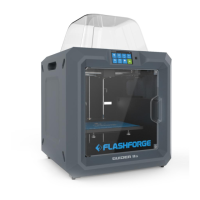
Flashforge Corporation
Dreamer User Guide | www.flashforge.com
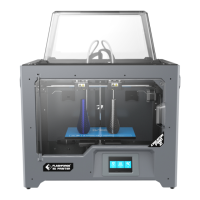
7.2 Methods of pr inting
1. Connect Dreamer to the computer with the USB 2.0 cable.
2. Turn on the Dreamer. Make sure the build plate is leveled and filament is loaded
3. Select [Pr int] from menu bar, then select [Connect].
4. Click on [Rescan], then [Connect].
5. Now the printer is connected with FlashPrint. A status box at the lower right corner
will show the temperature of both extruders and the platform.
6. Click [Pr int] icon, and a printing options screen will appear. Make sure that
“PLA” is selected under Mater ial Left. Advanced settings can be set under [Mor e
Options] . Check the box “Pr int When Slice Done” and click [OK].
7. Save the file at any location, and the object will start slicing
8. After slicing the object, it will automatically upload the gcode to the Dreamer.
9. After the gcode is done uploading, the printer will go preheating. The Dreamer will
begin printing once it has finished preheating.
1. Click [Pr int], and a printing options screen will show up.
2. Make sure that the “Material Left” is selected as “PLA”. Advanced settings can
be set under [More Options] icon.
3. Click [OK], and save the gcode file in the SD card.
4. FlashPrint will begin slicing the 3D model.
5. After slicing the object, take the SD card out from the computer. Insert it into the
SD card slot onto the Dreamer.
6. Turn on the Dreamer. Make sure the build plate is leveled and filament is loaded on