9. Maintenance
3. Attach a dust cap (5) on the socket (4).
4. Carefully open the protective cover (3) on the connector (2).
5. Clean the connector (2) with an optical connector cleaner. See manual of the
optical connector cleaner.
6. Close the protective cover (3).
7. Remove the dust cap (5) from the socket (4).
8. Clean the sockets (4) with an optical connector cleaner. See manual of the optical
connector cleaner.
9. Connect the connector (2) to the socket (4).
P
The connector (2) snaps into the socket (4) with a clicking sound.
P
E-2000/APC connection is cleaned.
10. Repeat the procedure for all connections.
9.2.2 Replacing the PWR Connector
Table 48: Material and equipment
Name Type Quantity GTIN
Power supply connector MC 1,5/ 2-GF-3,81 1 4017918050313
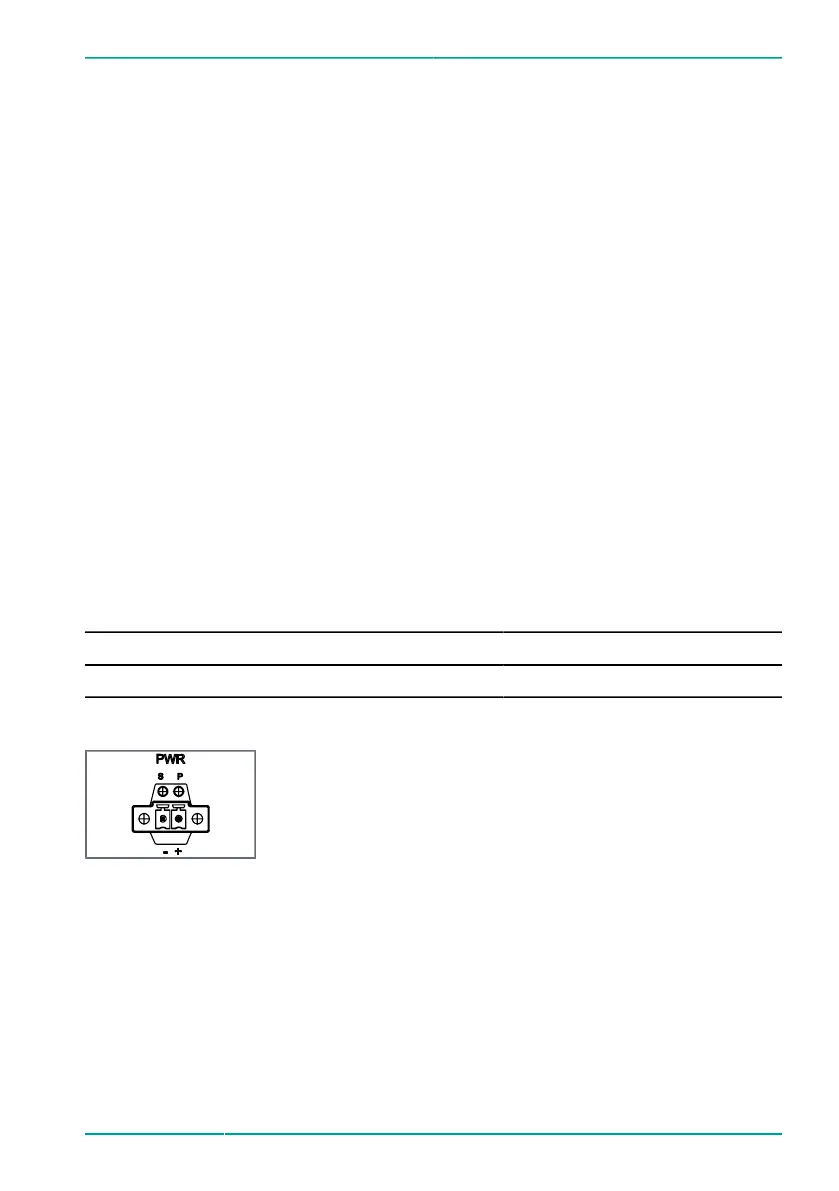
Figure 30: PWR
connector
Replacing the PWR connector:
1. Switch off the power supply.
2. Remove the MC 1,5/ 2-GF-3,81 connector from the PWR
connector.
3. Remove the power supply cable from the MC 1,5/ 2-
GF-3,81 connector.
4. Dispose of old MC 1,5/ 2-GF-3,81 in accordance with local
regulations.
5. Attach the cable of the power supply to the MC 1,5/ 2-
GF-3,81 connector.
Observe the pin assignments (+) and (-) on the PWR
connector.
© fos4X 2020
MDE1195_4-10_1.3.x_5.0_Blackbird
OECD_(9CH, PRN)-en-us
65 / 76
 Loading...