Owner’s Manual Page 78Water and Waste Systems - Section J
from green to red (Figure J-11) or when the waste
levelindicatorfortheVacu-ushsystemreads
almost full. DO NOT ALLOW THE TANK TO
BECOME OVERFILLED.
Figure J-11: Porta-Potti
If equipped with the head pump out, the waste
can be removed from the tank at a pumping station.
AdeckplatettinglabeledWASTE,isprovidedfor
this purpose. Most marina fueling facilities provide
service for waste pump out. For waste holding
capacities,pleaserefertothespecicationsheet,
manufacturer’s literature and/or our website.
To pump out the holding tank:
1. Connect the dockside pump out connection to the
WASTE plate located on the deck.
NOTICE
Usually the dockside pump out connection
will screw into the waste deck plate or has a
rubber sleeve that inserts into the plate and
must be held in position during the pump out
operation.
2. Have the pumping station operator activate the
pumping equipment. The waste will be drawn from
the holding tank and into the pumping stations
disposal tank.
3. Remove the pump out connection from the deck
plate. Add 1 gallon of clean water to the holding
tankthroughthewastedeckttingusingadock-
s
ide water hose.
4. Repeat steps 1 & 2 above to pump out the water
usedinstep3toushtheholdingtank.
5. Add waste holding tank treatment chemical avail-
able from the dockside pumping station operator
to the head. Flush at least twice.
Be careful when handling and storing treat-
ment chemicals. Not only are they toxic, but
they will also stain and damage surrounding
surface.
Bellows Flush Operation:
1
. Pull out holding tank valve handle (Figure J-8).
2. Push down on bellows to rinse the bowl.
3. Push valve handle all the way in to ensure an
odor-tight seal.
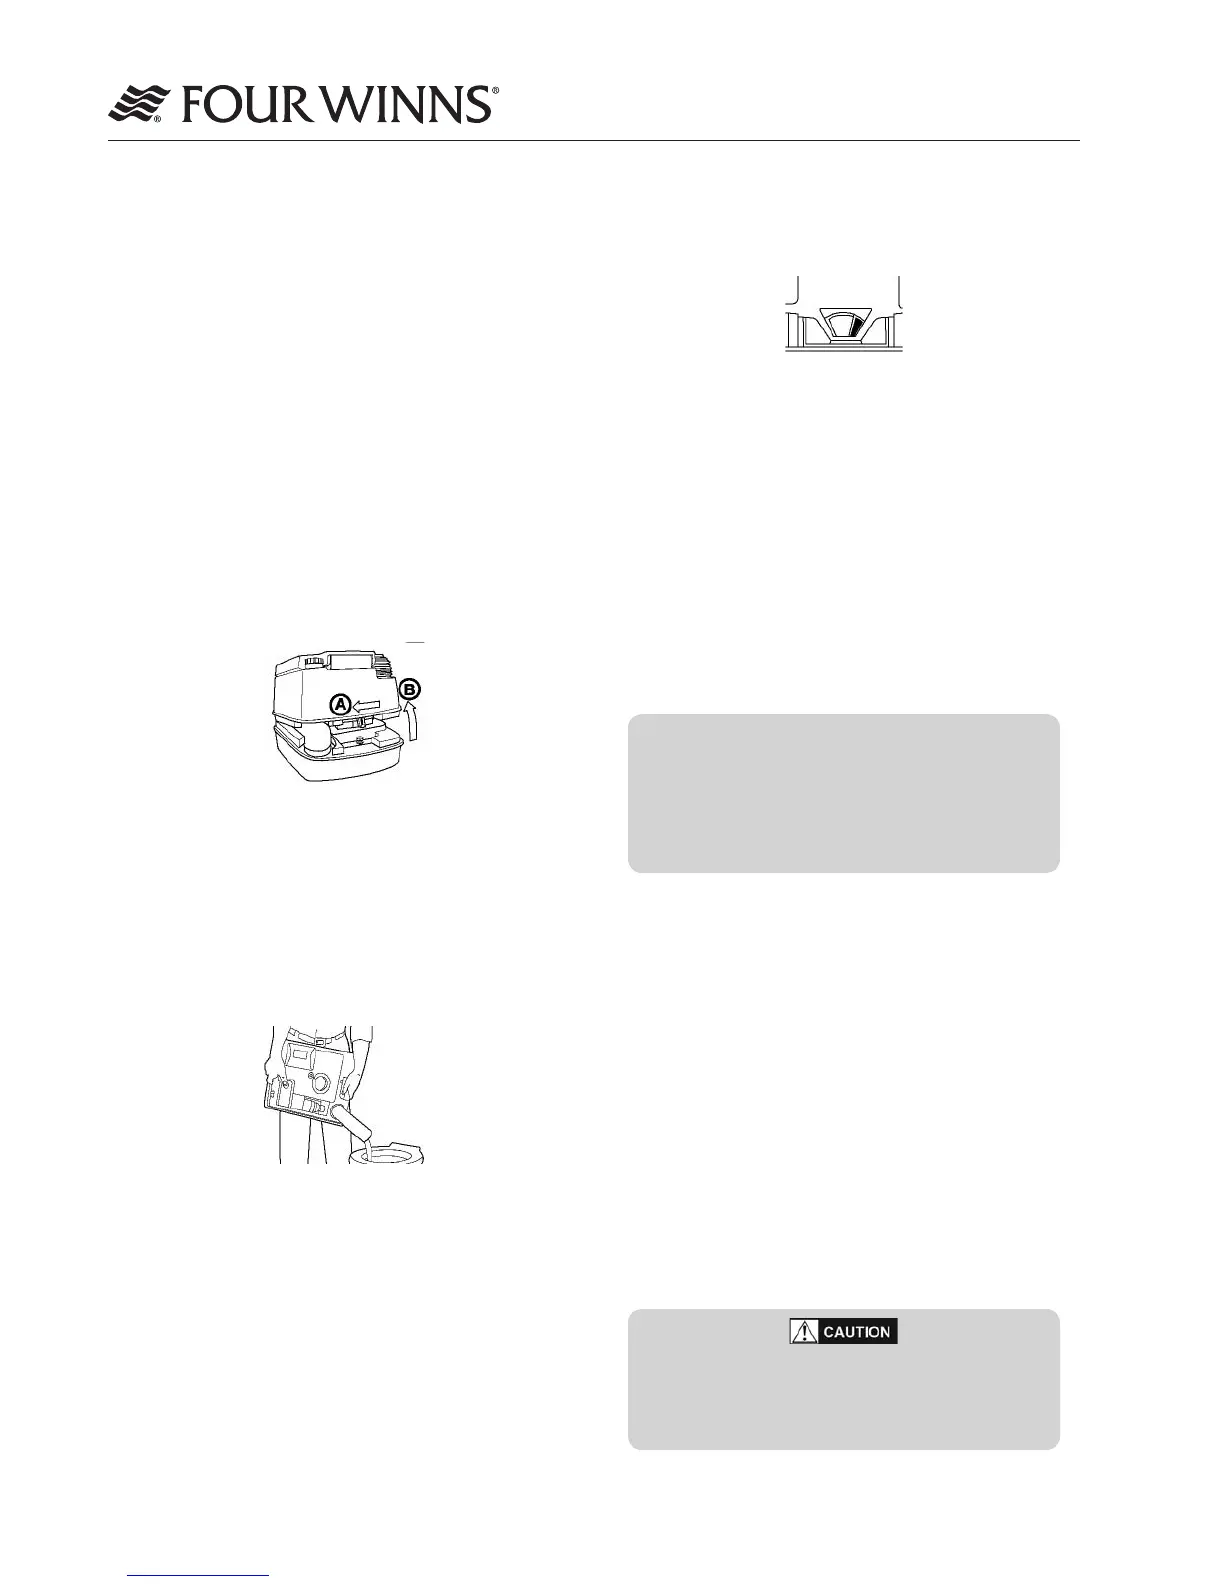
Emptying of Portable Models:
1
. Empty when waste holding tank level appears
full DO NOT ALLOW THE TANK TO BECOME
OVERFILLED.
2. Make sure waste valve handle is in the closed
position.
3. Remove fresh water tank from waste holding tank
(Figure J-9).
Figure J-9: Removing Fresh Water Tank
4. Remove waste holding tank from hold down
brackets.
5. Carry the waste holding tank to any permanent
toilet facility. Rotate the pour-out spout to the
desired position. Remove the cap. Depress the air
relief valve with your thumb while emptying (Figure
J-10).
Figure J-10: Emptying Waste Holding Tank
6. Rinse waste holding tank and recharge as de-
scribed under preparation portion of this section.
7. Reassembleunitandfastentooorordeck.
B. Head Pump Out
The waste holding tank should be emptied when
waste holding tank level gauge indicator on the porta
potti (models with pumpout option only) has changed