Step Action
4
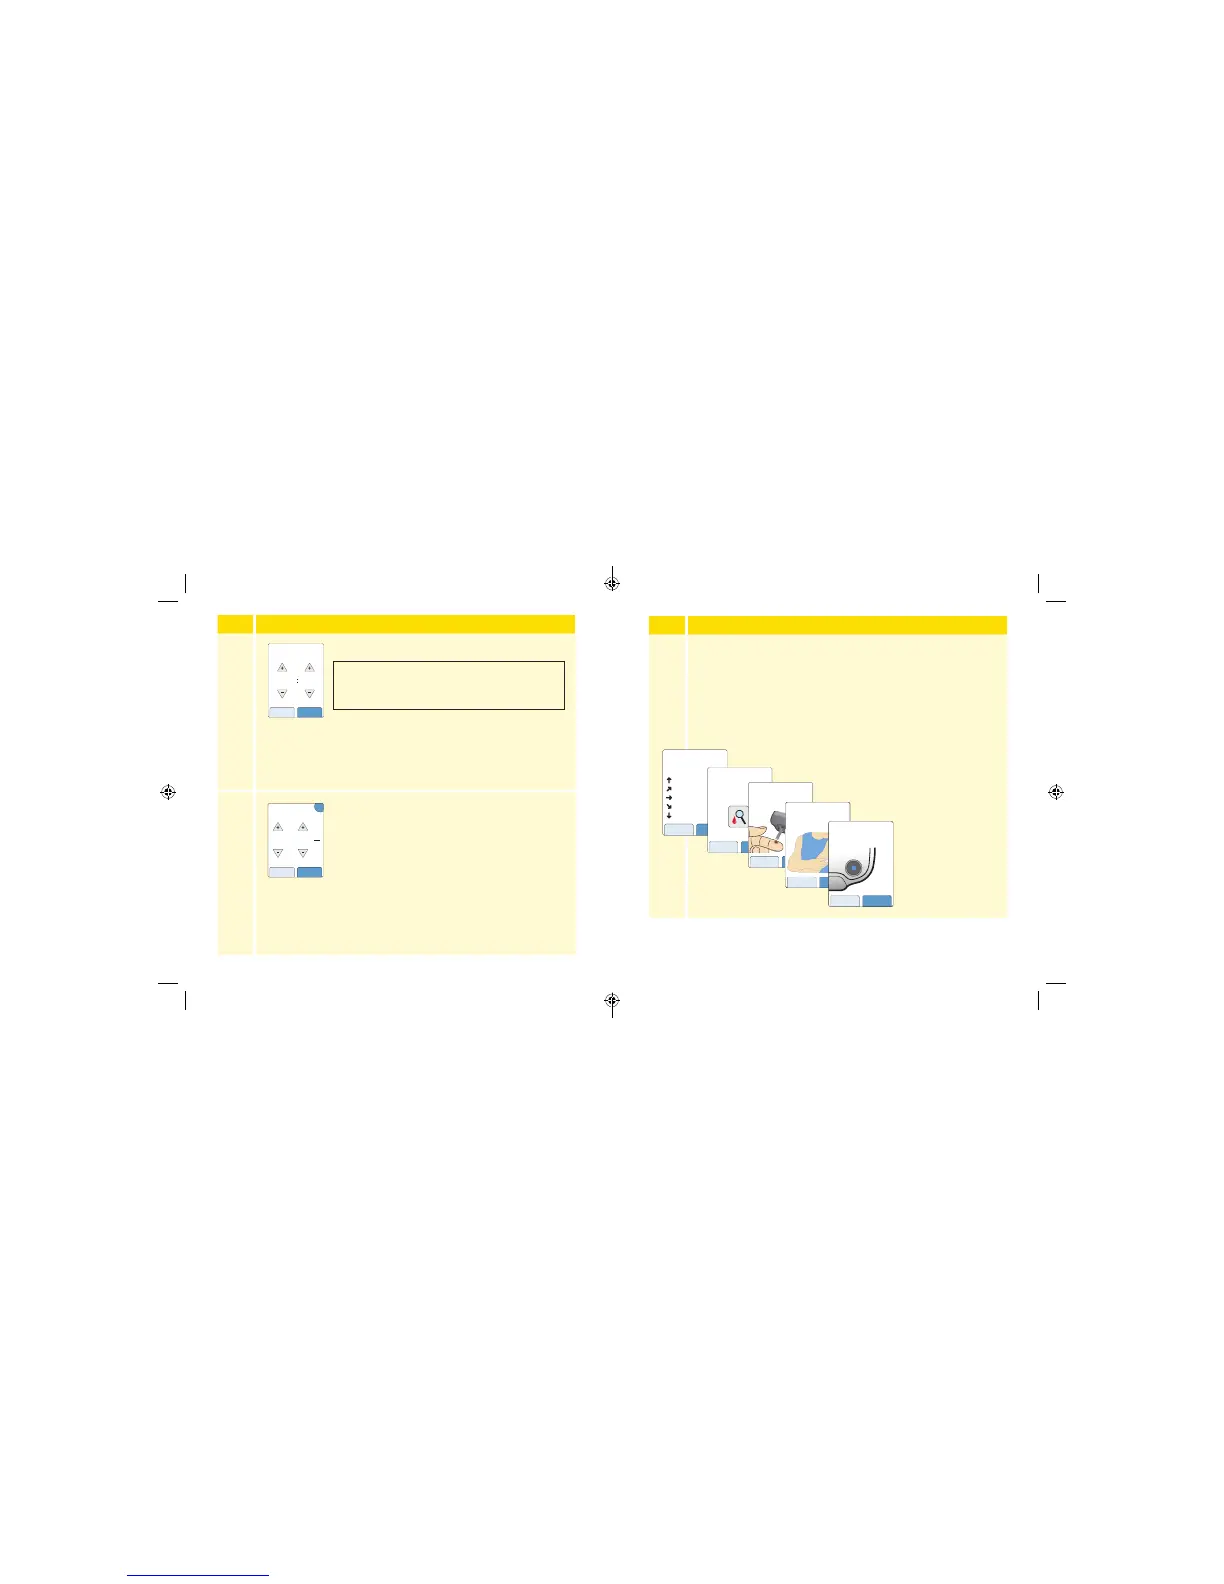
Set the Current Time. Touch next to continue.
5
Set your Target Glucose Range. Work with your
health care professional to determine your Target
Glucose Range. Touch next to continue.
Note: Your Target Glucose Range is displayed
on glucose graphs on the Reader and used to
calculate your Time In Target.
12 am 00
back next
Current Time
CAUTION: It is very important to set the time
and date correctly. These values aect the
Reader data and settings.
mg
dL
80
to
140
back next
Target Glucose
Range
?
Step Action
6
The Reader now displays important information about key
topics to help you use the System:
• How to understand the Glucose Trend Arrow included on
the Glucose Reading screen.
• When to do a blood glucose test.
• Where to apply the Sensor.
• How to return to the Home Screen from any other screen.
Touch next to move
to the next topic.
At the end of the
Reader setup, touch
done to go to the
Home Screen.
Note: Charge the Reader if the battery level is low. Only use the USB cable
and power adapter included with the System.
nextback
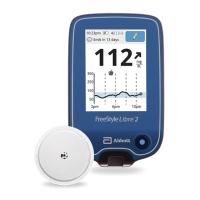
When you scan your
Sensor an arrow will
indicate your recent
glucose trend:
Rising quickly
Rising
Changing slowly
Falling
Falling quickly
If you see this symbol, do
a blood glucose test before
making treatment
decisions.
back next
If the Sensor glucose
reading does not match
how you feel, do a blood
glucose test.
back next
nextback
The Sensor can only be
applied to the back of
your upper arm.
doneback
While using the Reader, press
the Home Button to return to
the Home Screen.
19 20
ART38553-101_rev-A_manual.indd 19-20 2/1/18 2:13 PM