61 PB
INSTALLATION
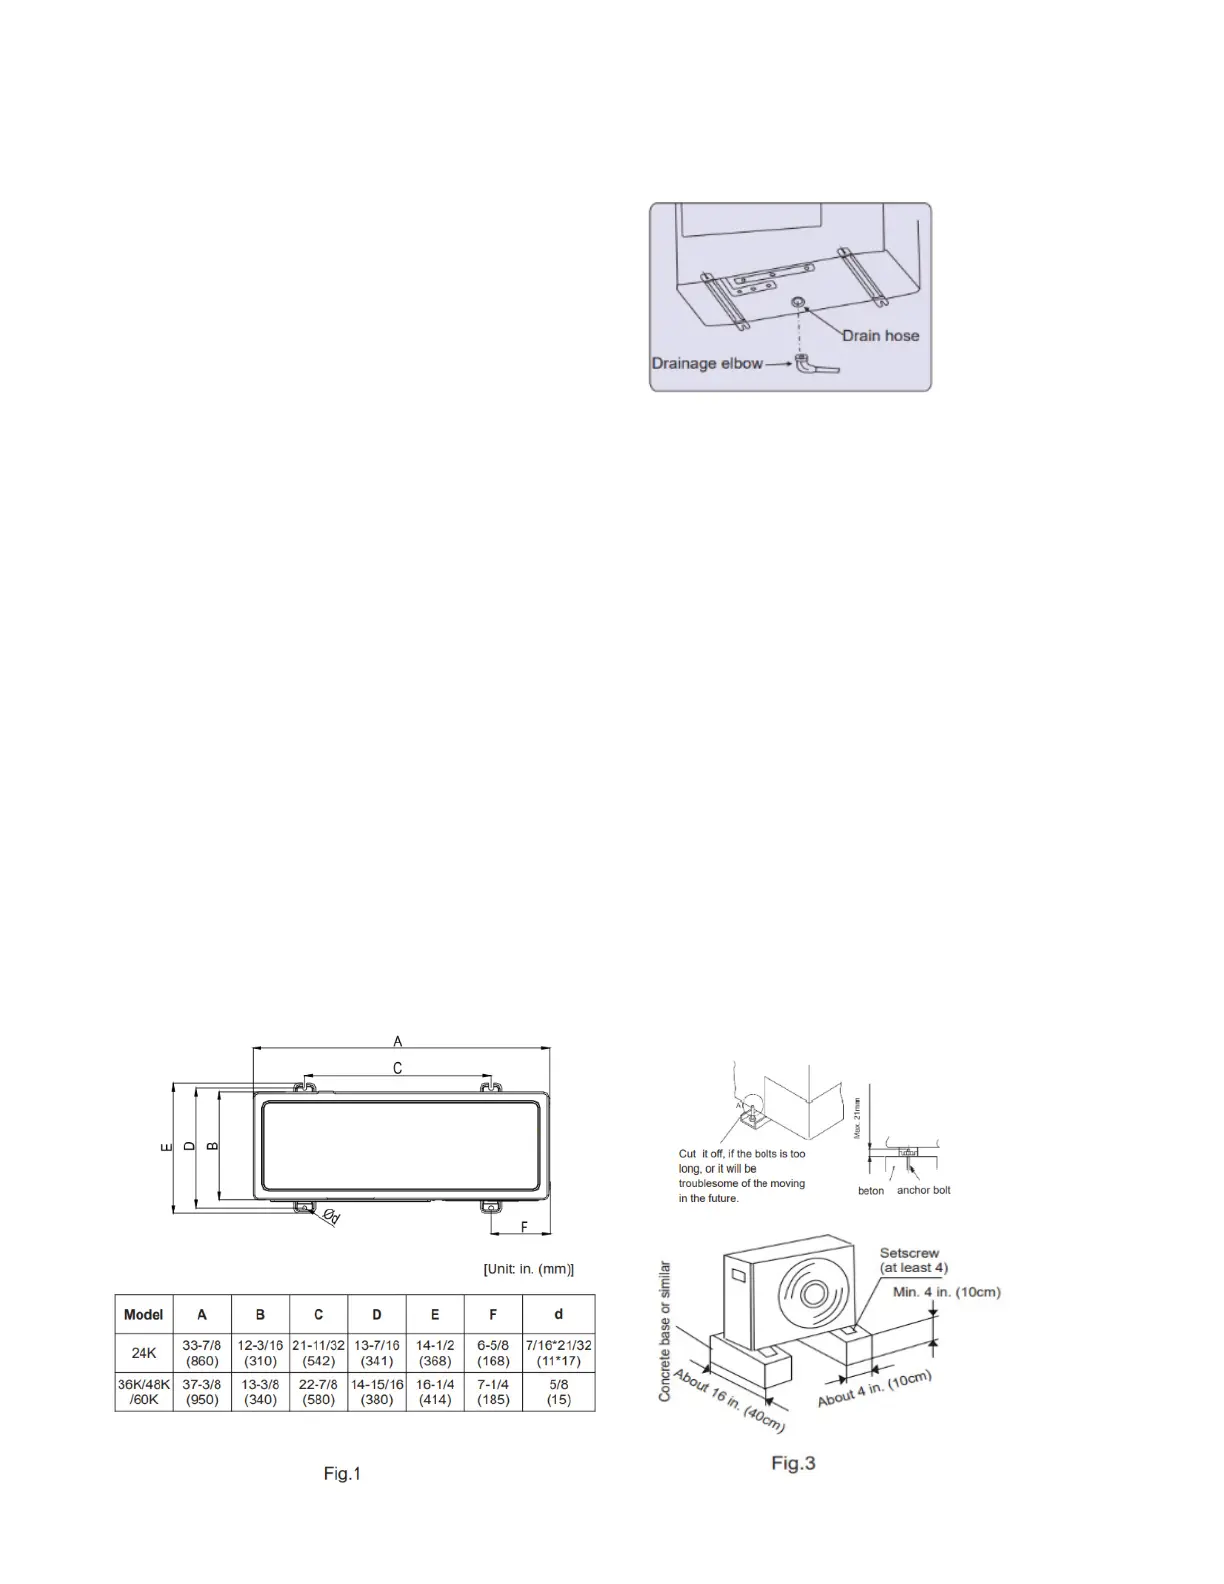
Outdoor Unit Drainage Elbow and Condensate Hose Installation
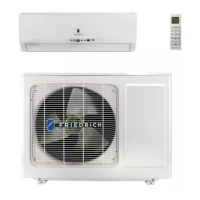
Outdoor Unit Installation
Install drainage elbow and condensate drain hose
• Condensate may drain from the outdoor unit when the unit
operates in heating mode. It is recommended to install the
supplied elbow to allow installer to direct drainage away from
the unit.
• Connect the condensate drain hose [field-supplied, inside
diameter: 3/5" (15mm) ] as shown in the figure for drainage.
NOTE:
Do not use the drainage elbow in cold climate
applications. If elbow must be used, field supplied
insulation should be considered as drain may
freeze and stop the fan operation if basepan heater
cannot overcome ice build up due to stoppage.
(1) Use washers when mounting the unit with bolts to the foundation.
(2) When fastening the outdoor unit with bolts. Reference Fig 1. for fastener hole locations.
(3) Fasten the outdoor unit as shown in Fig 2.
(4) Make sure to fasten the outdoor unit tight and horizontal to ensure the unit operates correctly.
(5) Make sure the condensate drain is routed away to ensure safe and reliable operation.
(6) Use a robust base for the equipment (made of concrete, etc.) The equipment should be installed no less than 4" (10
cm) above grade level, to ensure proper drainage and operation. Failing to meet the installation requirements may
reduce equipment life cycle. (Fig.3)
Refrigerant additional charge
The outdoor unit is pre-charged with refrigerant to accommodate a total piping length of 25ft (7.6m).
Additional refrigerant (R410A) is required for extending the piping beyond 25ft (7.6m).
24K/36K: Additional refrigerant charge= (L-25) ft ×0.38 oz/ft
48K/60K: Additional refrigerant charge= (L-25) ft ×0.60 oz/ft
2. Piping material
(1) Use local supplied copper piping
(2) Use clean copper pipes. Make sure that there is no dust and moisture inside the pipes. Blow the inside of the
pipes with nitrogen or dry air to remove any dust or foreign material before connecting pipes.
(3) Piping thickness and material of the pipe are shown as below.
7
 Loading...