67
EN
To display the actual welding current during welding:
- Press the Parameter selection button to select the welding current parameter
- The actual welding current is shown on the digital display during welding.
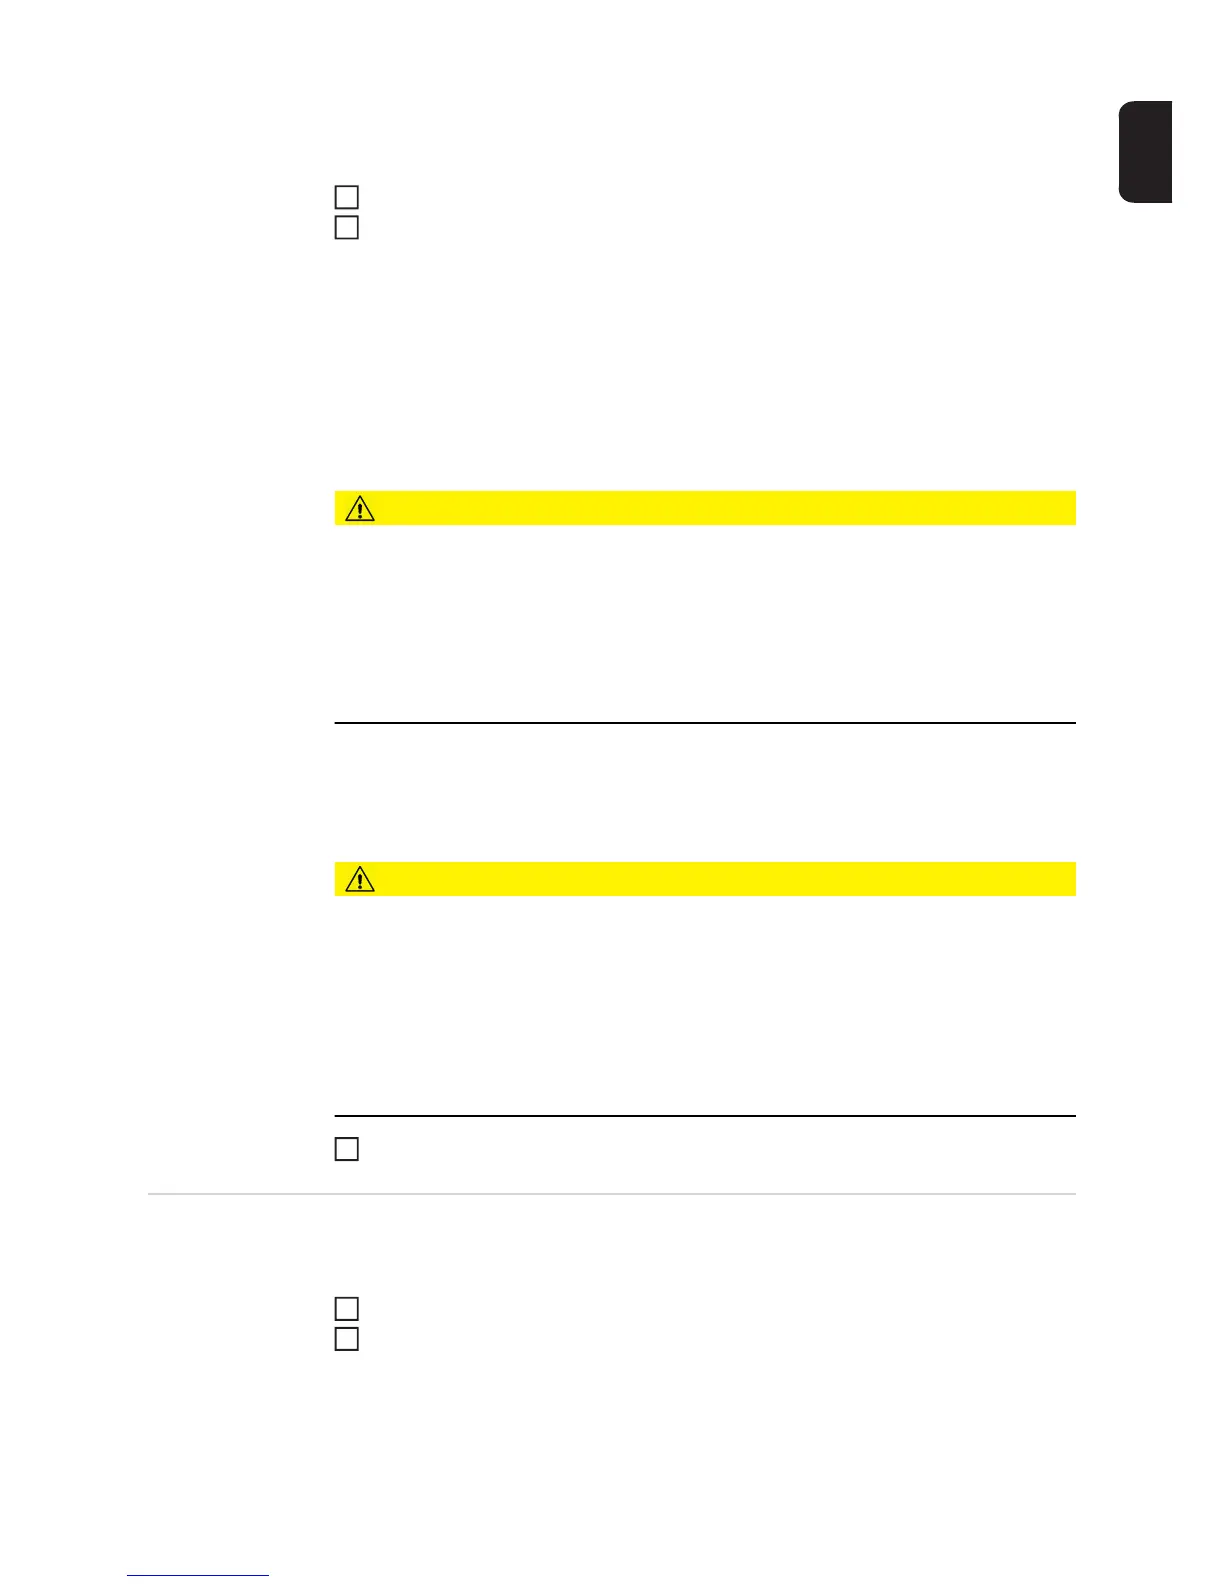
Open the gas cylinder valve
Set the shielding gas flow rate:
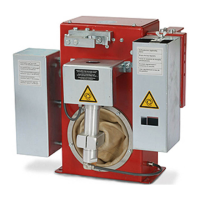
If there is a Feeder inching/Gas test button:
- Press the Feeder inching/Gas test button upwards
- Turn the adjusting screw on the underside of the pressure regulator until the pres-
sure gauge shows the required gas flow rate
- Press the Feeder inching/Gas test button upwards again
If there is no Feeder inching/Gas test button:
- Press the Mode button to select 2-step mode
- Set the "Ito" parameter to "Off" in the set-up menu
- Disengage the feed rollers
CAUTION!
Risk of injury and damage from electric shock and from the wire electrode emerging
at speed from the torch.
When pressing the torch trigger:
► keep the welding torch away from your face and body
► wear suitable protective goggles
► do not point the welding torch at people
► make sure that the wire electrode does not touch any conductive or earthed parts, such
as the housing, etc.
- press and hold the torch trigger
- turn the adjusting screw on the underside of the pressure regulator until the pres-
sure gauge shows the required shielding gas flow rate
- release the torch trigger
- engage the feed rollers
CAUTION!
Risk of injury and damage from electric shock and from the wire electrode emerging
at speed from the torch.
When pressing the torch trigger:
► keep the welding torch away from your face and body
► wear suitable protective goggles
► do not point the welding torch at people
► make sure that the wire electrode does not touch any conductive or earthed parts, such
as the housing, etc.
Press the torch trigger and start welding
Corrections dur-
ing welding
To obtain the best possible welding results, the arc length correction and dynamic welding
parameters will sometimes need to be corrected.
Press the "Parameter selection" buttons to select the parameters you wish to correct.
Use the adjusting dials to set the selected welding parameters to the required values.
Welding parameter values are shown in the indicators located above them.
8
9
10
1
2