4-8
Ver.1.36
(1) “Check” the Furnace and Interface checkboxes (B) to turn the heaters ON.
(2) Type in a furnace temperature in C, and allow it to stabilize.
(3) Enter a desired time in D. if the Selective Sampler is used, the sample vapors formed during the
time defined in D after the “Start” button is clicked in (7), are introduced into the separation
column.
(4) In the case where accessory devices such as Selective Sampler and MicroJet Cryo-Trap are
automatically controlled, click on the “Settings” button (E) to display the accessory devices
set-up screen. Then check the checkboxes for the needed devices.
(5) Place sample in a sample cup and attach the sample cup to the sampler. Then attach the
sampler to the Pyrolyzer. Wait 2 minutes in order to purge the dead space at the sampler –
furnace coupling.
A Double-Shot sampler can be used as a Single-Shot sampler. Just slide down the sampler head and
secure it at Single-Shot position.
(6) Press “START” button.
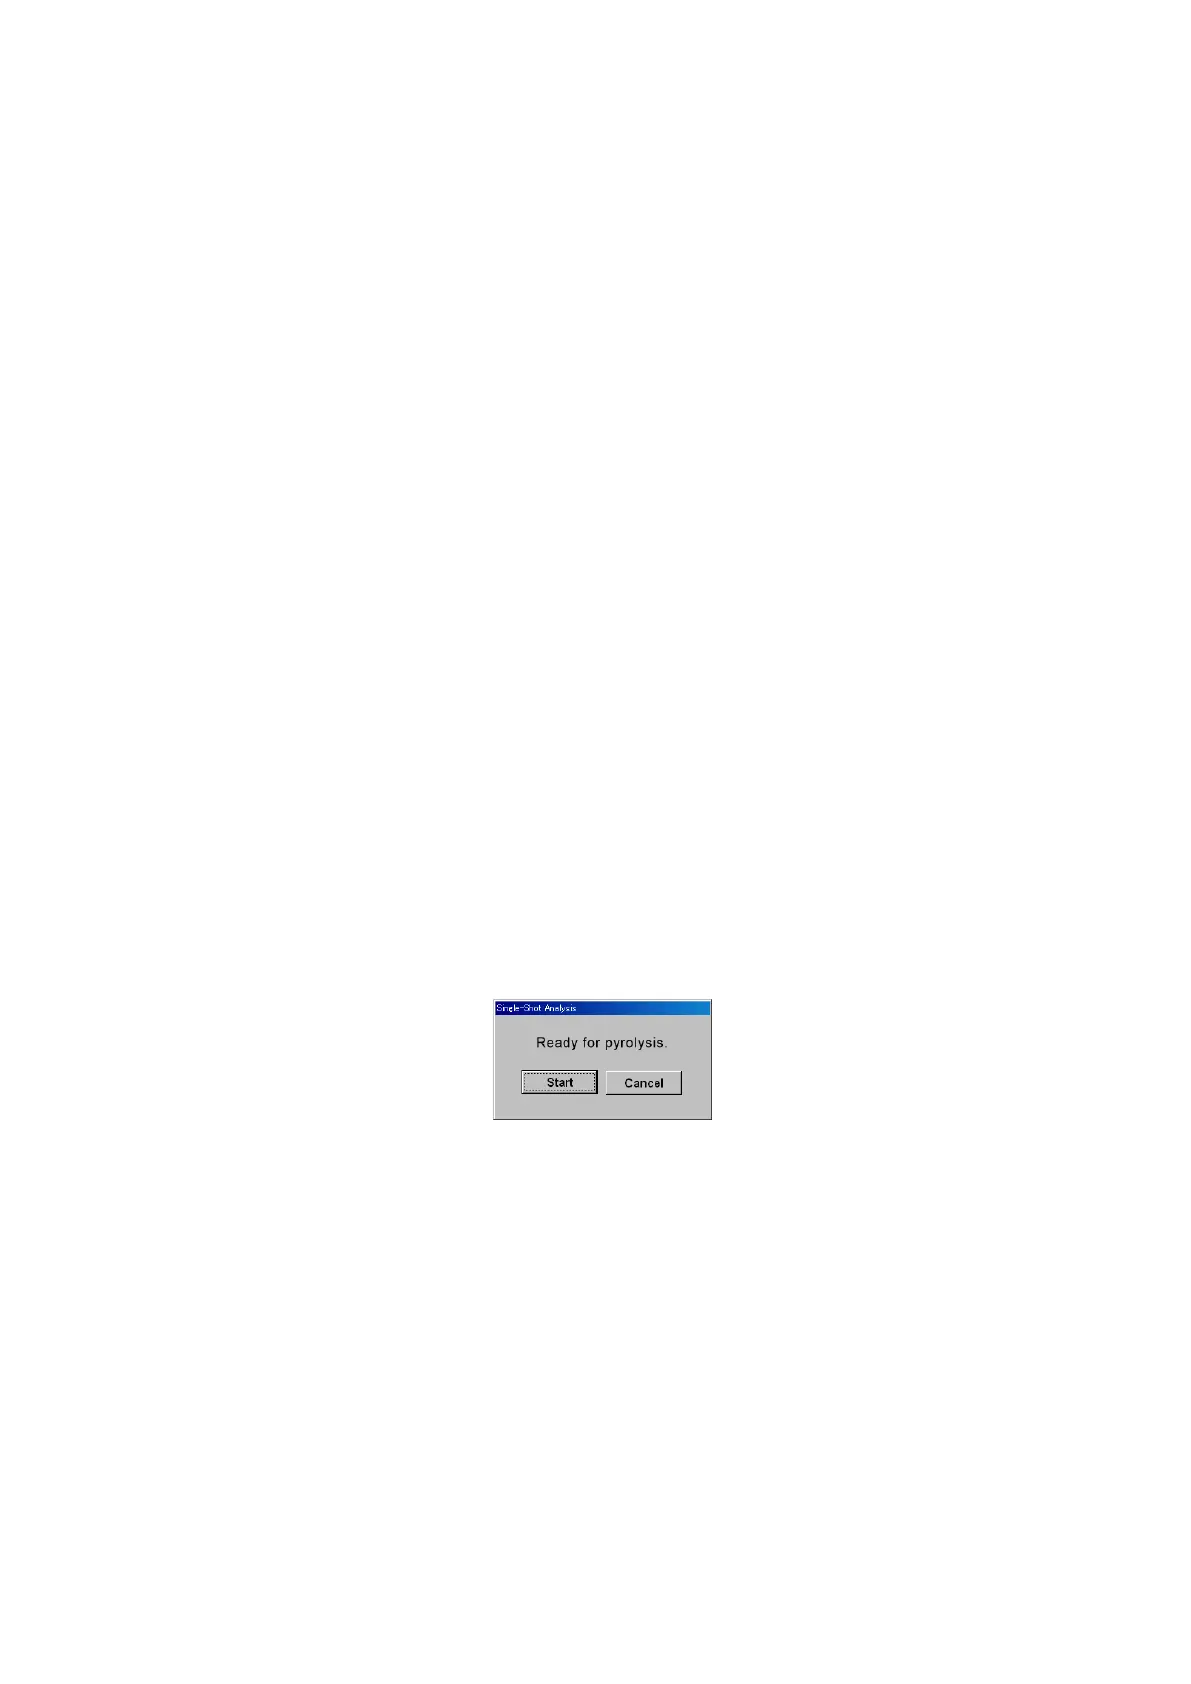
(7) The dialog box shown in Fig. 4.8 indicates when the GC, Pyrolyzer, Interface, Selective Sampler
and MicroJet Cryo-Trap are all READY. Manually press the sample drop button on the top of the
sampler. This releases the cup which drops into the furnace. Immediately click on the “Start”
button of the dialog box or hit the “ENTER” key on the PC keyboard.
Fig. 4.8 Start dialog box for Single-Shot Analysis
 Loading...