Adjustments and Maintenance Procedures
171
Maintenance
10
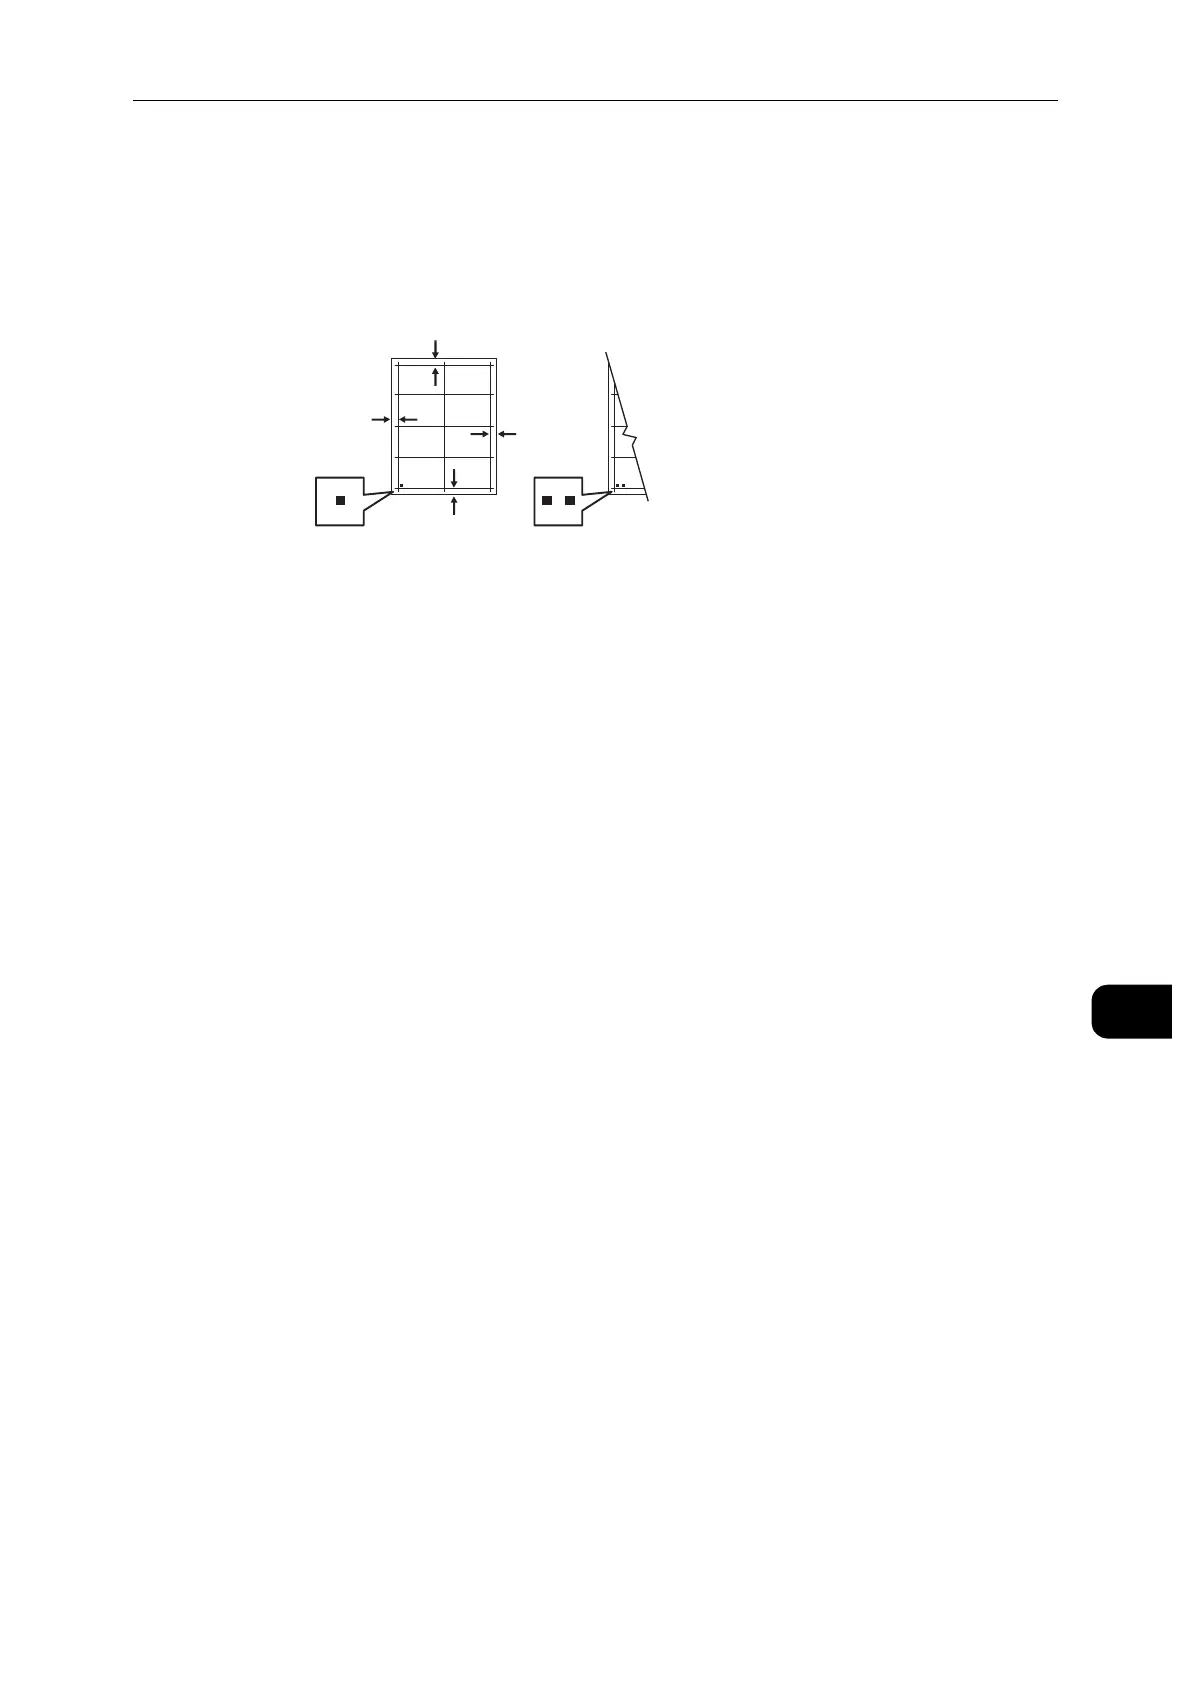
8 On the sample pages, use a ruler to measure the distance of the printed image from the
top, bottom, left, and right edges.
For identification, a single dot is printed on Side 1, and two dots are printed on Side 2.
9 If the image is centered, no adjustment is required. If the image is not centered, adjust the
paper registration. For details, refer to "Performing a Paper Registration Adjustment"
(P.171).
Performing a Paper Registration Adjustment
1 Press the Home button.
2 Touch [Device] > [Support] > [Image Position].
3 To adjust registration, select the source paper tray.
1) Touch [Paper Supply].
2) Touch the desired tray.
4 Using the chart printed in Verifying Paper Registration, select the side for registration.
1) For adjusting Side 1, touch [Adjusted Side], then touch [Side 1].
2) For adjusting Side 2, touch [Adjusted Side], then touch [Side 2].
5 To adjust the registration, touch [Lead/Side Registration].
1) To adjust the side-to-side registration, for [Side Registration], touch the Plus icon (+) or
the Minus icon (-).
2) To adjust the top-to-bottom registration, for [Lead Registration], touch the Plus icon (+)
or the Minus icon (-).
For reference, position the chart so that Side-1 or Side-2 dots are at the bottom of the page.
For Lead Registration, a positive value shifts the image down the page.

 Loading...