04-08
Step-5. Fasten the tightening nut with a wrench
The tightening nut hold the body side coupling with a wrench,
then tighten with a torque wrench.
(See the table below for the tightening nut tightening torques.)
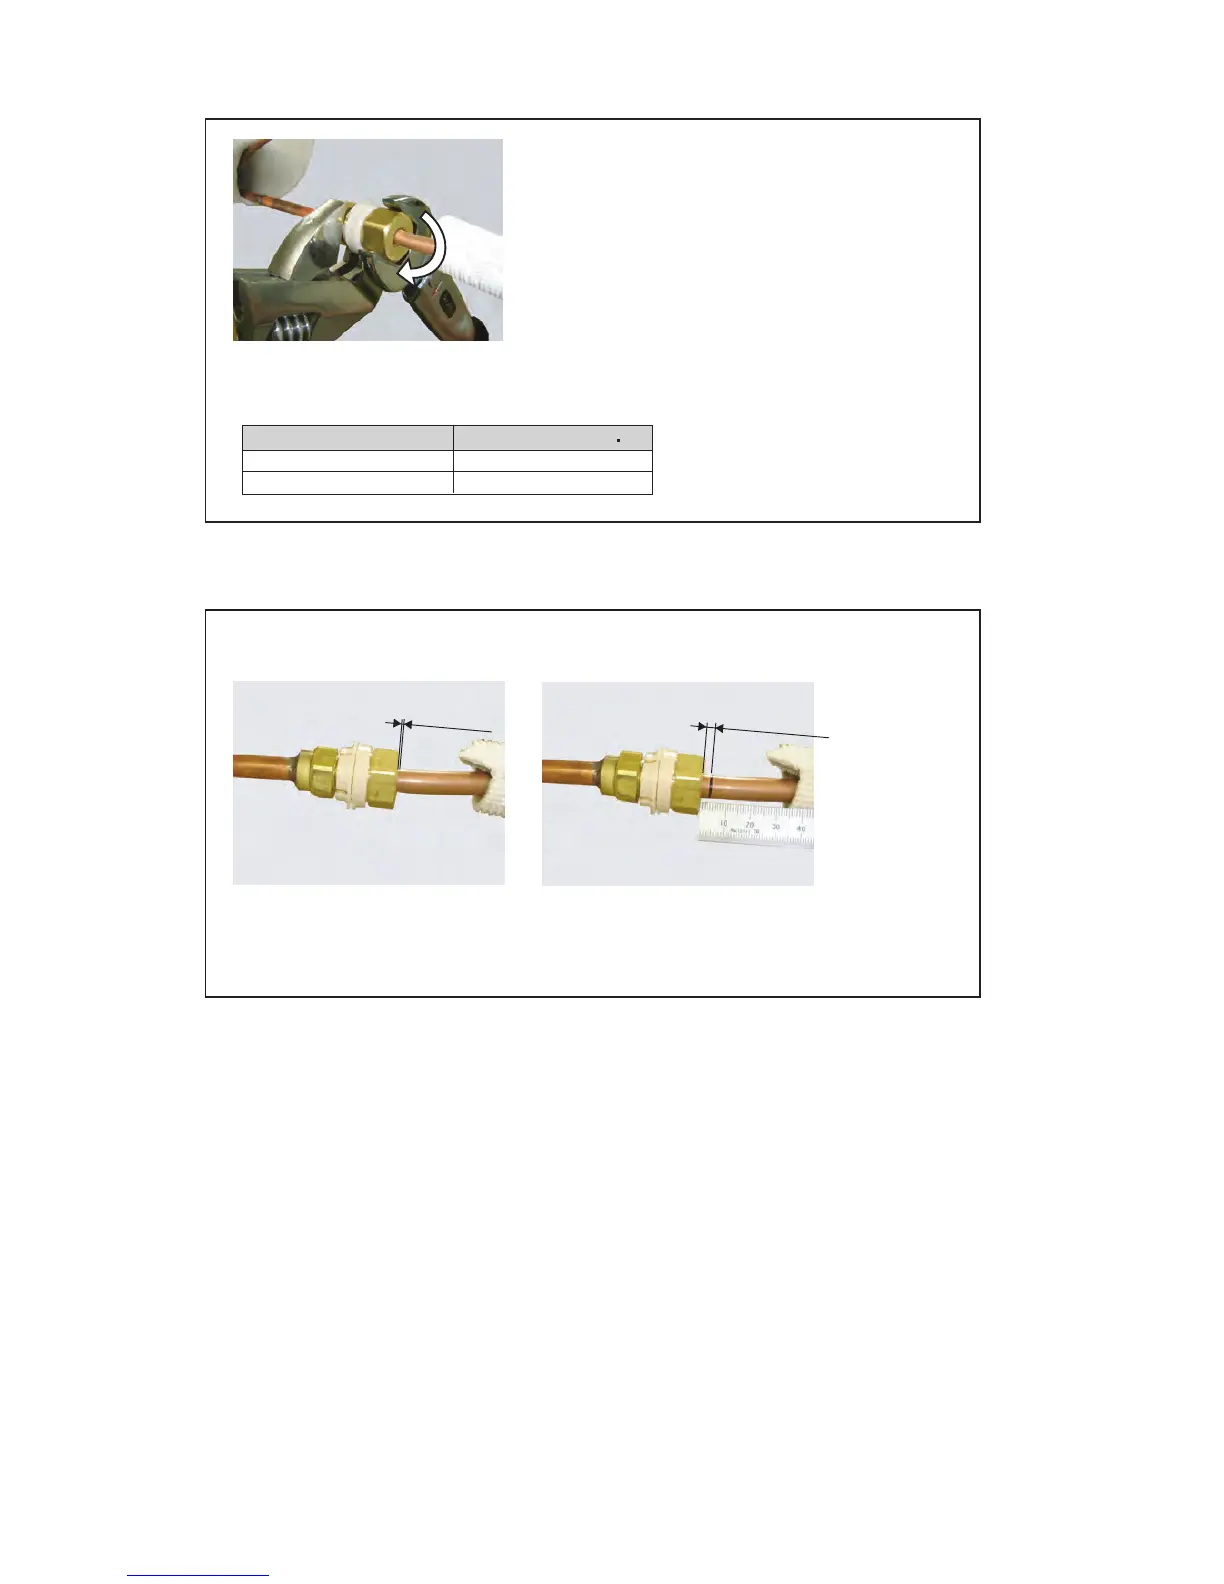
Step-6. Confirm the marking on the connection pipe
Confirm that the marking on the connection pipe is
within 1mm from the tightening nut.
Tightening nut [mm (in.)]
Tightening torque [N m]
6.35 (1/4) dia.
9.52 (3/8) dia.
16 to 18
32 to 42
1mm or less
more than 1mm
OK NG
If the insert margin marking is more than 1mm away from the tightening nut,
remove the flare less joint nut assy, replace with a new flare less joint nut assy, and start work.
 Loading...