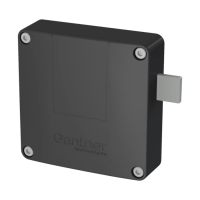
GAT ECO.Lock 7xxx F/ISO
Configuration
42
HB_GAT-ECOLock-7xxxFISO--EN_12
www.gantner.com
Complete the following steps to setup the GAT ECO.Lock 7xxx F/ISO for configuration in GAT Config Manager.
► After installing the software, open GAT Configuration Manager via "Start" -> "All Programs" -> "GANTNER
Electronic GmbH" -> "GAT Config Manager" -> "GAT Config Manager".
o The default start window of GAT Config Manager is displayed.
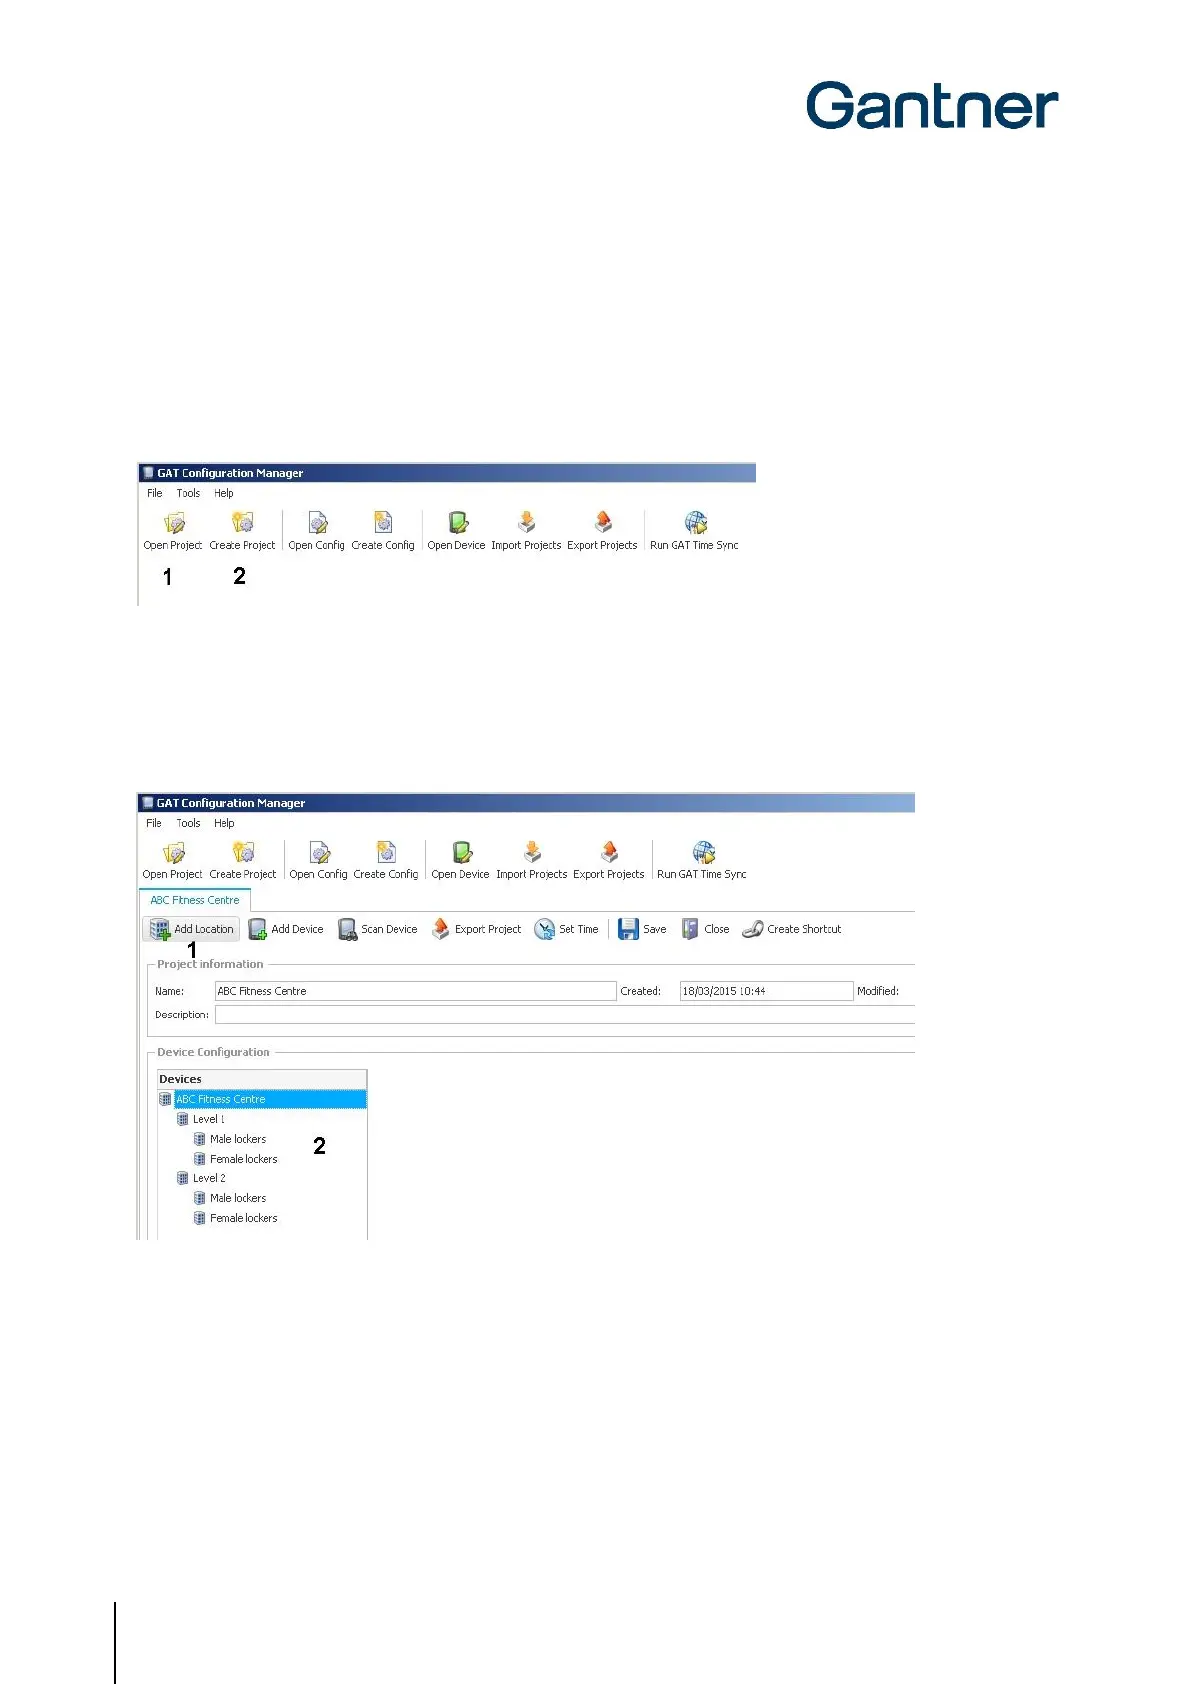
► Click on the “Open Project” icon (1 in Figure 6.1) to find an existing project.
► Alternatively, click on the “Create Project” icon (2 in Figure 6.1) to start a new project.
Figure 6.1 – GAT Config Manager - Project setup
► Once a project is established, locations and sub-locations for the project can be added to the “Devices”
directory (2 in Figure 6.2) by clicking on the “Add location” button (1 in Figure 6.2).
Figure 6.2 – GAT Config Manager – Add location
► To add a GAT ECO.Lock 7xxx F/ISO to a location, right-click on the location and select “Add ECO.Side Lock
7000” from the “Add Device” menu (Figure 6.3).
o The GAT ECO.Lock 7xxx F/ISO is added to the selected location and is labelled “GAT ECO.Side
Lock 7000”.
 Loading...