G1000 NXi System Maintenance Manual Page 342
King Air 300 Series Revision 1
190-00716-N1
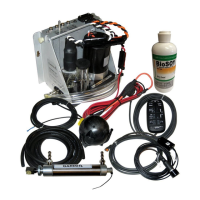
Stormscope Functional Check
Reference Section 3.18.1, for Stormscope configuration. This procedure assumes familiarity
with the set-up and operation of the WX-PA portable analyzer kit if required.
1. Apply power to the WX-500 and verify that no failed test messages appear. If fault
messages do appear, refer to the WX-500 Installation Manual for troubleshooting.
2. Following successful power up, verify the following modes:
• All available ranges can be displayed.
• Access to the cell mode and strike mode.
• Strike counter is displayed in all weather modes and ranges.
3. Key COM1 and COM2 several times on different frequencies representing the lower, mid
and upper portion of the VHF COM frequency band. Verify keying of COM1 or COM2
does not cause strike data to appear on the MFD.
4. Operate DME, XPDR 1, XPDR 2 and weather radar. Verify these systems do not cause
strike data to appear on the MFD.
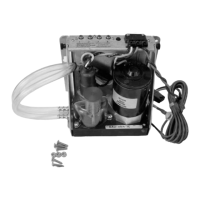
5. Connect the WX-PA cable to the WX-PA antenna.
6. Position the WX-PA antenna on the WX-500 antenna. Ensure the connection is tight. If
necessary, use tape to secure the WX-PA antenna. Ensure the “FORWARD” arrows are
aligned and the WX-PA antenna suction cups are positioned forward of center along the
longitudinal axis.
7. Secure the WX-PA cable to the aircraft with the attached suction cup and route the cable
to the cockpit.
8. Connect the remaining cable end to the WX-PA.
9. Power up the WX-PA and verify the WX-500 is in the weather mapping mode.
10. Set the WX-500 to STRIKE mode; 100 NM range (or next highest available range).
11. Select the Continuous Out mode displayed on the WX-PA menu and press
MENU/ENTER.
12. Select the bottom mount antenna configuration on the WX-PA keyboard (“A” key).
13. Select a cardinal bearing and a range of 120 NM.
14. Use the F1 and F2 keys to adjust range and F3 and F4 keys to adjust heading.
NOTE
The WX-500 will plot data at one-half the range selected on the WX-PA.
 Loading...