24 Garrett Metal Detectors
ATX
™
25
BENCH TESTING
You should conduct bench tests to become more familiar with the ATX's
audio signals and operation using different Modes, Discrimination settings,
Iron Check, etc� Suggested test items include:
• Various size gold nuggets or gold rings
(In the absence of gold nuggets, a U�S� nickel or small bronze coin are
good imitators of the response characteristics of a similar size
nugget�)
• Coins or relics that you expect to find in your search area
• Various size iron targets for testing the Iron Check feature
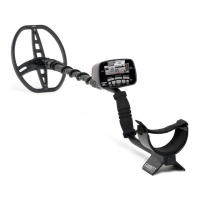
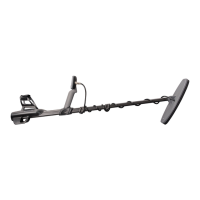
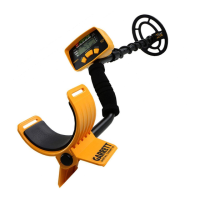
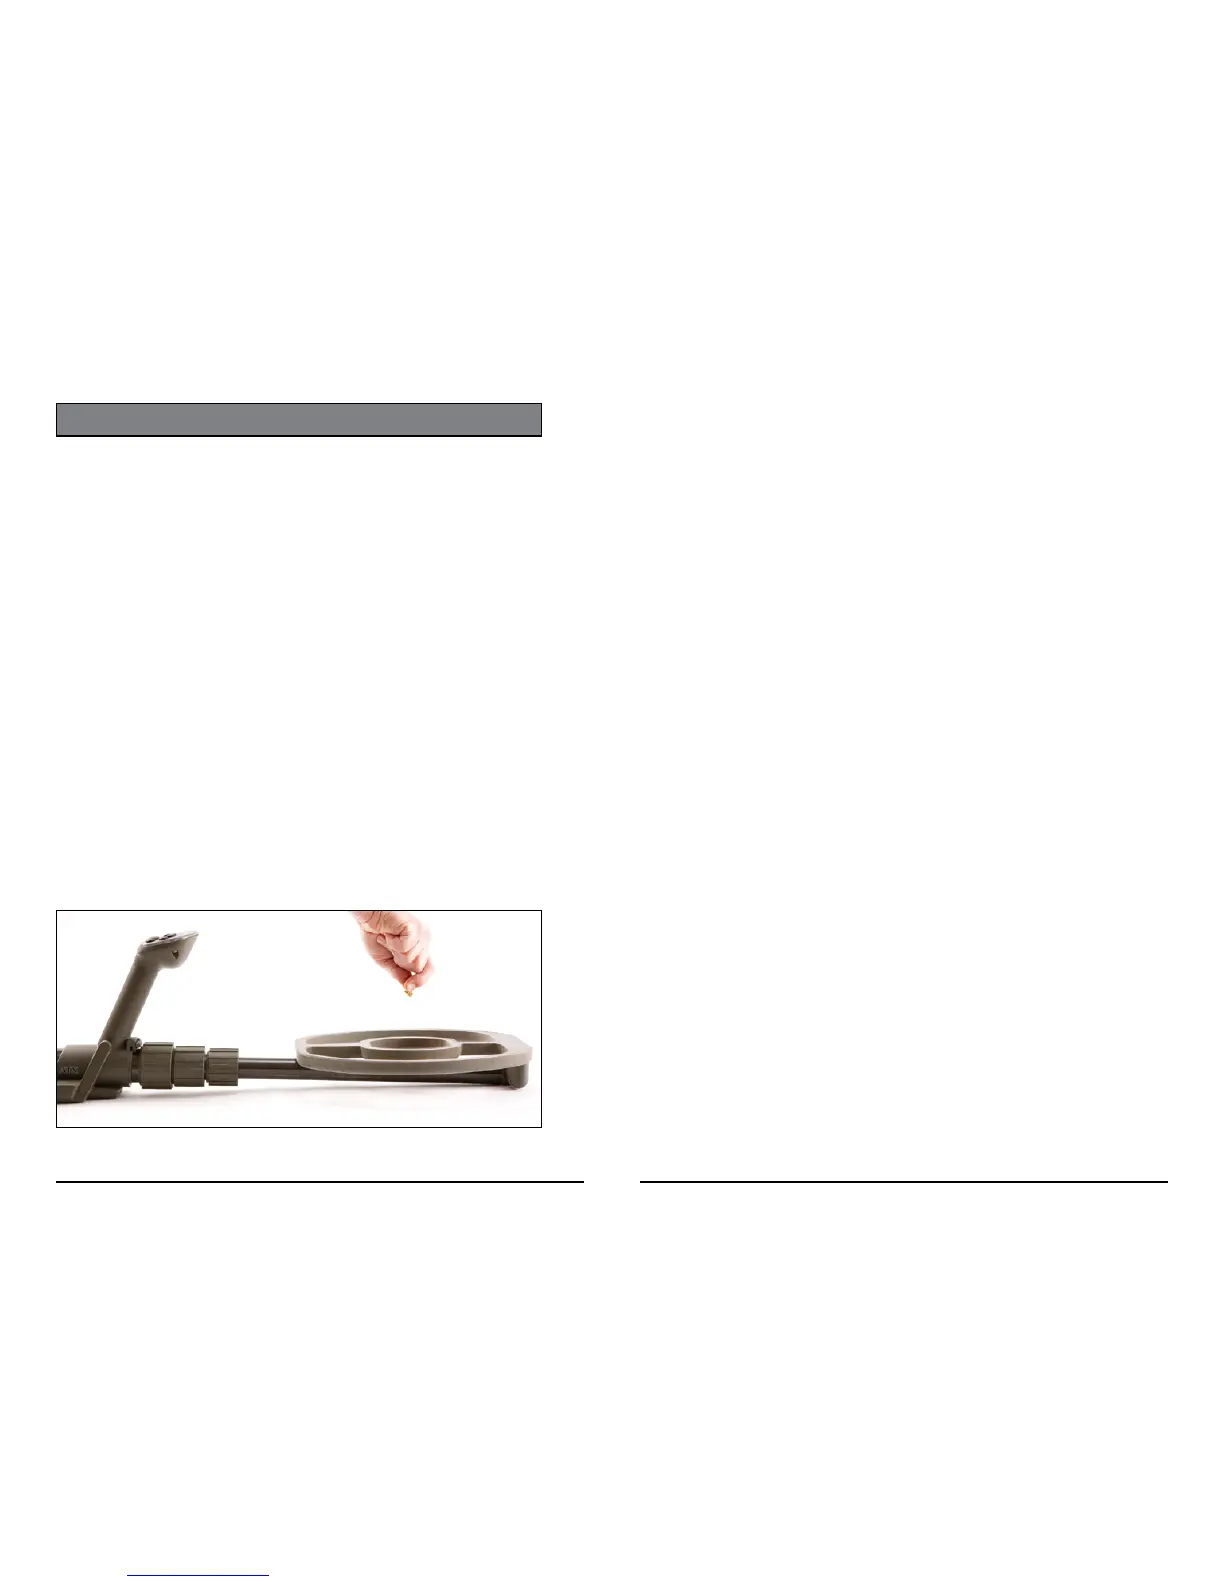
The ideal position for bench testing with the ATX is illustrated below�
Extend the lower stem and lay the searchcoil back on top of the stem� This
allows you to keep one hand near the controls while still reaching the coil
with your test targets�
It is best to test the detector outdoors away from sources of electrical
interference (e�g� power lines, electrical equipment and appliances,
uorescent lights, transmitters). Tests should be performed with the
searchcoil completely stationary and several feet away from any large
metallic object�
Set up: Start with Factory Default settings (in Motion Mode) and run
Frequency Scan to obtain quiet operation� If not sufficiently quiet, move to
a different location away from sources of electrical interference�
Basic testing: Begin passing various metallic targets from side-to-side
across the bottom of the searchcoil� Pass the targets both near and far from
the coil to hear how Proportional Audio works (i�e� loud for strong signals,
faint for weak signals)�
Tone polarity test: Pass various poor conductors (i�e� small nuggets,
nickels, small bronze coins, etc�) and good conductors (i�e� large nuggets,
silver coins, etc�) to hear the tone polarity� Poor conductors will produce a
High/Low tone and good conductors will produce a Low/High tone�
Discrimination test: After conducting the tone polarity test above, increase
Discrimination� Notice how the poor conductors become reduced and
disappear first from detection while the good conductors are less affected�
Test various size iron objects to see the effects of Discrimination levels�
Then return to a zero Discrimination setting (1st LED)�
Iron Check test: Press and hold the IRON CK button and wait for the
double beep before scanning targets� Continue to hold the IRON CK button
while quickly scanning your test targets back and forth across the coil�
Notice which iron targets produce the very low-tone growl/grunt sound
and at what distances� Notice that many iron targets will create a different
response when their orientation is changed� Since the ATX's Iron Check
function is conservative to ensure that small/weak good signals are not
misidentified as iron, small iron targets may not identify as iron�
Test both ferrous and non-ferrous targets at various depths to become
familiar with Iron Check's capabilities and limitations�
Sensitivity test: Increase and decrease Sensitivity to see how detection
depth and noise are affected� (e�g� higher Sensitivity increases depth and
possibly increases noise)�
Pinpoint test: Hold a target to the side away from the coil, then press
and hold PINPOINT and wait for the single beep� While continuing to hold
PINPOINT, pass the target side-to-side and front-to-back in a crosshair
pattern and notice the peak response occurs over the center of the coil�
Non-Motion Mode test: Finally, switch to Non-Motion Mode and notice
the differences from Motion Mode� In Non-Motion Mode, targets will not
produce the audio echo and static detection is provided� This mode,
however, can be noisier than Motion Mode, and more frequent Retunes
may be required�
For bench testing, take the ATX outdoors, away from electrical interference and large metallic
objects� Extend the first stem and lay the coil back as shown above�