32 Garrett Metal Detectors
ATX
™
33
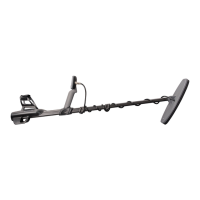
Figure 9
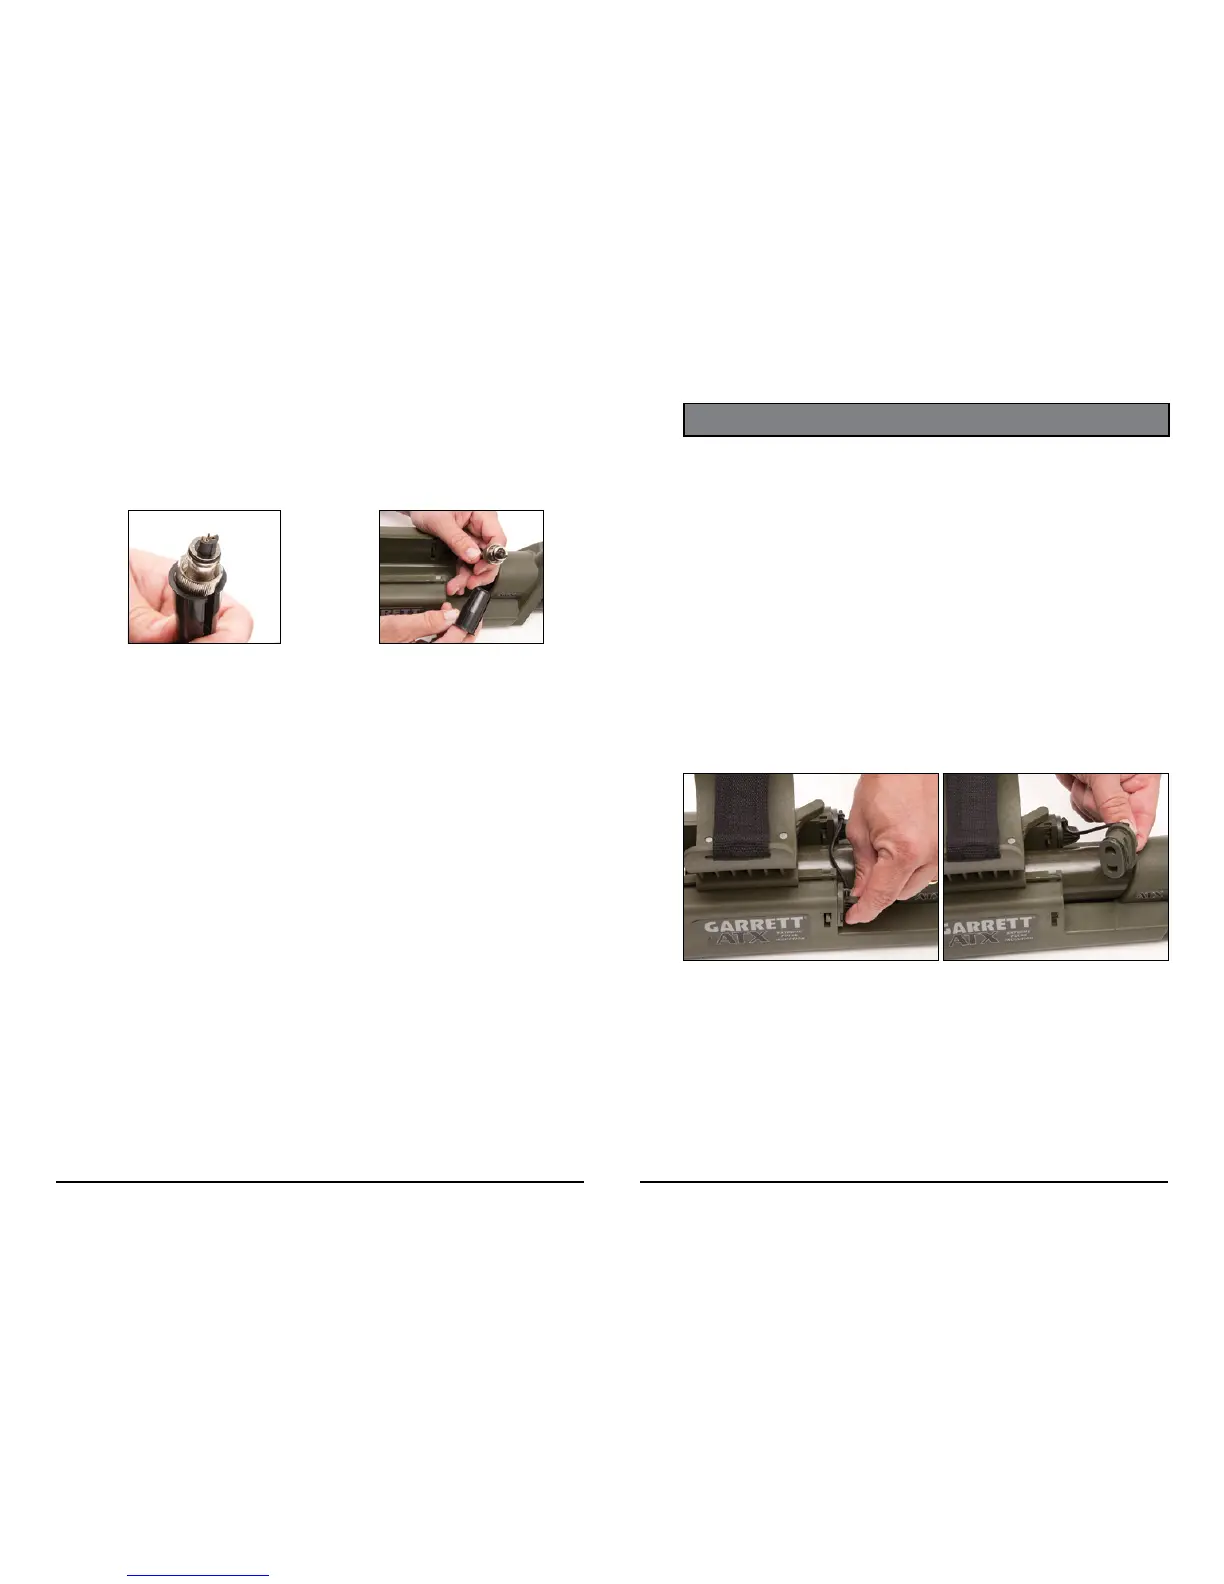
Note: The connector cover can be temporarily removed during this step if
desired (see Figure 10); however, be sure to snap the cover back around
the cable once the collar has been tightened�
4� Note that it may be necessary to rewind the coiled cable so that it will
properly t inside the stem assembly. To do so, spin the stem assembly
clockwise (looking from detector toward the coil) a few revolutions such
that the stem assembly easily slides over the coiled cable; two to four
revolutions is usually sufcient.
5� Rotate the stem assembly to the 180° position (i�e� coil upside down)
and fully insert into the electronics housing�
6� Disengage the stem rotation lock, rotate the stem 180° or to the desired
position, and release the spring-loaded rotation lock to automatically
reengage�
Searchcoil installation
1� Fully collapse the telescopic stem and tighten the stem nuts�
2� Partially slide the stem into the electronics housing�
3� Reattach the searchcoil connector by properly aligning the pins (see
Figure 9), fully inserting the connector and tightening the collar by hand�
Figure 10
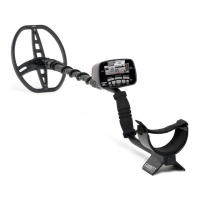
BATTERY REPLACEMENT AND CHARGING
The ATX uses eight AA batteries (alkaline and rechargeable batteries are in-
cluded)� The detector is shipped with one set of alkaline batteries installed�
The set of rechargeable batteries also included with your detector can be
recharged from AC power or a 12-Volt DC power source� The ATX accepts
alkaline, 1�5V rechargeable AA batteries, or 1�5V lithium batteries (3�7V
lithium batteries must not be used, as they can damage the detector)�
Both ATX battery packs should be replaced when the unit indicates low
battery level (i�e� one beep at turn-on, along with low battery warning light,
and periodic audible warnings; see p� 8)� Average operation time with fresh
alkaline batteries is 12 hours; rechargeable battery time is 10 hours�
Battery Replacement
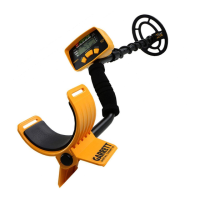
The battery compartments are located on both side of the detector’s
armrest (see Figure 1)� Press in the battery cover, rotate a quarter-turn
counter-clockwise to release the lock, and pull to remove (see Figure 2)�
Figure 1 Figure 2
Tip the detector forward to allow battery pack to slide out�
When installing the individual batteries into the battery pack, ensure they
are aligned with the correct polarity, as indicated by the plus and minus
markings on the inside of the battery pack� Reinstall the battery pack with
the correct polarity as indicated by the plus and minus markings on the
side of the detector (see Figure 3)� Replace the battery cover and rotate a
quarter-turn clockwise to lock into place� Repeat this process for the bat-
teries on the opposite side of the detector� If the ATX will be submerged, be